Email: How to setup a POP account in Microsoft Outlook Express
This tutorial assumes you’ve already created your new email account in SiteAdmin or cPanel.
Now let’s learn how to setup that new email account in Outlook Express, so you’ll be able to send/receive emails to/from that new email account from here.
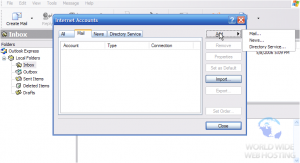
1) Start by clicking the Tools link here. Then click Accounts.
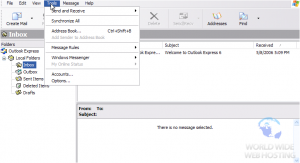
The Internet Accounts window appears.
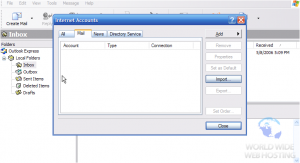
2) Click the Add button. Then click Mail….
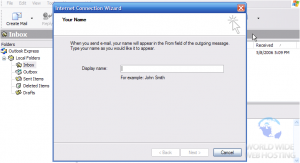
3) Enter the Name as you would like it to appear in the From field of outgoing emails. Then click Next.
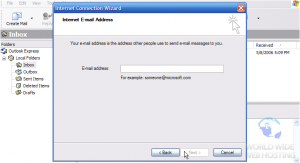
4) Now enter your new email address here. Then click Next.
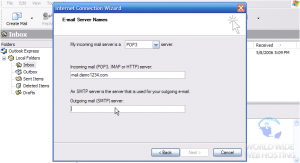
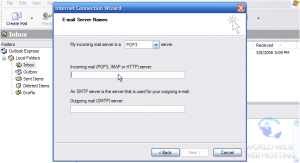
Now you have to enter your Incoming (POP3) and Outgoing (SMTP) server names. These server names will have been provided to you in your welcome email, and often times are simply mail.yourdomain.com.
5) Choose POP3 for the incoming mail server setting.
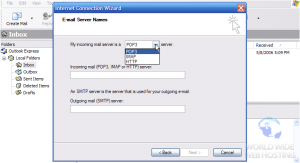
6) Now enter your Incoming (POP3) and Outgoing (SMTP) server settings in these boxes.
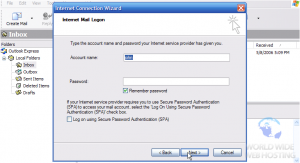
8) Now enter the email username….. this is the entire email address ([email protected]).
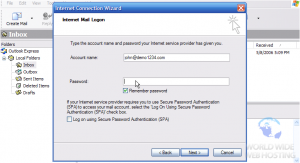
9) Then enter your email password here. Click Next.
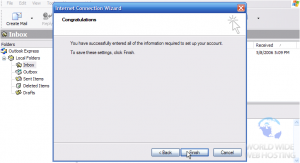
10) Click Finish to complete the wizard.
We’re almost finished! But first let’s go finish configuring our email properties.
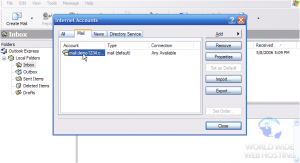
11) Select the email account we just created, then click the Properties button.
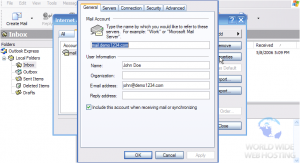
12) Let’s change the name of the email account to something more recognizable.
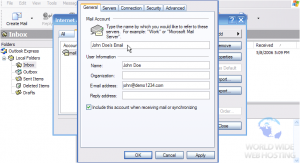
13) Enter an Organization name (if applicable).
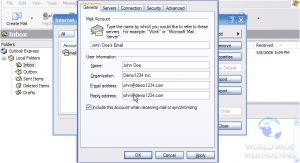
14) Then enter a Reply To address here.
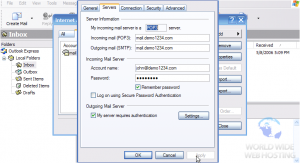
15) Now click the Servers tab here.
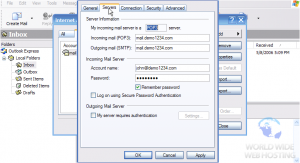
16) Check the box for SMTP Authentication.
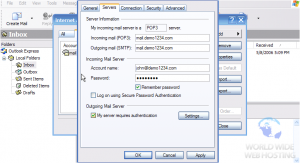
SMTP authentication means that Outlook Express will login to your mail server even when sending emails (not just receiving), ensuring that you are the only one that can send emails from your account.
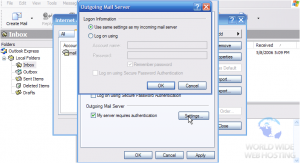
17) Then click Settings.
18) Most SMTP servers use the same username and password as the incoming (POP3) servers, so let’s select those settings. Then click OK.
19) Click Apply so the changes take effect…..
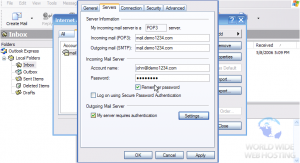
21) Click the Close button here.
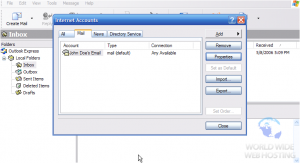
That’s it! We’ve successfully setup an email account, and can now start sending and receiving emails to and from that account, from Outlook Express.
This is the end of the tutorial. You now know how to setup an email account in Outlook Express. Remember that you also have to create that email address in your hosting account before it will work.

