Email: How to setup a POP e-mail account in Mozilla Thunderbird
This tutorial assumes you’ve already created your new email account in SiteAdmin or cPanel.
Now let’s learn how to setup that new email account in Thunderbird, so you’ll be able to send/receive emails to/from that new email account from here.
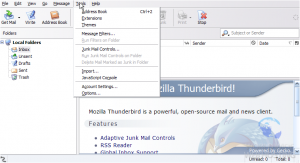
1) Start by clicking the Tools link here. Then click Account Settings.
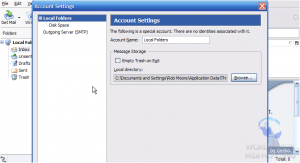
2) The Account Settings window appears. Scroll down.
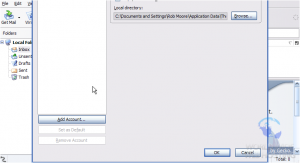
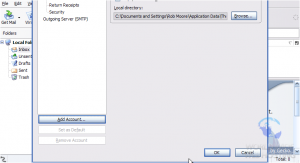
3) Click the Add Account button.
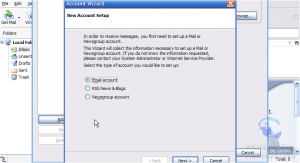
4) The Account Wizard windows opens. Make sure the Email account option is selected, then click Next.
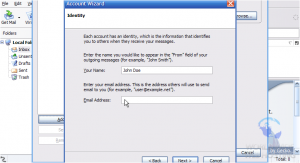
5) Enter Your Name as you would like it to appear in the From field of outgoing emails.
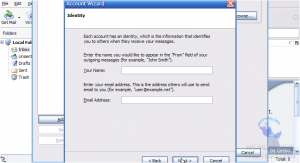
6) Then enter your new email address here. Click Next.
Now you have to enter your Incoming Server (POP) setting, which would have been provided to you in your welcome email. Typically, the Incoming Server (POP) setting is simply mail.yourdomain.com, where ‘yourdomain.com’ is to be replaced with your own domain name.
7) Choose POP3 for the incoming mail server setting.
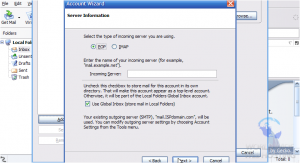
8) Now enter your Incoming Server (POP) setting here. Then click Next.
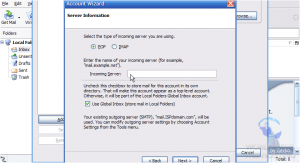
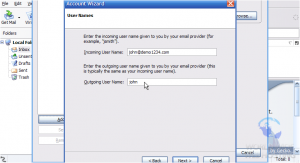
9) Now enter the email username ….. this is entire email address ([email protected]).
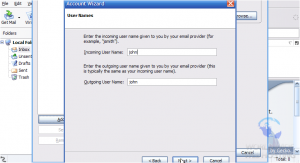
10) Enter your username again here….. your outgoing username is typically the same as your incoming username….. unless you’re using a different SMTP server. Click Next.
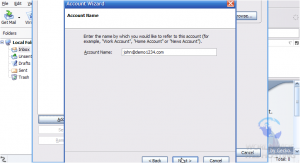
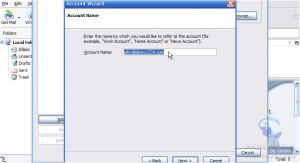
11) Enter a Name for this new account.
13) Click Finish to complete the wizard.
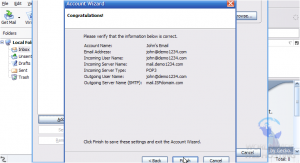
We’re almost finished! But first let’s go finish configuring our SMTP outgoing mail server.
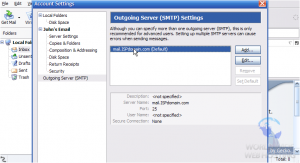
15) Click the Outgoing Server (SMTP) link here.
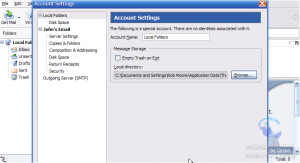
16) Click the Default SMTP server here…..
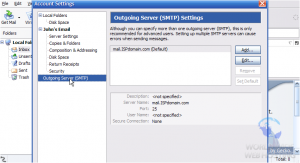
18) Enter your Outgoing (SMTP) server setting in this box here….. it should have been provided to you in your welcome email.
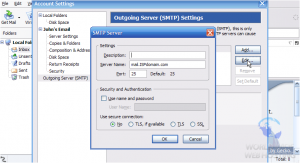
19) Make sure the SMTP Authentication box is checked. Click OK when finished.
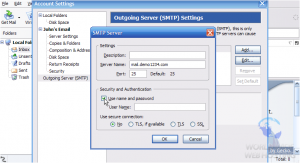
SMTP authentication means that Thunderbird will login to your mail server even when sending emails (not just receiving), ensuring that you are the only one that can send emails from your account. Most SMTP servers use the same username and password as the incoming (POP3) servers.
That’s it! We’ve successfully setup an email account, and can now start sending and receiving emails to and from that account, from Thunderbird.
This is the end of the tutorial. You now know how to setup an email account in Thunderbird. Remember that you also have to create that email address in your hosting account before it will work.


MisterNeutron November 24, 2015 at 2:23 pm
Instructions for Thunderbird are for an older version. Settings in the current version, 38.3.0, are different, particularly for SMTP authentication.
James Davey November 25, 2015 at 7:40 am
Hello,
Thank you for letting us know. We will take a look at fixing that as soon as possible.
Nathan December 21, 2015 at 7:05 pm
The instructions have still not been updated for thunderbird. I can receive mail but cannot send it out.
Corey Mahon December 22, 2015 at 8:16 am
Hi Nathan!
I apologize for the delay in getting these instructions fully updated. It sounds as if the problem you are seeing is due to lack of SMTP authentication in your current settings. In order to protect from spam, all mail sent from our servers must be sent from authenticated connections (http://kb.site5.com/email/smtp-authentication-at-site5/).
Fortunately, this is an easy change in your Thunderbird account settings and until we can fully update this post with the new steps required for Thunderbird, Mozilla has provided a great walkthrough to use for updating your SMTP settings and ensuring that Authentication is enabled. https://support.mozilla.org/en-US/kb/manual-account-configuration
If you are still noticing any problems after making these changes or need any help getting your settings changed, please open a support ticket through your backstage panel and our staff will be glad to help out!