phpMyAdmin: Optimize & Repair Tables
From time to time it is a good idea to do a some housekeeping within your applications or websites database. This is because MySQL, like your bedroom when you were a kid – does not clean itself. If you have a large database and have a lot of traffic to your website, you should optimize your tables regularly to ensure optimal database performance.
Note: WordPress users are able to install 3rd party plugins to will assist them in the optimization and repair process without the need for PHPMyAdmin.
- How to optimize your database tables using PHPMyAdmin
- How to repair your database tables using PHPMyAdmin
Optimizing your database tables
We will be demonstrating how to optimize your MySQL tables.
Note: Some tables can not be optimized.
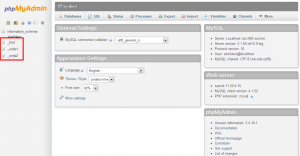
1) Log into your SiteAdmin or cPanel and select the PHPMyAdmin icon.
2) Select the database you wish to optimize.
3) Select the tables you wish to optimize. Or you can click the select all link located at the bottom of the table list.
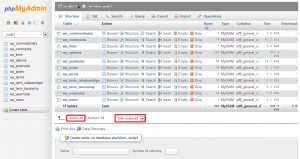
4) Click the “with selected” drop-down menu, and select optimize.
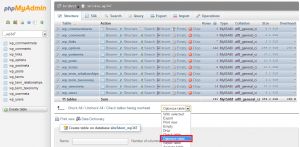
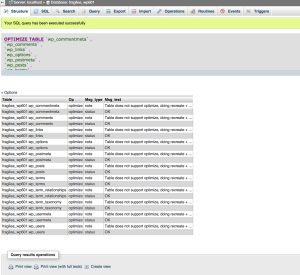
5) After it completes optimize you will see the results of it on the next screen.
That’s it! You should see a message confirming the requested operation.
How to repair database tables
Before we start a repair of a database table, we want to first check to see if we have to do it.
1) Log into your SiteAdmin/cPanel and select the PHPMyAdmin
2) Select the database you wish to check.
3) Select the tables you wish to check. Or you can click the select all link located at the bottom of the table list.

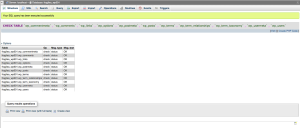
4) Select Check Table from the drop down list. If there is any errors in the results window, you will need to complete the repair process. In our example there is no errors.
To Repair
Follow steps 1-3 from the Check Table process.
4) Select Repair Table from the drop down list. If errors persist after repair, contact our support team and we will be happy to investigate the matter on your behalf.

