Email: Create A SPF Record
Spam emails, we all get them, and we all dislike them. Often though we spend so much time combating the spam that comes into our inboxes, that we often overlook the fact that these emails had to be sent somehow, and this process is called outbound spam. Outbound spam is detectable when are you being bombarded by mailer daemon/bounce back email messages from various addresses that you did not email. When this occurs its generally a good indication that your email address being maliciously used to distribute spam/malware to these addresses and the two most common methods that spammers do this is either via spoofing your email address or outright compromising your account password.
Spoofing is when a spammer sends out emails using your email address in the From: field. The idea is to make it seem like the message is from you – in order to trick people into opening it. This can easily be combatted by following a few steps on how to create a SPF record.
Compromised Account is when a hacker has gained access using the password to the email account and is using it to send out their spam/malware messages. You can thwart the hacker by simply changing your email password to something more secure. This will prevent them from being able to login to send out email messages.
The Sender Policy Framework (SPF) records allow you to specify what servers are permitted to send/relay email using your domain. This prevents others from using your email address to maliciously spread their spam messages using the spoofing method.
If you are using a 3rd party mail provider on your domain such as Google Apps then you may not be required to setup a SPF record on our server. In the event that you have a contact form on your website sending out email using our server, you may be required to setup a SPF record.
If you want to learn more about how it works and the other added benefits of SPF records, feel free to check out the resources below.
- Google: http://www.google.com/support/a/bin/answer.py?hl=en&answer=33786
- AOL: http://postmaster.aol.com/spf/details.html
- Wikipedia: http://en.wikipedia.org/wiki/Sender_Policy_Framework
Creating a SPF record in SiteAdmin
We will use the Advanced DNS Editor to place the record on your account.
1) We will firstly log into your SiteAdmin
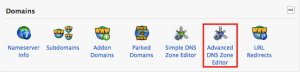
2) Select Advanced DNS Editor
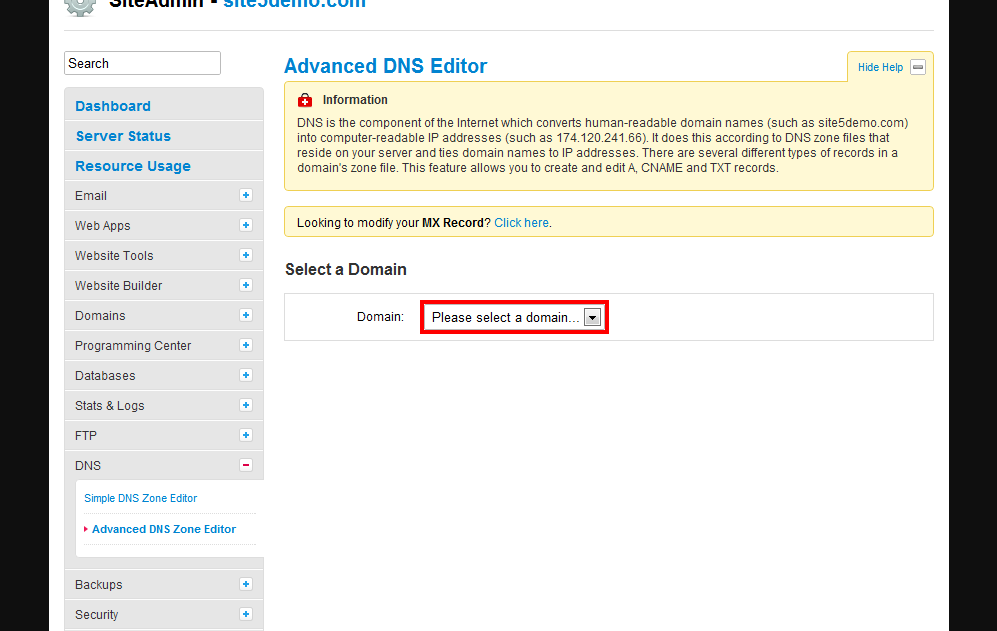
3) Select the domain you wish to use from the drop-down
4) You will now be presented with fields to alter.

- Record Type: TXT
- Record Name: yourdomain.com. (where yourdomain.com. is your domain. The period on the end is required)
- TTL: Leave as 14400
- TXT Data: This is where we will specify the record itself.
- Example Record:
v=spf1 +mx +a ip4:DOMAINIP include:relay.mailchannels.net ~all
- Template Record:
v=spf1 +mx +a ip4:DOMAINIP include:relay.mailchannels.net ~all
(where DOMAINIP is the IP address of your server. This is obtained from below in the Manage DNS Records section of the page)
Please Note: The relay.mailchannels.net hostname is our SMTP server relay service which is responsible for the scan of outgoing mail messages for spam characteristics. This allows us to catch spammers in almost real time which helps keep our servers off of email blacklists. When a particular mail message is determined to be clean the SMTP Relay server will then attempt to send the message to its intended destination. The relay listed in the SPF record simply means that you are allowing to send email on your domains behalf.
5) Select Add Record

Note: *.yourdomain.com will be automatically appended to the Record Name you enter if you do not end the record name with a . (dot). For instance, if you enter “example”, “example.yourdomain.com.” will be used for the record name.
Congratulations! You are now setup for a SPF record. After a period of 60-80 minutes your record will propagate to the rest of the worlds servers and within 24-48 hours you should no longer be bombarded by bounce backs. You can test your new SPF record (please wait 60-80 minutes before testing) by visiting the following link http://www.kitterman.com/spf/validate.html
Creating a SPF record in cPanel
To create a SPF record in cPanel, there is a built in utility to aide in the process.
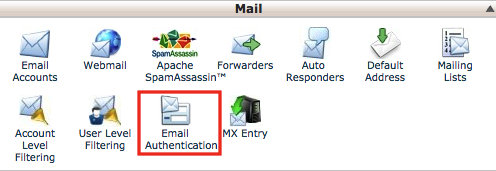
1) Log into your cPanel and select Email Authentication.
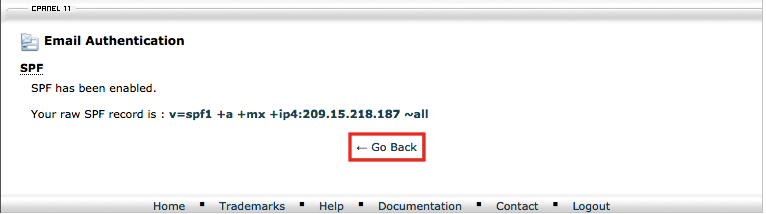
2) You have options for DKIM & SPF. DKIM isn’t that widely supported at this time so it should not be used unless you really need it. Click Enable SPF

3) Upon clicking Enable SPF, it will generate the record for you and display it for you. You do not need to save this and you can click Go Back
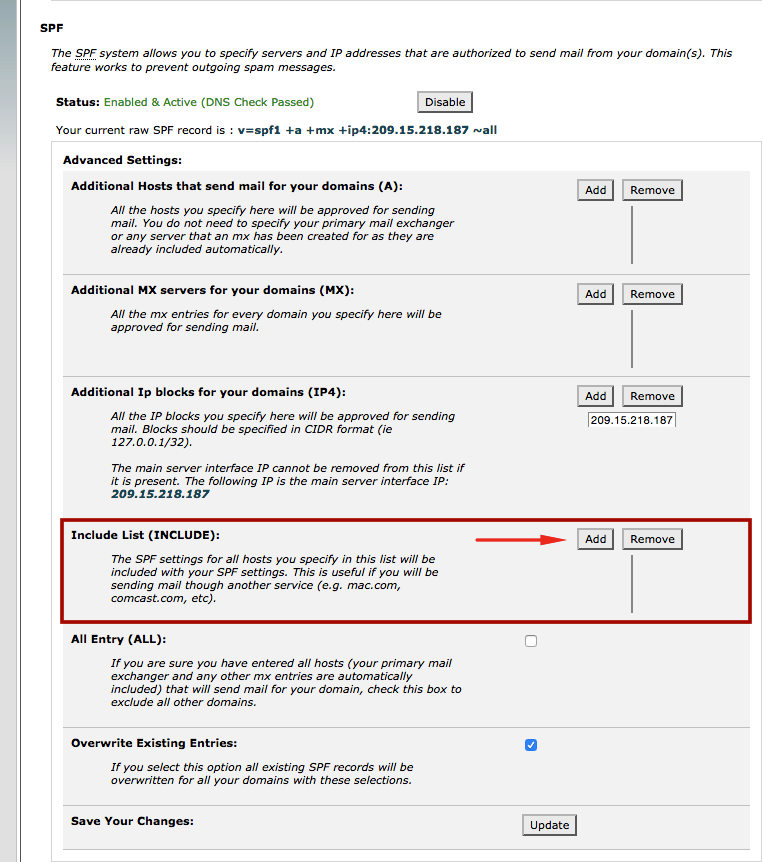
4) cPanel will now display the default SPF record for your domain. We will need to make on further adjustment. Select Add in the Include List (INCLUDE): section of your screen.
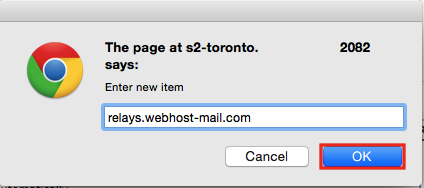
5a) In the dialog box please enter: relay.mailchannels.net and click OK
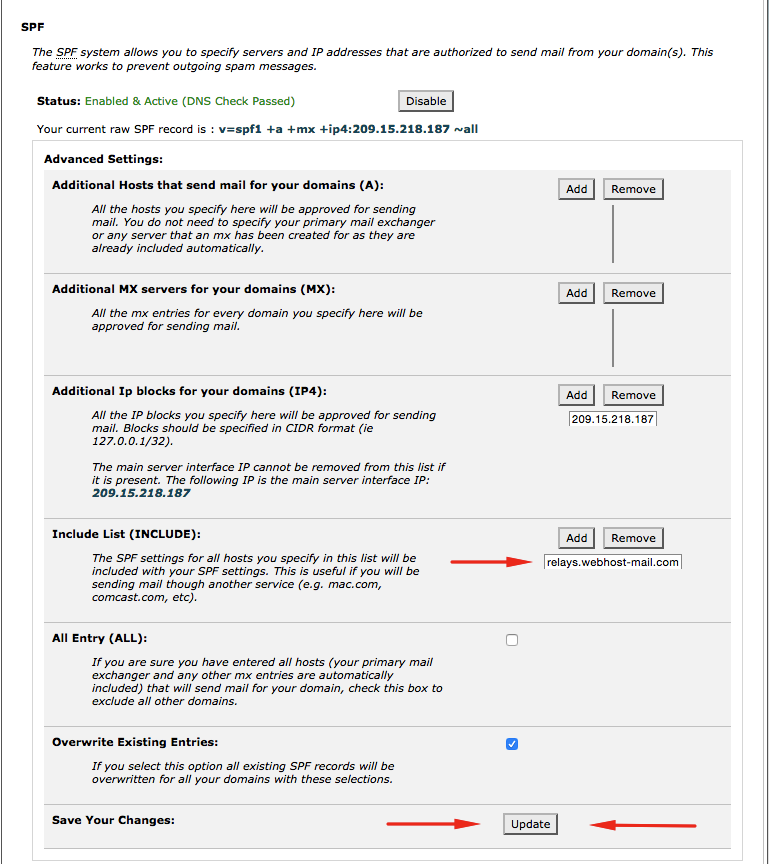
6) This will now show relay.mailchannels.net in the Include List box. Click Update to have the change saved.
Please Note: The relay.mailchannels.net hostname is our SMTP server relay service which is responsible for the scan outgoing mail messages for spam characteristics. This allows us to catch spammers in almost real time which helps keep our servers off of email blacklists. When a particular mail message is determined to be clean the SMTP Relay server will then attempt to send the message to its intended destination. The relay listed in the SPF record simply means that you are allowing to send email on your domains behalf.
7) You record should now look like the following: Your raw SPF record is : v=spf1 +a +mx +ip4:DOMAINIP include:relay.mailchannels.net ~all
Congratulations! You are now setup for a SPF record. After a period of 60-80 minutes your record will propagate to the rest of the worlds servers and within 24-48 hours you should no longer be bombarded by bounce backs. You can test your new SPF record (please wait 60-80 minutes before testing) by visiting the following link http://www.kitterman.com/spf/validate.html
Mark August 20, 2013 at 8:57 pm
Seems somewhat complicated. Where does one do this on Site5? It seems like the backstage DNS area (either simple or advanced), but there is no where to enter the additional information, such as IN TXT “v=spf1 a:servername.site5.com ~all”. Am I on the right path?
Thanks,
Mark
John Oliver at Site5 August 22, 2013 at 3:08 pm
Hello Mark,
I hope this reply finds you well!
For information on how to add a TXT record, please see the appropriate link below…
SiteAdmin: http://kb.site5.com/control/siteadmin/siteadmin-advanced-dns-editor/
cPanel: http://kb.site5.com/control/cpanel/cpanel-advanced-dns-zone-editor/
When you select TXT as the record type, a box will appear allowing you to enter the TXT data.
If you have any questions, please feel free to leave a comment here, or if you prefer, you can contact our support team directly by opening a ticket through Backstage.
Kel January 6, 2015 at 5:07 pm
I have a web form on my site that’s using an email address I’ve configured under my domain, however it only works sporadically. When it fails, a copy of the email is returned to the user (usually in the SPAM folder), with the following error:
550 5.7.1 [BFD] Sender prohibited by SPF
The information above does not specify how the DNS record needs to be modified to prevent this error from occurring. Is the RECORD NAME supposed to be mail? stmp? something else?
Will adding this allow my web form to work as it should?
Please advise.
Thanks,
Kel
James Davey January 7, 2015 at 6:15 am
Hi Kel,
An SPF record is a lengthy TXT record in your DNS zone file. We can set this up for you, if you like – all you need to do is request it of our support team, and we’ll be more than happy to take care of it.
Stefan Rairigh March 10, 2016 at 3:29 pm
Is this article still valid? relays.webhost-mail.com resolves to 127.0.0.1 which would be useless to mail servers looking to authenticate against it, no?
Stefan Rairigh March 10, 2016 at 6:11 pm
It looks like my mail is being routed through relay.mailchannels.net with an IP of 127.0.0.1
Has relay.mailchannels.net taken the place of relays.webhost-mail.com listed in this article?
Corey Mahon March 11, 2016 at 1:03 pm
Hi Stefan!
It looks as if this is just the IP address configured to have pings sent to. However, when running SPF validation tests on domains using this in their zone file as well as doing an SPF validation check on relays.webhost-mail.com itself, the check tests out correctly. So, you should see no problems at all using this in your SPF record. Please don’t hesitate to reach out to our support staff if you are seeing issues with your mail not being delivered properly when using the relays.webhost-mail.com hostname in your SPF record, we’ll be glad to dig in and find out if this is truly causing the problems.
Jon June 26, 2016 at 2:58 pm
I do not show the email authentication option in my CPanel for my site5 hosted account. Is this an upgrade feature?
Corey Mahon June 27, 2016 at 8:25 am
Hi Jon,
No, this isn’t an upgrade feature. This is something that should be available in cPanel for all accounts. If you would please submit a ticket through your backstage panel, our staff will be glad to look into why you are not seeing this with your access and get this fixed up for you!