DNS: How to use the Advanced DNS Editor
DNS (Domain Name Service) is a system behind the Internet that is responsible for converting human-readable domain names (for example, site5.com) into computer-readable IP addresses (for example, 192.0.32.10). DNS uses zone files that reside on our server to map domain names to IP addresses.
The Simple DNS Editor allows you to quickly and easily add A records or CNAME records as well as offering you the ability to remove any records that you had created using this tool.
The Advanced DNS Editor is well…an advanced version of the Simple DNS Editor. This tool will allow you, the user to have greater control over what DNS records you want to add, edit or remove. One such use for this would be for changing your sub-domains to point to Google Apps service.
There are many different types of records that can be used. Here are some basic breakdowns and a few examples for each type of record that is available in this editor.
- A records: An A record associates a domain name (such as site5.com) with an IP address (such as 108.162.204.168).
- CNAME records: CNAME (canonical name) records define aliases by associating one domain name with another. For example, you could create a CNAME record for mail.site5.com associated with example.com. When a DNS lookup for mail.site5.com occurs, it receives in response the associated site5.com domain, and subsequently performs a lookup on its A record. CNAME records enable you to define multiple domains without having to specify an IP address for each one.
- TXT records:TXT records custom records which contain machine-readable data. TXT records are formatted according to the technology needing it. These records are often associated with Sender Framework Policy(SPF) and DomainKeys Identified Mail (DKIM) which are tools used to combat email spoofing.
For MX record changes you will need to utilize the Change MX Record icon within your respective SiteAdmin/cPanel to accomplish this task.
Add/Edit DNS records using SiteAdmin
We will first show you how to add a DNS record and then edit an existing record using the Advanced DNS Editor tool.
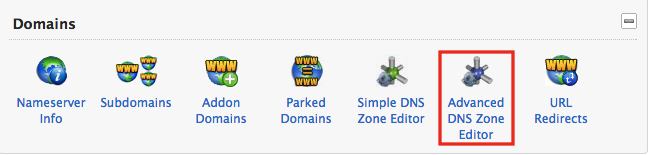
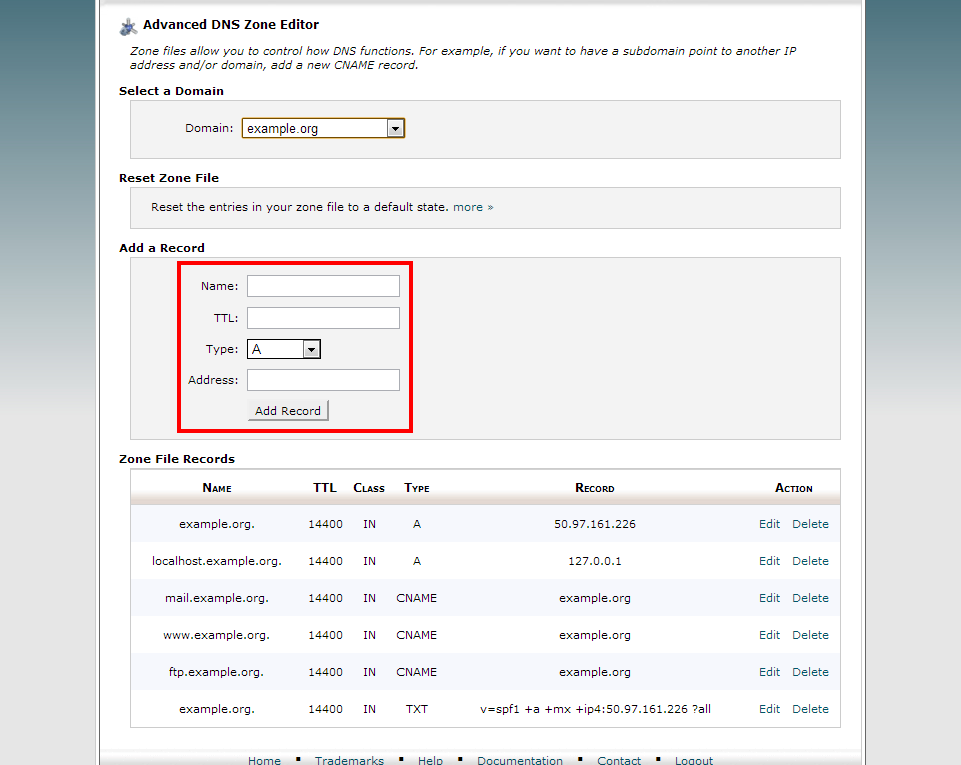
1) Select the Advanced DNS Zone Editor icon from within your SiteAdmin.
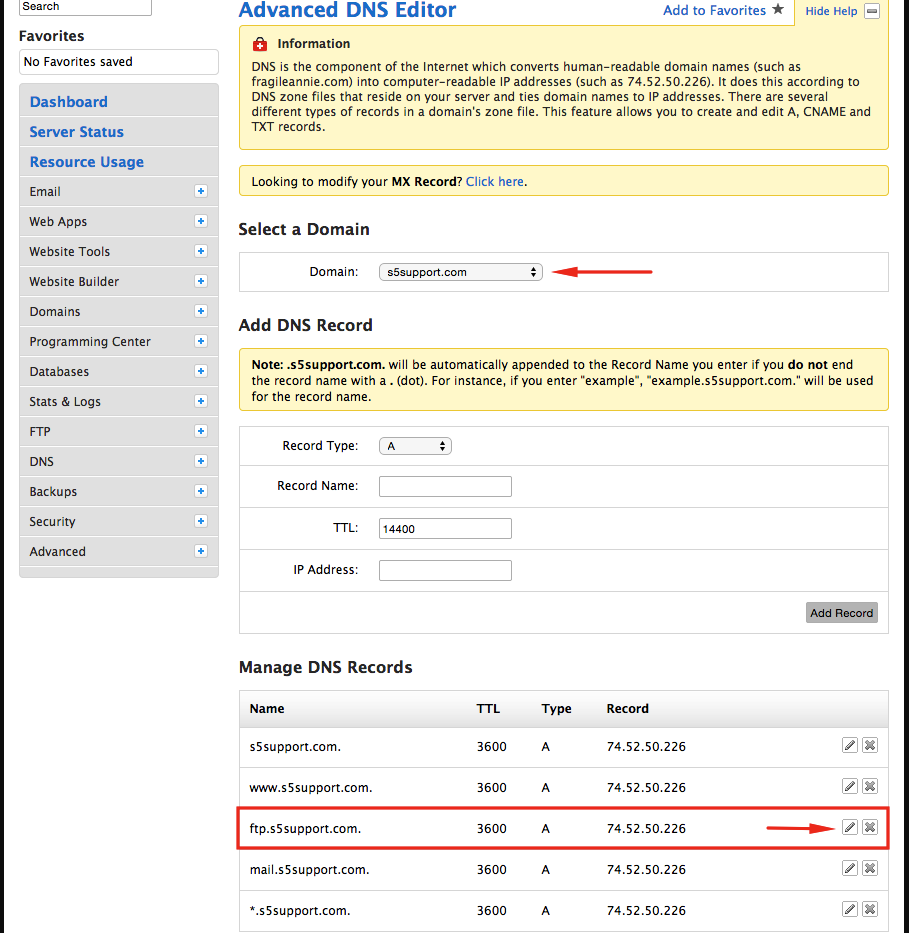
2) Select the domain you wish to use from the drop-down

3) Select the Record Type

4) Enter the Record Name

5) Enter the TTL value you wish to use

TTL or Time to Live is the system that tells dns caches (like on your computer) to refresh the data from the main DNS server. The input value should be in seconds. Here are some common entries
- 43200 = 12 Hours
- 86400 = 1 Day
- 172800 = 2 Days
The higher this value is, the less-often the cache will be refreshed, meaning that changes made to the record (such as an IP change) could take longer to manifest. In addition, the smaller the value, the more-often the cache will be refreshed meaning that changes would go live more quickly.
For more information about how TTL works, please see this wiki page.
6) Input the IP Address/CNAME/TXT Data (This will change depending on the record type)

7) Click the Add Record button

Note: *.yourdomain.com will be automatically appended to the Record Name you enter if you do not end the record name with a . (dot). For instance, if you enter “example”, “example.yourdomain.com.” will be used for the record name.
So now we know how to add a DNS Entry using the Advanced DNS Editor but what about when we want to make changes to existing records. You can easily make changes to existing DNS zones that are configured on our server by selecting the domain name from the dropdown at the top of the Advanced DNS Editor section and clicking either the pencil icon (edit) or the X icon (remove) beside the individual record.
Thats it, you now know how to add, edit or delete a DNS zone using our Advanced DNS Editor tool in SiteAdmin.
Add/Edit DNS records using cPanel (x3)
We will first show you how to add a DNS record and then edit an existing record using the Advanced DNS Editor tool.
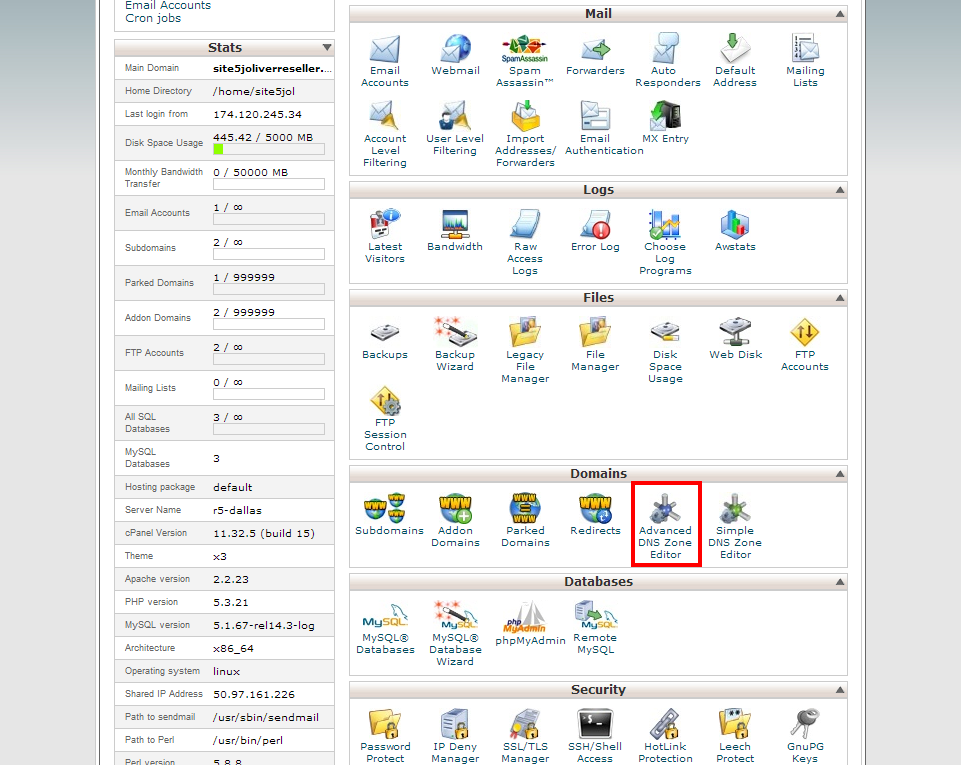
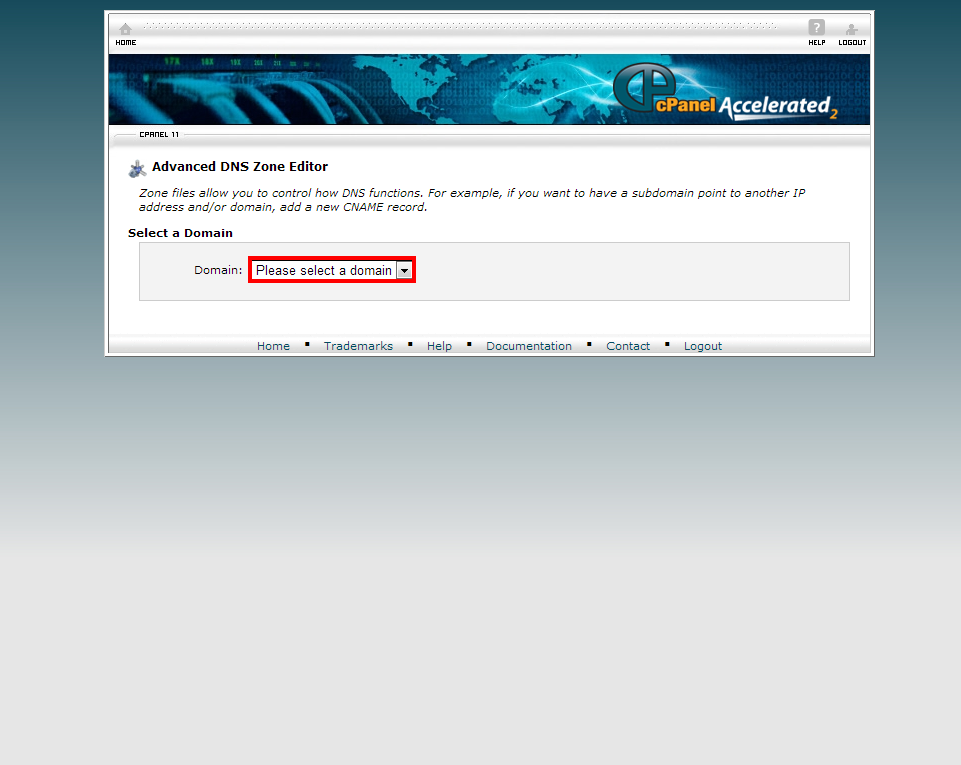
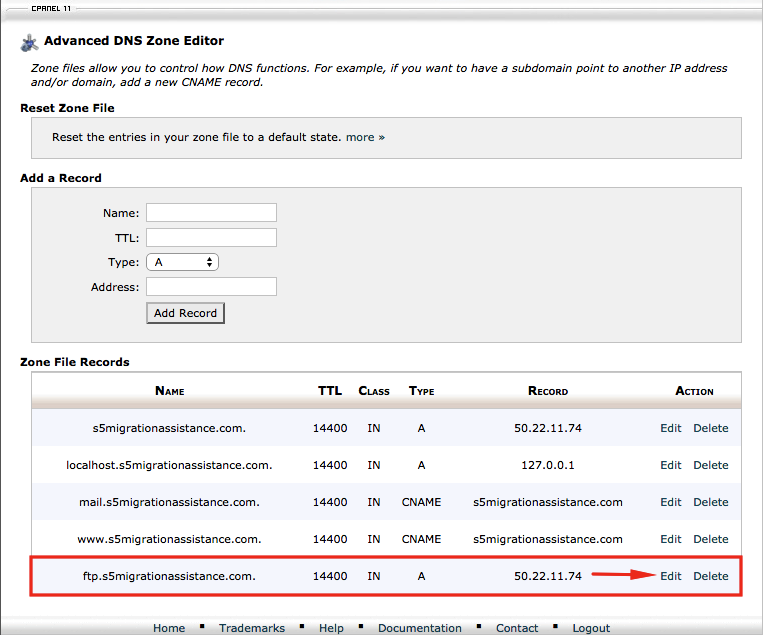
1) Select the domain you wish to use from the drop-down
2) Select the Record Type enter the Record Name then enter the TTL value you wish to use. Now enter the IP Address/CNAME/TXT Data (This will change depending on the record type).
TTL or Time to Live is the system that tells dns caches (like on your computer) to refresh the data from the main DNS server. The input value should be in seconds. Here are some common entries
43200 = 12 Hours
86400 = 1 Day
172800 = 2 Days
The higher this value is, the less-often the cache will be refreshed, meaning that changes made to the record (such as an IP change) could take longer to manifest. In addition, the smaller the value, the more-often the cache will be refreshed meaning that changes would go live more quickly.
For more information about how TTL works, please see this wiki page.
3) Click Add Record
Note: *.yourdomain.com will be automatically appended to the Record Name you enter if you do not end the record name with a . (dot). For instance, if you enter “example”, “example.yourdomain.com.” will be used for the record name.
So now we know how to add a DNS Entry using the Advanced DNS Editor but what about when we want to make changes to existing records. You can easily make changes to existing DNS zones that are configured on our server by selecting the domain name from the dropdown at the top of the Advanced DNS Editor section and clicking either Edit or Delete beside the individual record.
Thats it, you now know how to add, edit or delete a DNS zone using our Advanced DNS Editor tool in SiteAdmin.
Alexandra July 3, 2014 at 10:51 am
This is very helpful, thank you! What should we put in the field CNAME Host?
James Davey July 3, 2014 at 2:40 pm
Hello Alexandra,
That would depend on what you are using the CNAME for, really. The first field is the part of your site you want to (essentially) redirect, and the second field is what you want to point it to.
Adriano September 23, 2014 at 12:39 am
Hi.
I am having a hard time setting up the Mandrill DKIM because of semicolon escaping issues. Should they be escape when entering the TXT Data field in the Advanced DNS Editor page? Are backslashes being added without escaping? How can I prevent that?
Best regards,
Adriano
James Davey September 23, 2014 at 8:09 am
Hi Adriano,
Generally, a TXT record is wrapped in quotation marks (“) to prevent that from happening – no backslashes should be necessary. I should mention that DKIM is not supported with our current DNS configuration – you can create the record, but it will not work. We are looking at changing this to make it an option, but this would mean an overhaul of our whole DNS configuration, which is something we need to be exceedingly cautious about, as you can imagine :)