Managing Site5 Sub-Accounts
All Site5 billing accounts may create sub-accounts to allow limited access to your billing account or to manage your Site5 services. This article will cover the following topics:
Create a New Sub-Account
To create a new sub-account using your customer portal:
- Log into your customer portal.
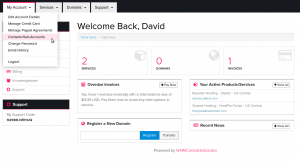
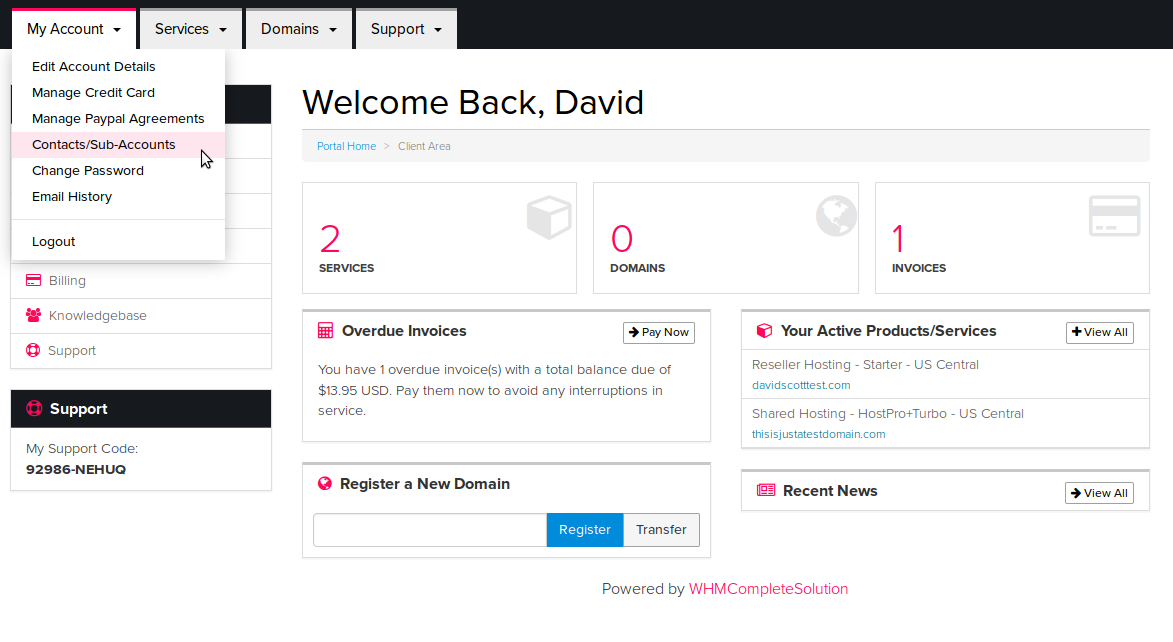
- Click the My Account tab and select Contacts/Sub-Accounts:
- Click the Choose Contact drop-down box and select Add New Contact:
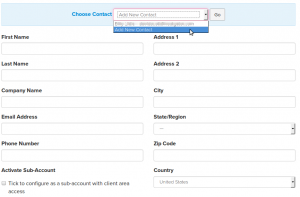
- Fill in the appropriate information for the new user.
- Under Activate Sub-Account check the box that says Tick to configure as a sub-account with client area access.
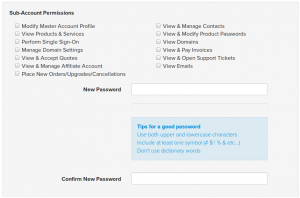
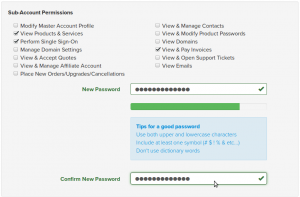
- The following section will appear, where you can set a billing portal password for the user, and select which billing account management privileges you wish for them to have:
- You may then select which billing emails this Sub-Account user should receive, then click the Save Changes button.


This user will now be able to log in with the email address you entered and the password you created.
Change a Sub-Account Password
To change a password for a sub-account:
- Log into your customer portal.
- Click the My Account tab and select Contacts/Sub-Accounts:
- Click the Choose Contact drop-down box and select the username of the desired sub-account:

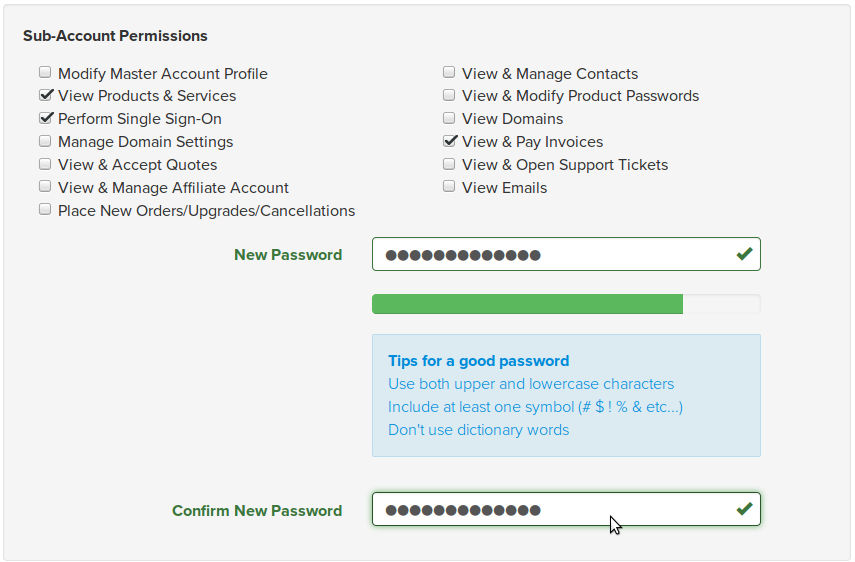
- In the Sub-Account Permissions section, enter a secure password, and then confirm the password:
- Click the Save Changes button at the bottom of the page to confirm the change.
Edit a Sub-Account
To edit a sub-account from your customer portal:
- Log into your customer portal.
- Click the My Account tab and select Contacts/Sub-Accounts:
- Click the Choose Contact drop-down box and select the username of the desired sub-account:
- Edit any of the account details, permissions, password, or email settings that you wish to change.
- Click the Save Changes button at the bottom of the page to confirm your changes.
Delete a Sub-Account
To delete a sub-account from your customer portal:
- Log into your customer portal.
- Click the My Account tab and select Contacts/Sub-Accounts:
- Click the Choose Contact drop-down box and select the username of the desired sub-account:
- Click the Delete Contact button.
- In the popup that appears, click the OK button.