Email: How to set up a POP/IMAP email account in Thunderbird 91
Before you set up Thunderbird for your emails, make sure to create an email account first. For more information on how to create an email account, please check out the steps in this article: Email: Create Email Account.
Important: Thunderbird 91 should be directly downloaded from thunderbird.net and set up as an upgrade from Thunderbird version 78 or earlier.
Setting up email in Thunderbird 91
To set up an email on Thunderbird 91:
- Launch Thunderbird.
- Go to Tools and select Account Settings, then click Add Account.
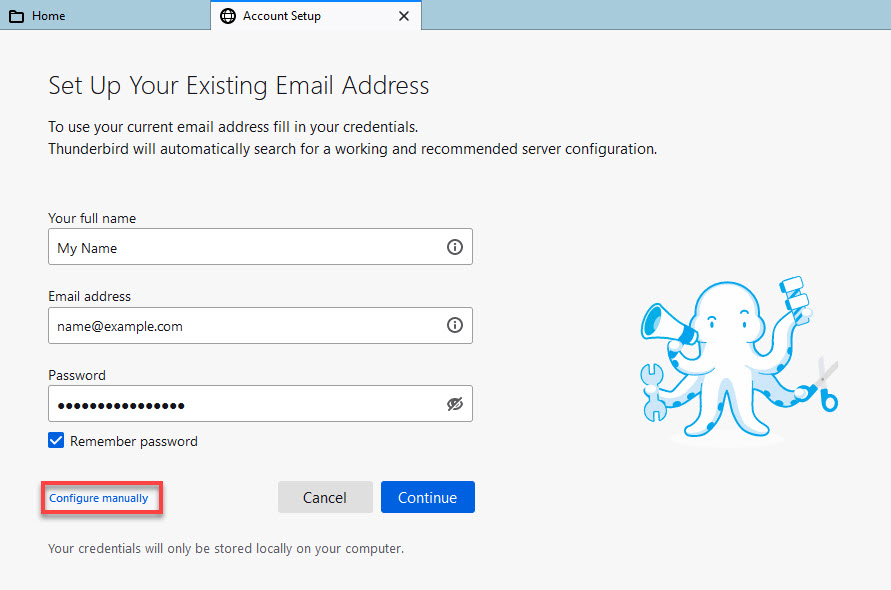
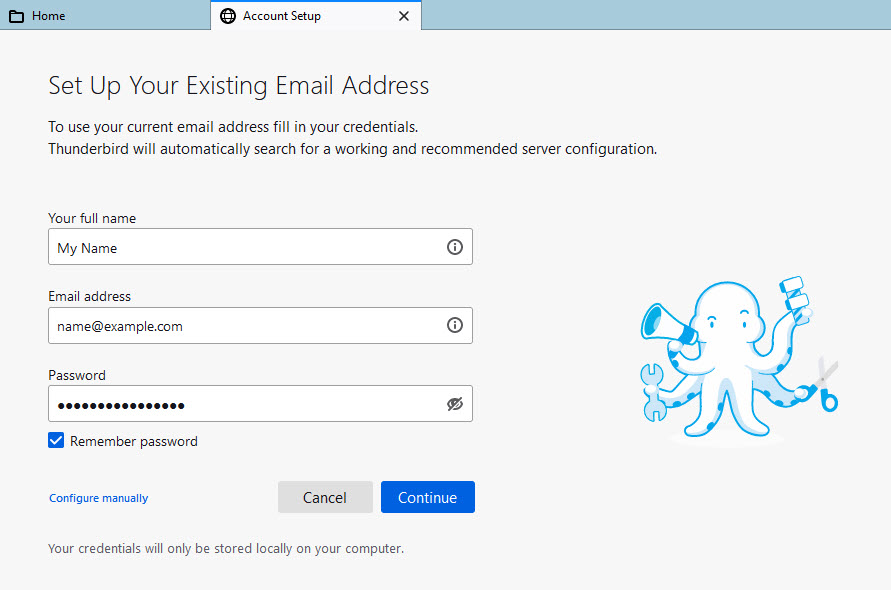
- On the Set Up Your Existing Email Address page, do the following:
- Enter your Full Name (this will be your display name on every email sent).
- Enter your email address and password. You may put a checkmark on Remember password.
- Select the Configure Manually link.
- Fill out the incoming and outgoing server information. You can check this article to get your server information: Setting up POP3 or IMAP with SSL.
- In the Incoming Server, select POP or IMAP.
- Enter your incoming port.
- Select the connection type. SSL/ TLS is recommended.
- Enter your username, which is your email address.
- In the Outgoing server, make sure to select No Authentication Method from the dropdown.
- Enter your outgoing port.
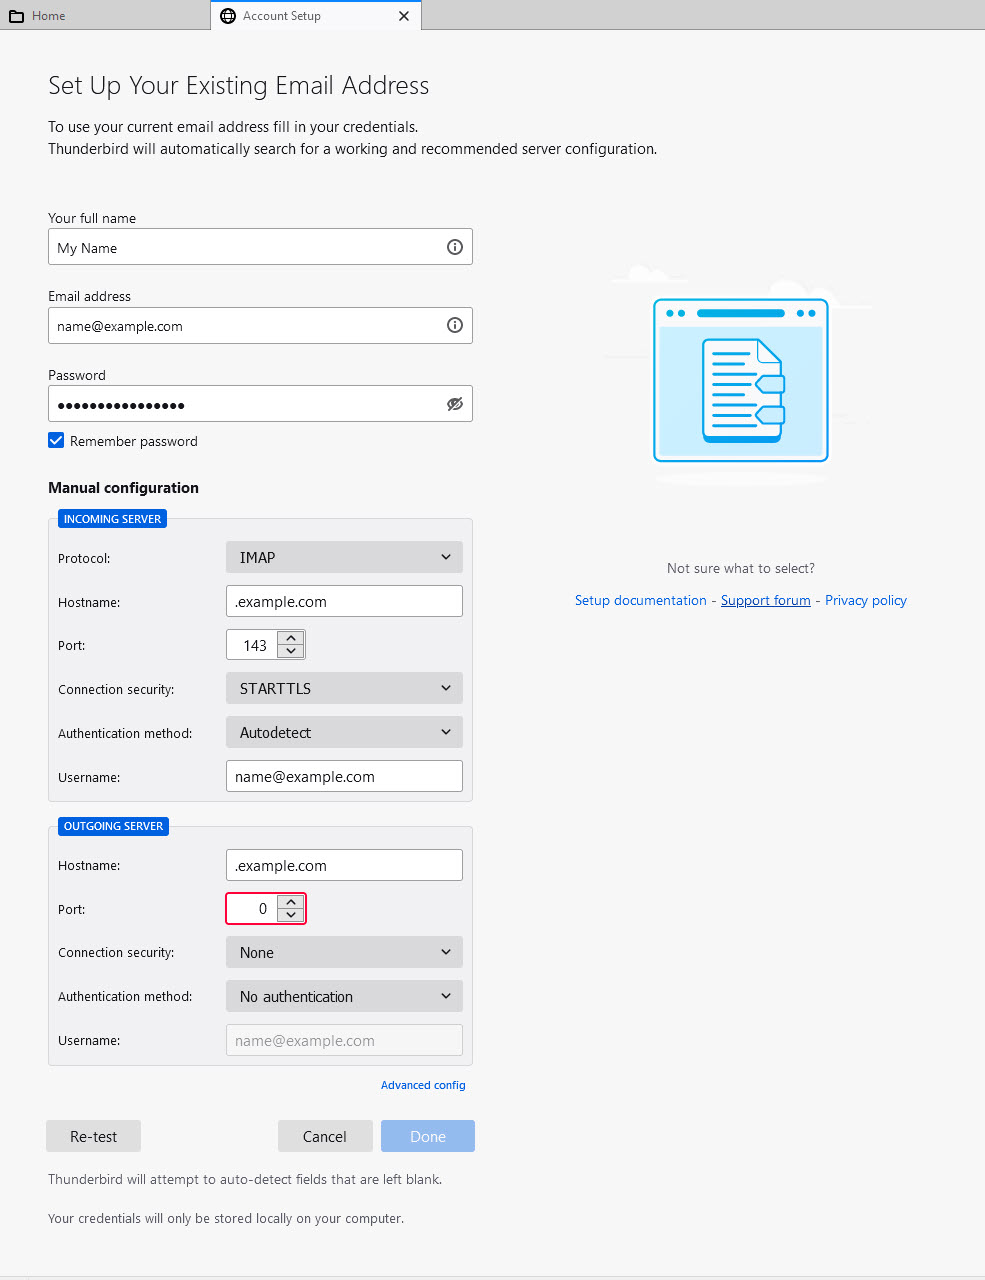
- Click Done.
You can also check Mozzila Thuderbird’s documentation: Set Up an Email.