Leech Protection
Leech Protect is not some sort of strange internet protection against the blood sucking worm (see Leech).
Whenever login details for a password protected directory are shared publicly,there is always a risk that the person will share these details with others. The Leech Protection service allows you to set a maximum number of logins within a 2 hour period. After the number of logins has been exceeded the system redirects or suspends theusers who exceed that maximum.
How to enable and manage Leech Protection in SiteAdmin
This demo assumes you’ve already logged in to SiteAdmin
Setup/Settings
1) Click the Security button from the left-hand menu, then click Leech Protect

2) To browse to a sub-folder, click the folder icon.

3) To add leech protect to a folder, click its name.

4) Enter the number of login you wish to allow per username.

5) Enter the URL you wish users to be redirected to when the account is disabled.

6) If you wish to receive an email when a user is redirected, enter it here.

If you choose not to disable an account, you may receive a lot of emails because by default you will get one email per attempt of site access. If the user tries many times, you will get many emails.
7) If you would like to disable compromised accounts, please check the indicated check-box.

8) Click Save Settings

Adding Users
1) Enter the username

2) Enter the password, or click Generate Password

3) Click Add New User

Removing Users
To remove a user, click the corresponding X next to their name.

That’s it, you are now protected against unlawful gains to your account.
How to enable and manage Leech Protection in cPanel
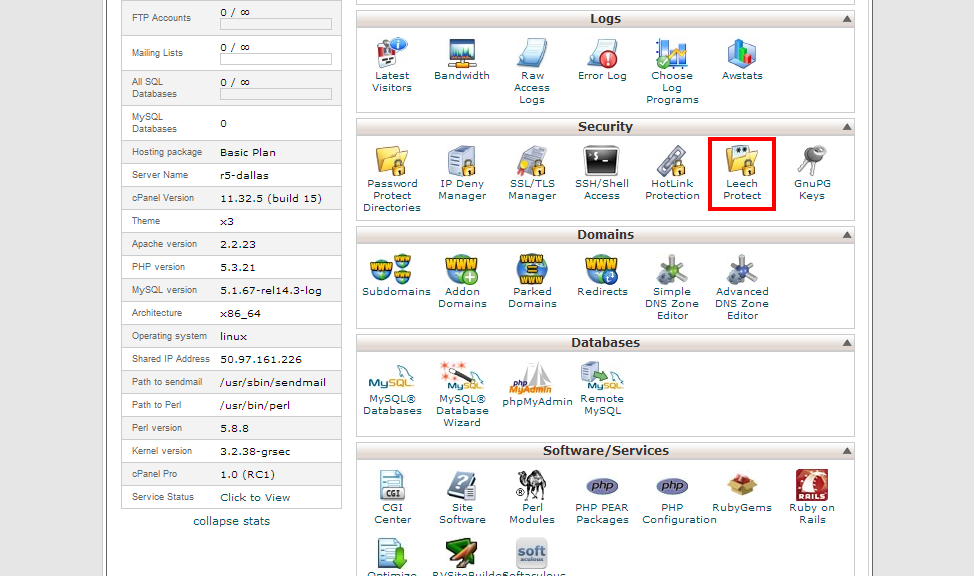
1) Click the Leech Protect button found within the Security section of cPanel
2) To browse to a sub-folder, click the folder icon.
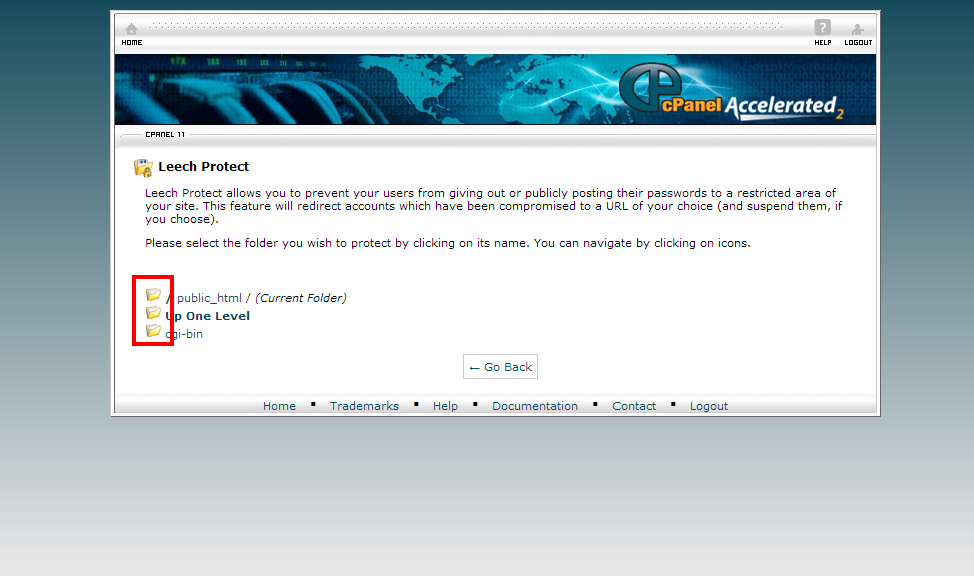
3) To add leech protect to a folder, click its name.

4) Enter the number of login you wish to allow per username.
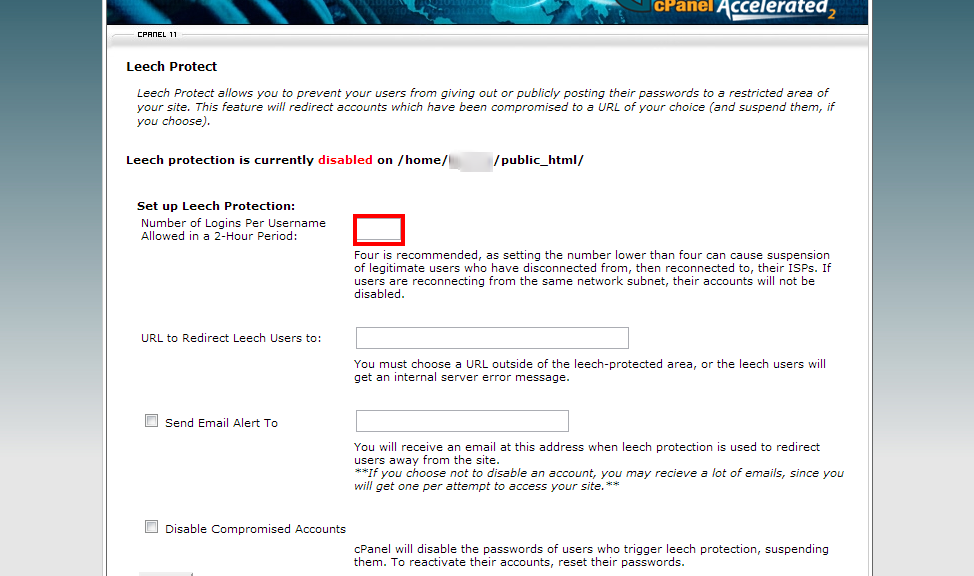
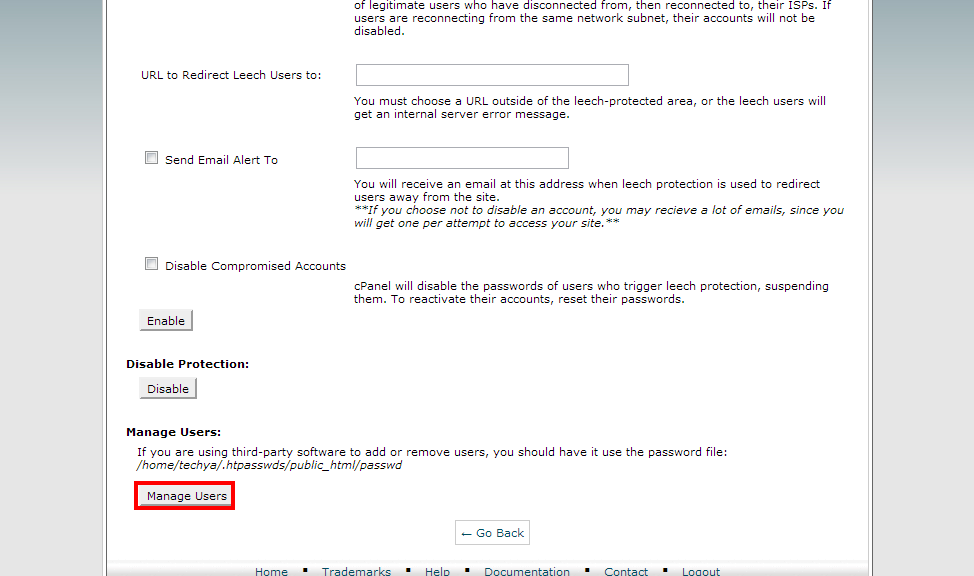
5) Enter the URL you wish users to be redirected to when the account is disabled.

6) If you wish to receive an email when a user is redirected, enter it here.
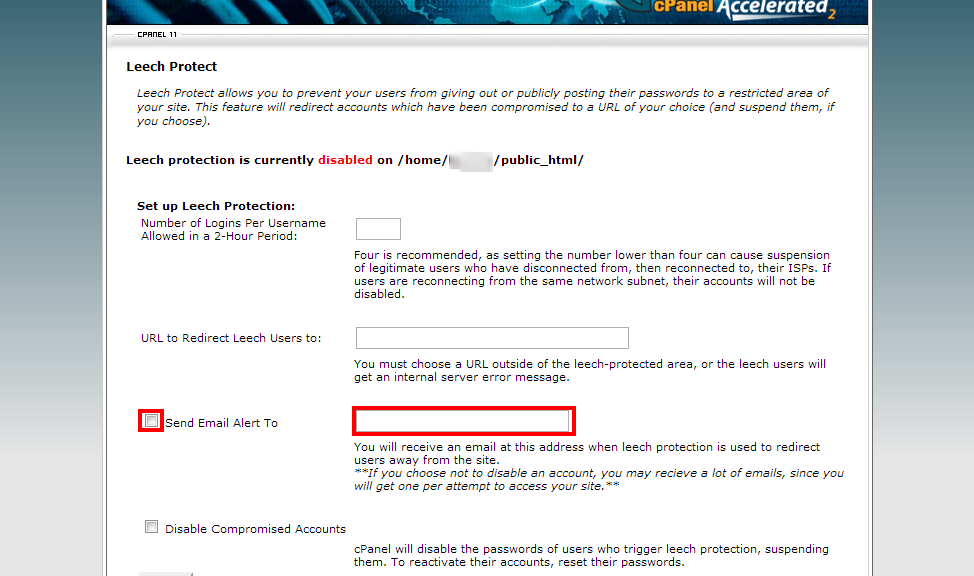
If you choose not to disable an account, you may recieve a lot of emails, since you will get one per attempt to access your site.
7) If you would like to disable compromised accounts, please check the indicated check-box.

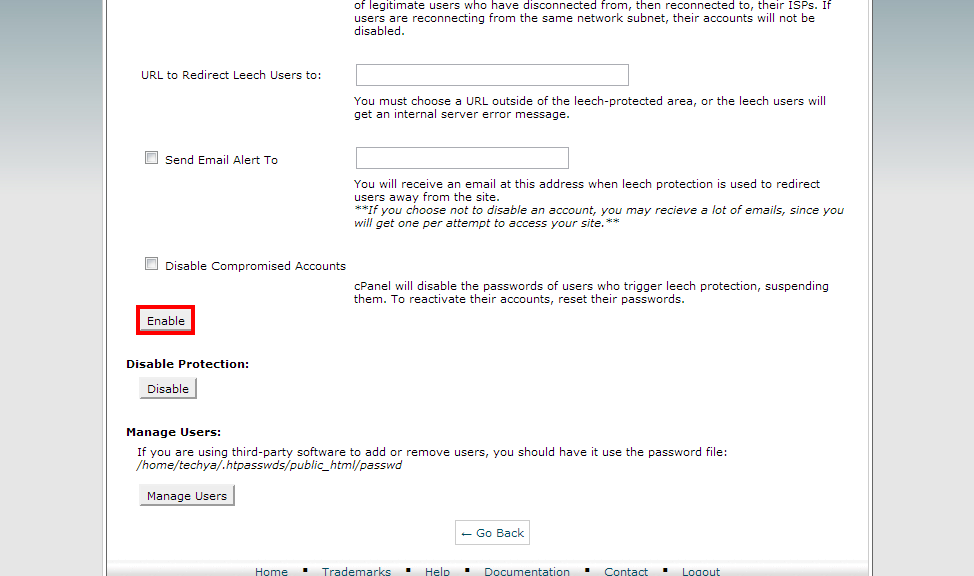
8) Click Enable
That’s it! You can disable Leech protection by clicking the Disable button.
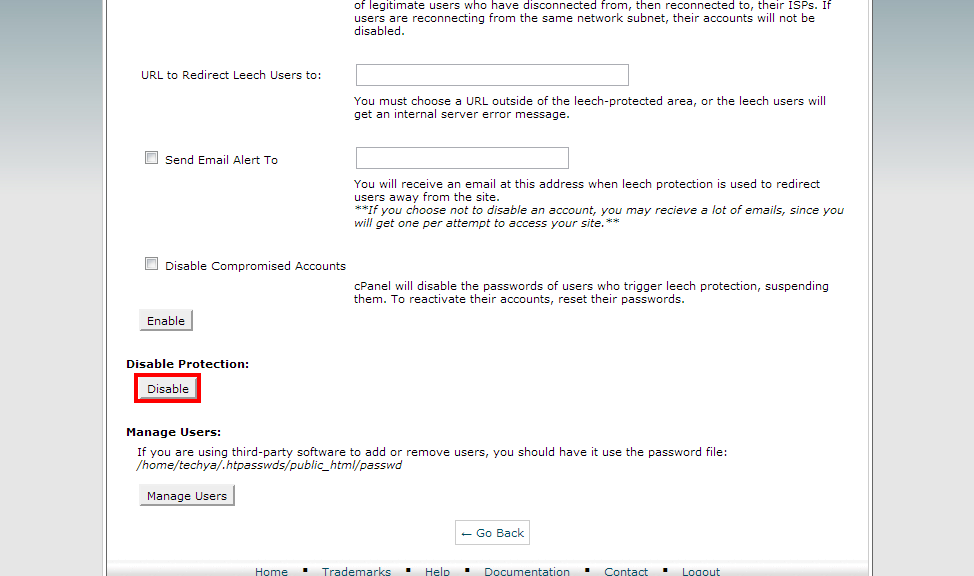
You can also manage users by clicking the Manage Users button.