How to create and manage backups
When major developments are slated for your website its encouraged for you to make a backup of the website before hand. Doing so will give you the ability to quickly restore your website to working status in the event that something goes wrong during the development.
Aside from the backup feature in your SiteAdmin/cPanel all of our shared and reseller hosting servers are backed up a nightly basis and the daily data is held for 7 days before being over-written. Our servers backup every night in the late night/early morning in the US EST zone, which means that any changes that have been made to accounts after the nightly backup process occurred will not be saved in our backup system until the next night.
The Backup feature within SiteAdmin and cPanel allow you to generate up to the minute backups of your site, and even allow for easy restoration yourself. Within the backup feature there is two types:
- Full Backup – This function is mainly used when you are moving your website to another cPanel based hosting provider. It can be also be used to back up everything on your account into a single file that in turn can be restored to restore your whole account to as it was when that backup file was created. This is again something that should only ever be used selectively. If you have a full backup file and you want to have it restored you will need to request it via this backstage form.
- Partial Backup – This function is the more useful of the two backup features. This feature allows you to generate up to the minute backups of key areas and allows allows to restore any backup file that you may have generated previously using it. The only restriction is that the upload and restoration of backups is that the backup file has to be 1GB or under and anything beyond that limit will need to be restored by our system administrators. This can be requested from the same backstage form.
Note: Backups that are generated using our SiteAdmin/cPanel interfaces should be downloaded to your personal computer or a 3rd party server after completion. Our servers are configured in such a way that it will remove any backup files that exist on an account after a period of 14 days. This is done to help protect you from encountering disk space overages as well it goes a long way to ensure that our hard drives have plenty of space for more of your great web content.
Manage backups In SiteAdmin
This article assumes that you are already logged into SiteAdmin.
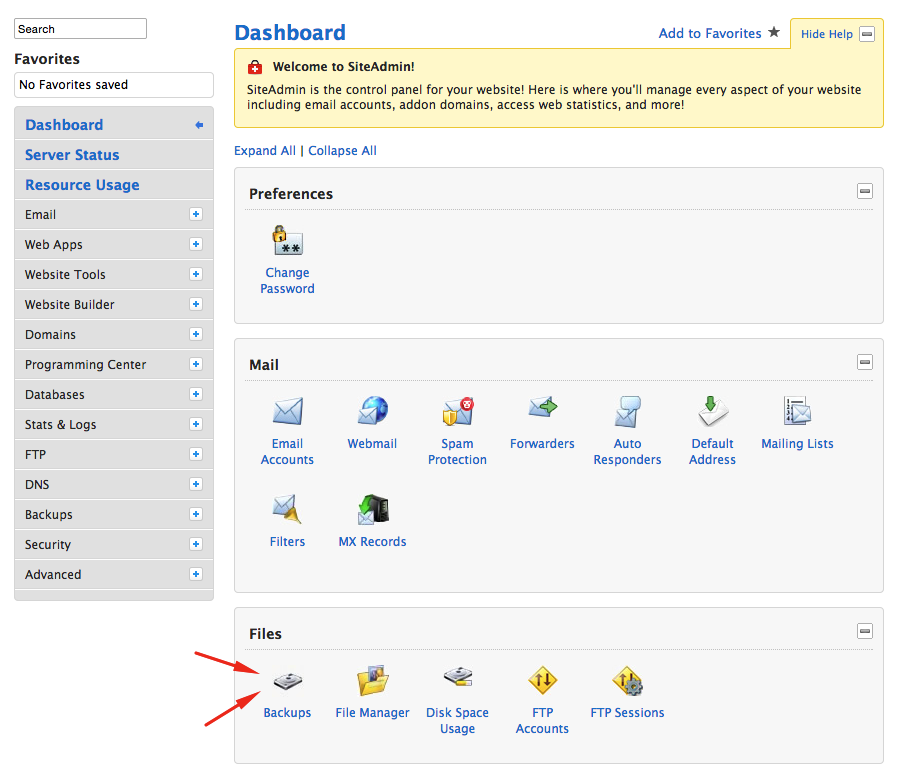
1) Select Backup from the main screen window.
You will now see an option for two types of backups that we read about earlier on in the guide. We will show you to generate a Full Backup and then a Partial Backup & Restoration.

Full Backup
2) Click the Generate Full Backup button

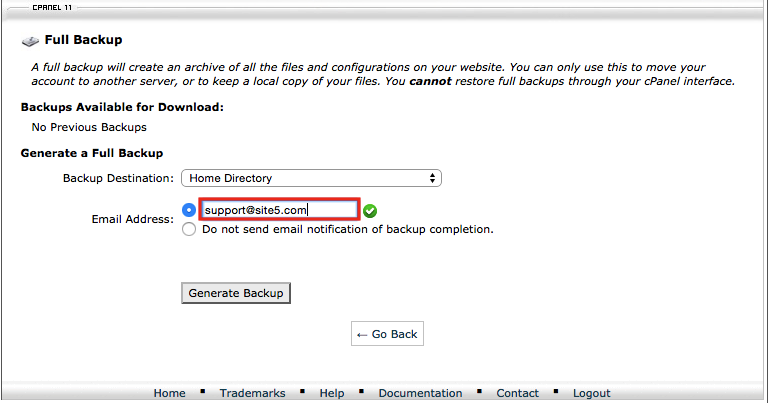
3) Select the destination for the backup. For this example, we are going to select Home Directory which means that it will place a copy of the backup file in the home directory of your account on our server.
If you wish to have this backup file be sent a remote server instead you would select either the FTP or SCP method from the drop down and then enter the necessary details for the remote server.

4) Enter your email address in the Email field which is the address that the backup system will notify if it encounters any errors or when it completes the process.

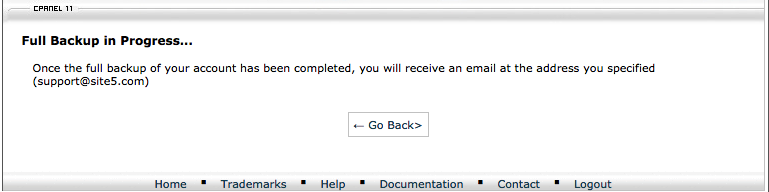
5) … then click Generate Backup. Depending on the size of your account this may take awhile. You will be notified via email when it has been completed.

6) Once you receive the email that your backup has been completed, simply refresh the Backup page within your SiteAdmin and you should now see a filename & link to download your newly created full backup to your local computer.

Thats it, your full backup is now all set for you! If you are moving to another hosting provider, you can simply provide them the backup file and you should be all set.
Partial Backup
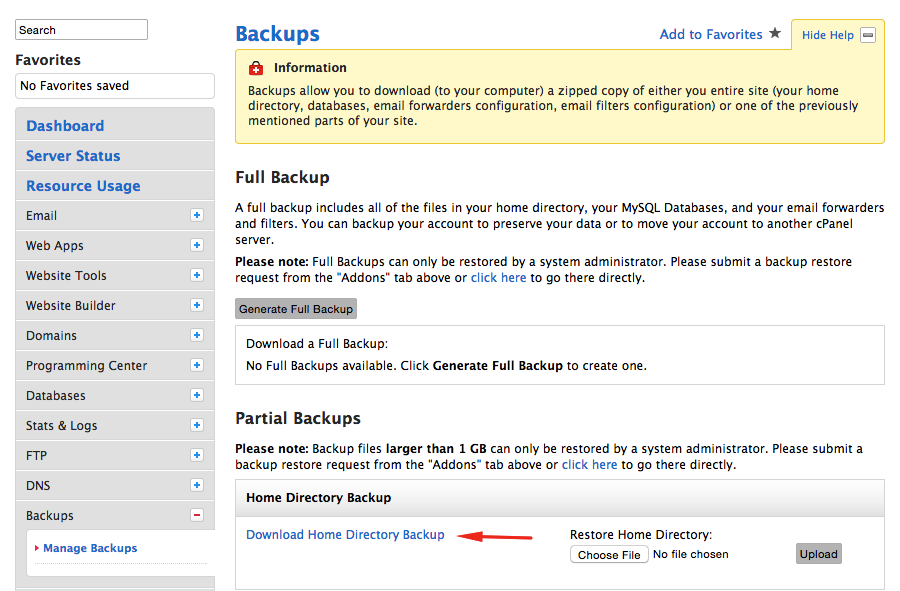
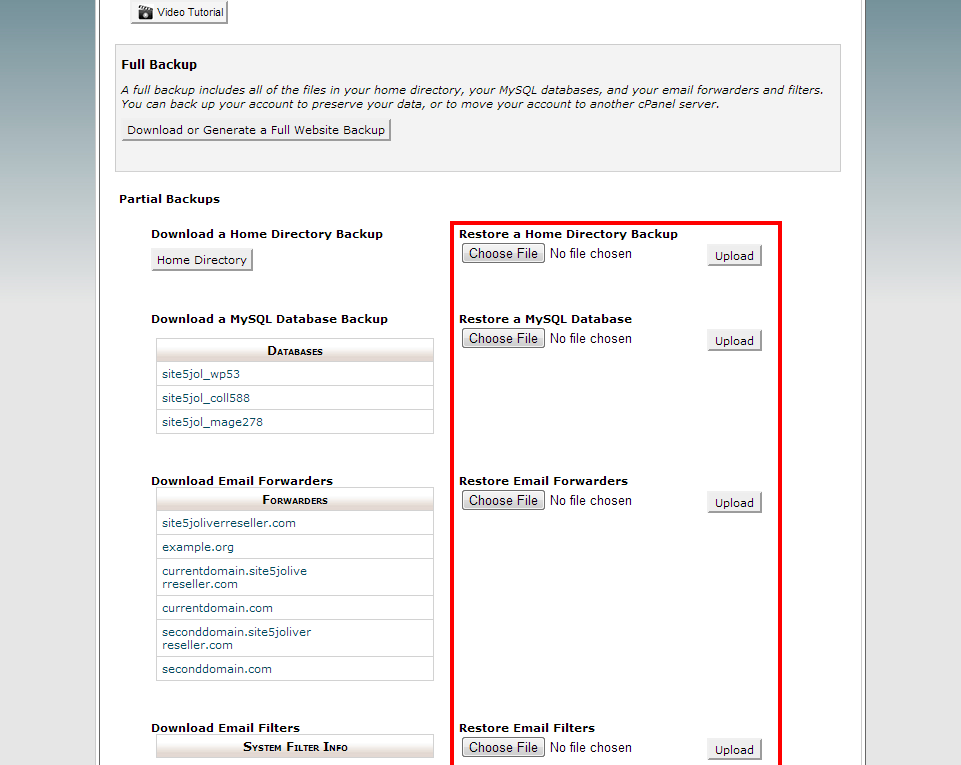
If you wish to only download a partial backup, you may click the download link corresponding to the type of backup you want. This will capture everything as it is at this moment.
- Home Directory – This will contain all your website files and some control panel configurations but no email.
- MySQL Databases – This will contain the individual MySQL databases that you have configured presently.
- Email/Forwarders – This will contain all of your email configuration including messages and forwarders.
1) For this example we will download a copy of the Home Directory. Click Download Home Directory Backup.
Fast forward to a few days later, you are working on your site and accidentally remove a file and now your site is broken. Good thing we have that backup, so lets see how to restore a home directory backup.
2) Since we deleted a file from our website, we would want to restore the home directory backup. Select Choose File and navigate to the location of the backup file on your computer.

3) Click Upload and when the upload process has been completed the restoration process will start right away. Please note that this may take some time and it is advised that you do NOT navigate away from this section of your SiteAdmin as it will cancel the process and you will have to start again.

Note: Backup files larger than 1 GB can only be restored by a system administrator. Please submit a backup restore request from the “Addons” tab above or click here to go there directly.
4) When the restoration process has been completed you will be notified on screen as depicted below.

Thats it! You now know how to backup your full account and how to backup and restore partial backups.
Manage backups in cPanel
This article assumes that you are already logged into cPanel.
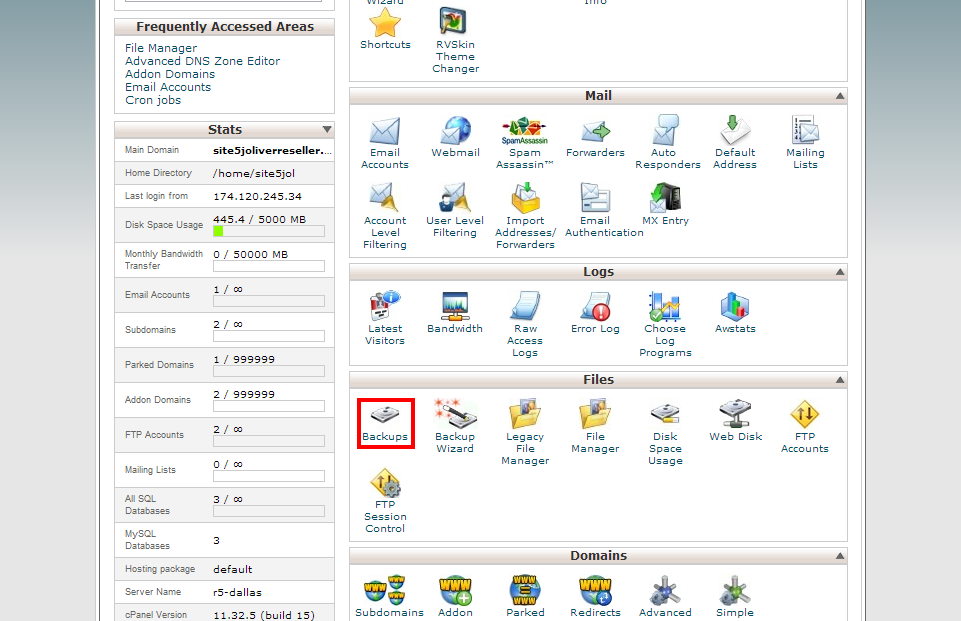
1) Click the Backups link from within the Files section of the panel.
You will now see an option for two types of backups that we read about earlier on in the guide. We will show you to generate a Full Backup and then a Partial Backup & Restoration.
Full Backup
2) Click the Download or Generate Full Download Backup button.

3) Select the destination for the backup. For this example, we are going to select Home Directory which means that it will place a copy of the backup file in the home directory of your account on our server.
If you wish to have this backup file be sent a remote server instead you would select either the FTP or SCP method from the drop down and then enter the necessary details for the remote server.
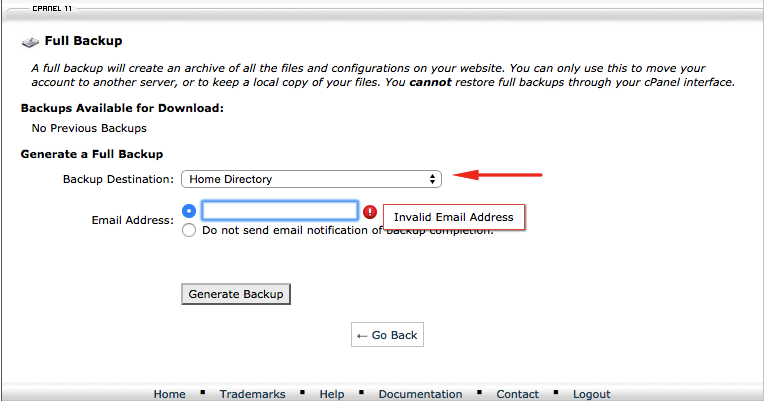
4) Enter your email address in the Email field which is the address that the backup system will notify if it encounters any errors or when it completes the process.
5) … then click Generate Backup. Depending on the size of your account this may take awhile. You will be notified via email when it has been completed.
6) Once you receive the email that your backup has been completed, simply refresh the Backup page within your SiteAdmin and you should now see a filename & link to download your newly created full backup to your local computer.

Thats it, your full backup is now all set for you! If you are moving to another hosting provider, you can simply provide them the backup file and you should be all set.
Partial Backup
If you wish to only download a partial backup, you may click the download link corresponding to the type of backup you want. This will capture everything as it is at this moment.
- Home Directory – This will contain all your website files and some control panel configurations but no email.
- MySQL Databases – This will contain the individual MySQL databases that you have configured presently.
- Email/Forwarders – This will contain all of your email configuration including messages and forwarders.
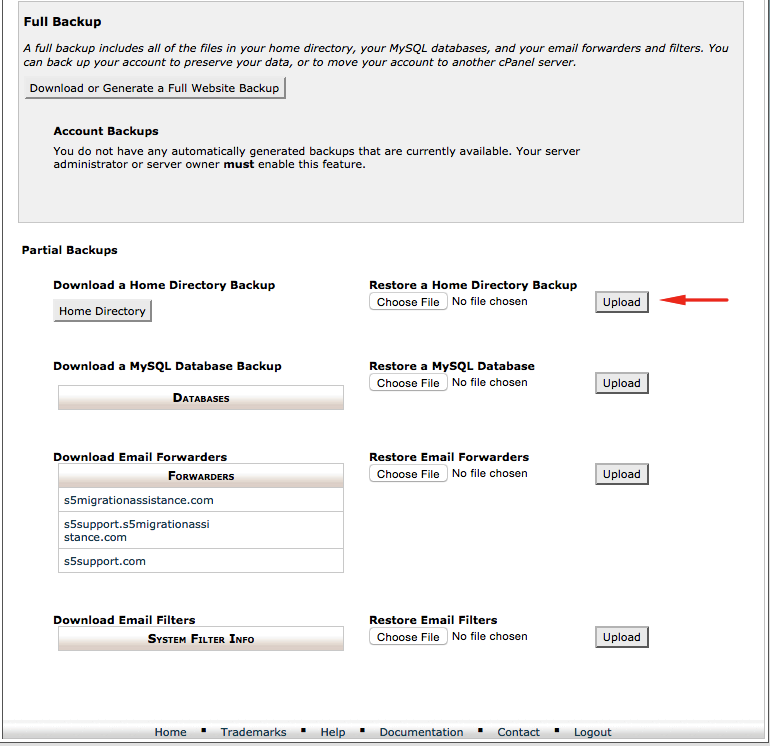
1) For this example we will download a copy of the Home Directory. Click the Home Directory button.

Fast forward to a few days later, you are working on your site and accidentally remove a file and now your site is broken. Good thing we have that backup, so lets see how to restore a home directory backup.
2) Since we deleted a file from our website, we would want to restore the home directory backup. Select Choose File and navigate to the location of the backup file on your computer.
3) Click Upload and when the upload process has been completed the restoration process will start right away.
Note: that this may take some time and it is advised that you do NOT navigate away from this section of your SiteAdmin as it will cancel the process and you will have to start again.
Note: Backup files larger than 1 GB can only be restored by a system administrator. Please submit a backup restore request from the “Addons” tab above or click here to go there directly.
4) When the restoration process has been completed you will be notified on screen.
That’s it! You now know the basics of how to create/restore backups.
Larry Skelly September 28, 2013 at 8:44 pm
I want to automate a weekly backup, for peace of mind. How?
John Oliver at Site5 October 8, 2013 at 1:49 pm
Hello Larry,
I hope this reply finds you well!
Unfortunately, there is currently no way to automate SiteAdmin backups using the online control panel.
However, there are ways of doing this via SSH as well as using 3rd party tools found on the internet.
Please keep in mind that most of our services (minus VPS customers who have opted out of our backup solution) are automatically backed up on your behalf and up to 7 days of backups are available.
If you are interested in doing your own off site backups, there are 3rd party services that you may find helpful. A search in your preferred search engine for “cpanel cron backup” may return some results that you may find helpful.
If you have any questions, please feel free to leave a comment here, or if you prefer, you can contact our support team directly by opening a ticket through Backstage.
Happy Hosting!