CloudFlare: How To Enable CloudFlare
CloudFlare integration enables websites to harness the power of the CloudFlare network to deliver the best possible performance, and to provide enhanced security and protection from attackers. CloudFlare also generates in-depth stats and threat analysis. There is a few ways to activate the service, depending on which of our control panel softwares you are using.
Installing CloudFlare Via SiteAdmin
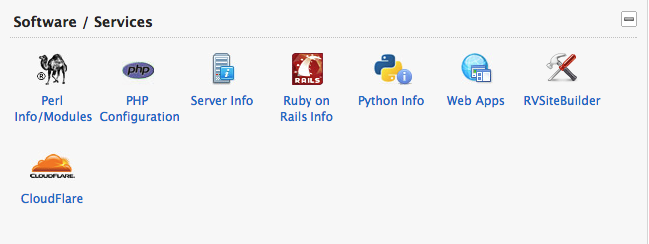
1) You will log into the SiteAdmin for the website that you wish to have the CloudFlare service enabled for. Once logged into the SiteAdmin scroll down to the “Software / Services” section and select the CloudFlare icon.
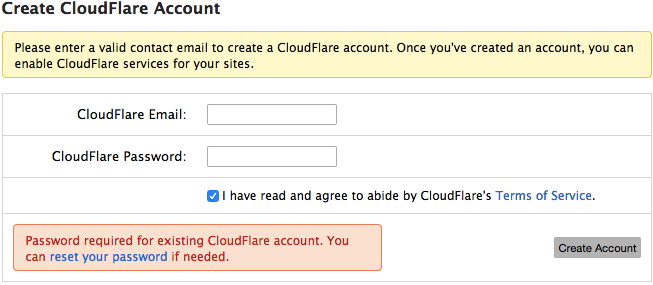
2) Enter a email address that you wish to use for CloudFlare. This address will be used as the main login username on the CloudFlare website, where you can view advanced information about what is occurring on your domain.

3) Place a check mark in the box accepting the terms of service and click Create Account
4) If you already have a CloudFlare account created with the email address you are trying to use, you will encounter an error and you will be asked to enter the password for the CloudFlare panel. If you do not know this password you can request a reset via the forgot password link.
5) If the email address wasn’t already used, clicking Create Account will do just that, in that it will create the account on CloudFlare.com for you. You will receive an email with some details of the new service you activated.
6) You can now simply select the Activate button and it will fetch your DNS zones and make the necessary adjustments to configure CloudFlare for use on your domain.
You’ll get a couple of emails from CloudFlare – one to confirm that your account has been set up, and another to confirm that the site has been added. Please note that until the second email arrives, the domain hasn’t been added to the account, so it won’t appear when logging into CloudFlare. No further action is required; after a few minutes the website will appear in the account.
Thats it, your domain is now fully configured for CloudFlare service!
Installing CloudFlare Via cPanel
To enable it, log into cPanel (http://www.yourdomain.com/cpanel), and click on the CloudFlare icon in the ‘Software/Services’ section. The icon to click on resembles this one :

In order to use CloudFlare services, a CloudFlare account is required. To create one, just enter your email address into the ‘Your Email’ field and click ‘Signup Now!’. If you already have a CloudFlare account, enter the email address for the account into the Your Email field, click ‘Signup Now!’ and a login box will appear:

Once you’re logged in, CloudFlare can be activated for the site by clicking the cloud icon next to the domain. The icon will first be grey, and then turn orange when activated. They will look like the following 2 icons :
Deactivated :

Activated :
It’ll take a few seconds to activate, but once the grey cloud goes orange that’s it – there’s no further action required. All the required changes, including DNS, are handled automatically. You’ll get a couple of emails from CloudFlare – one to confirm that your account has been set up, and another to confirm that the site has been added. Please note that until the second email arrives, the domain hasn’t been added to the account, so it won’t appear when logging into CloudFlare. No further action is required; after a few minutes the website will appear in the account.
Installing CloudFlare Via Their Website
If you would like to setup CloudFlare manually using the CloudFlare website you can follow the tutorial in this article.
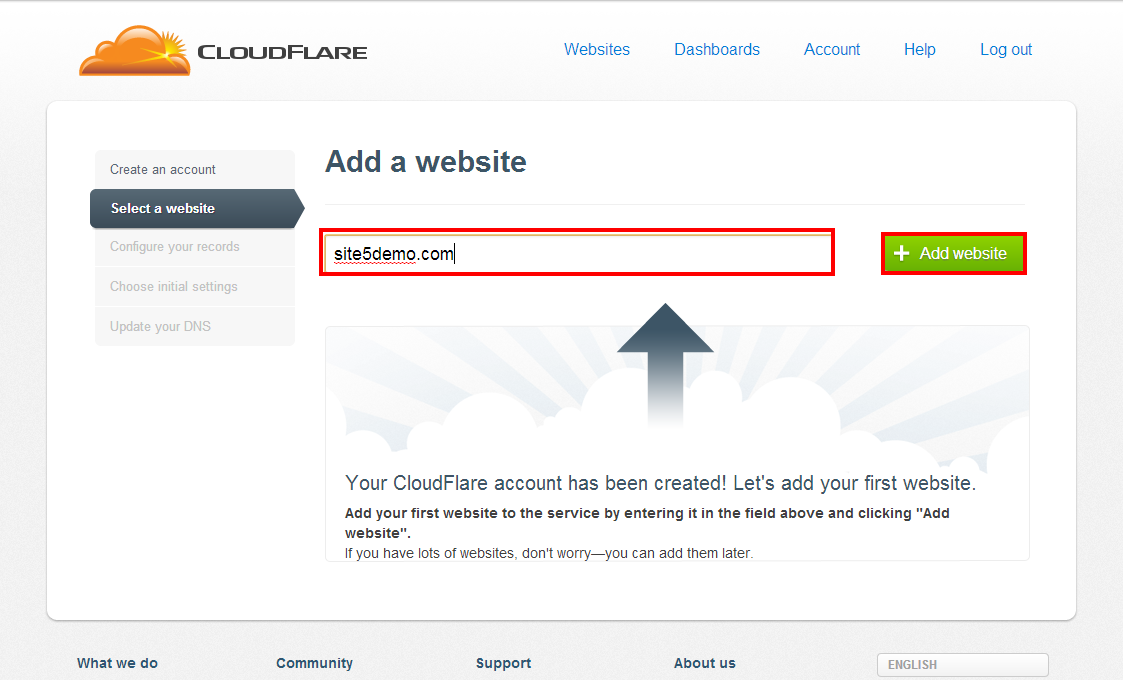
1) Visit CloudFlare and create an account.

2) Enter the website you wish to add CloudFlare to and click Add website
3) Watch the introduction video while CloudFlare attempts to pull your current DNS information. Once the scan is complete, click continue.

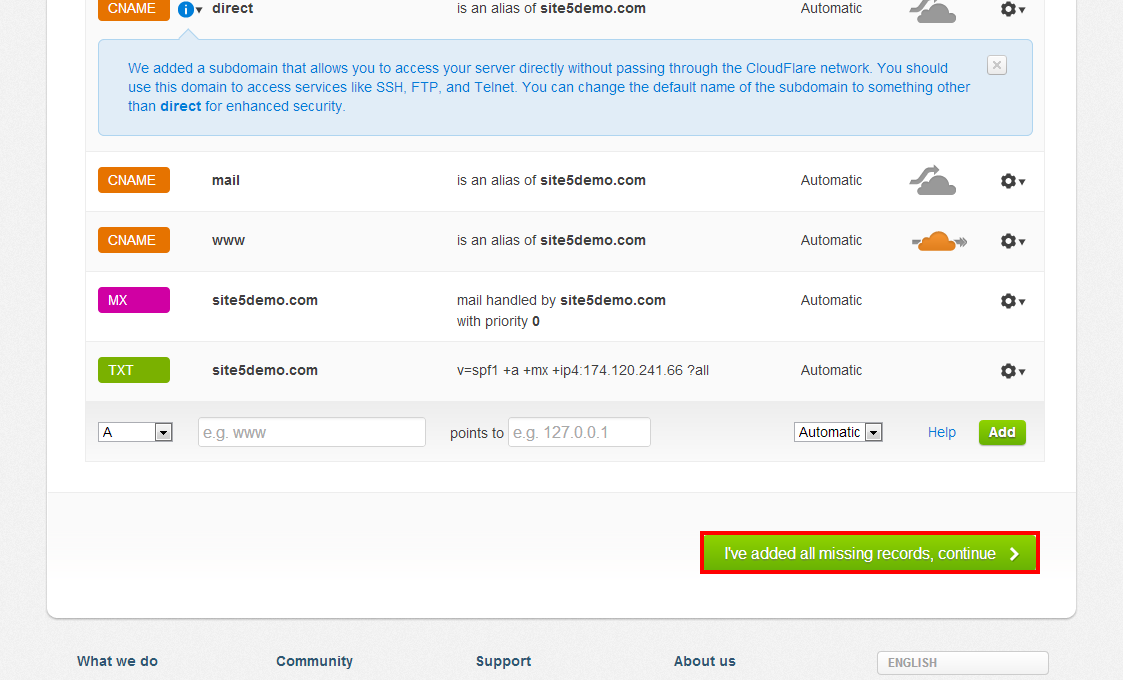
4) Check your DNS entries and ensure that all the records you need are included. If you see any missing ones, you can add them at the bottom of the page. Once done, click the “I’ve added all missing records, continue” button.
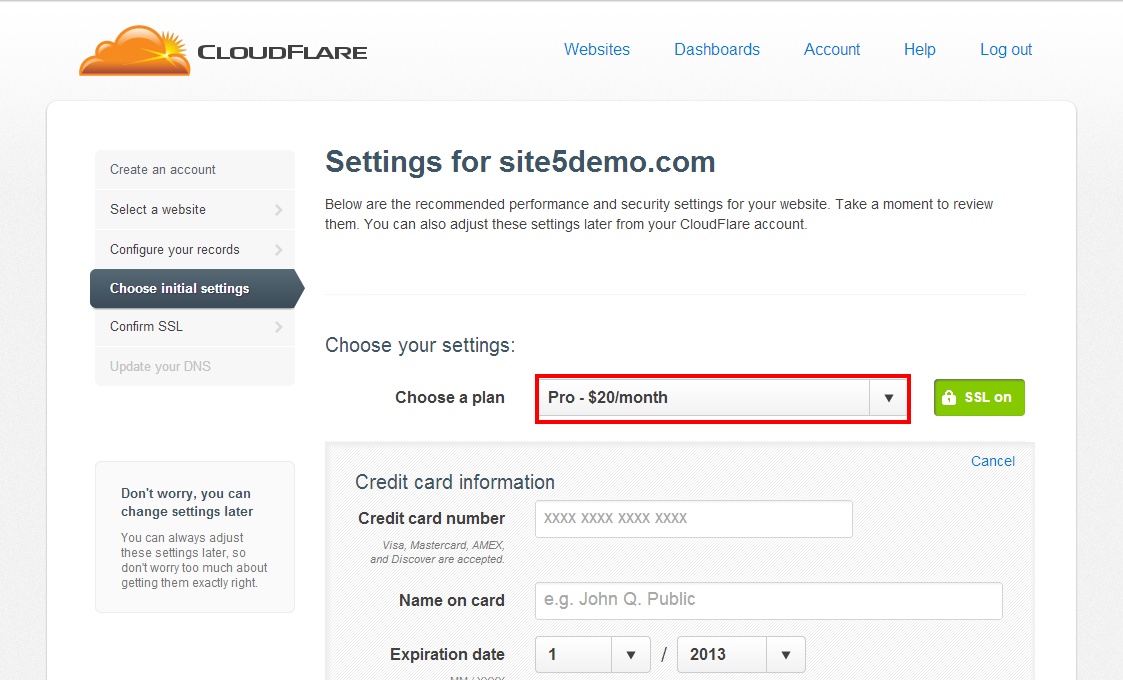
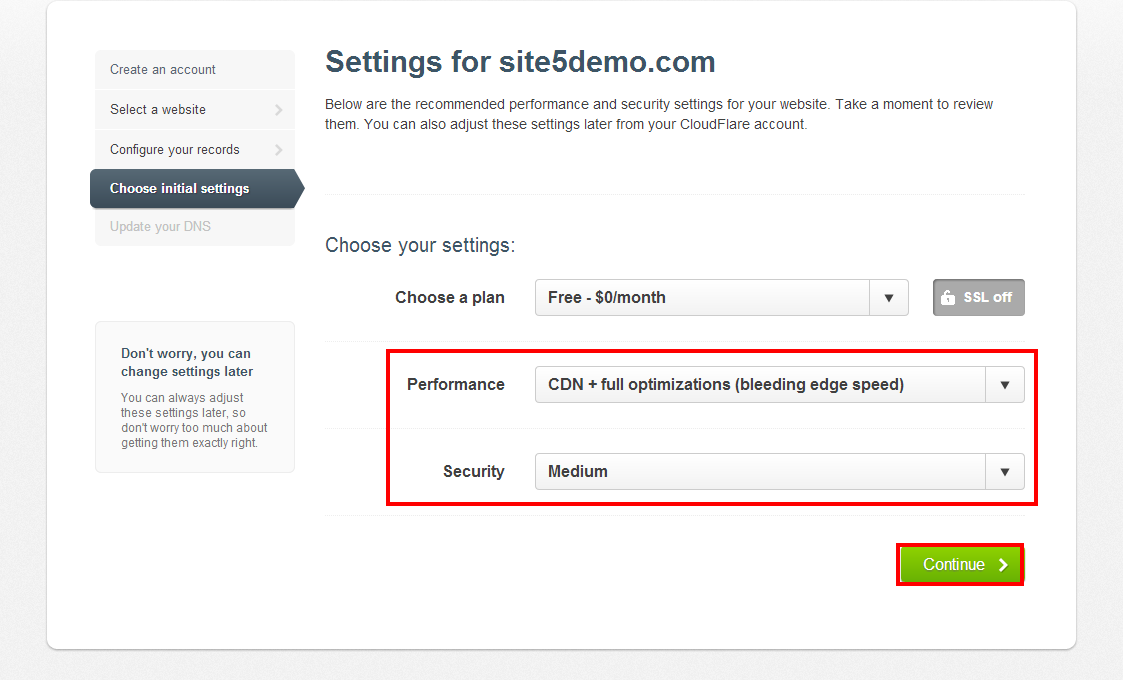
5) Select the plan you wish to use. For this article, we will use the free plan. If you pick any other plan, you will be asked for payment information on this page.
6) Select the type of performance and the security level you wish to use. Once finished, click continue.
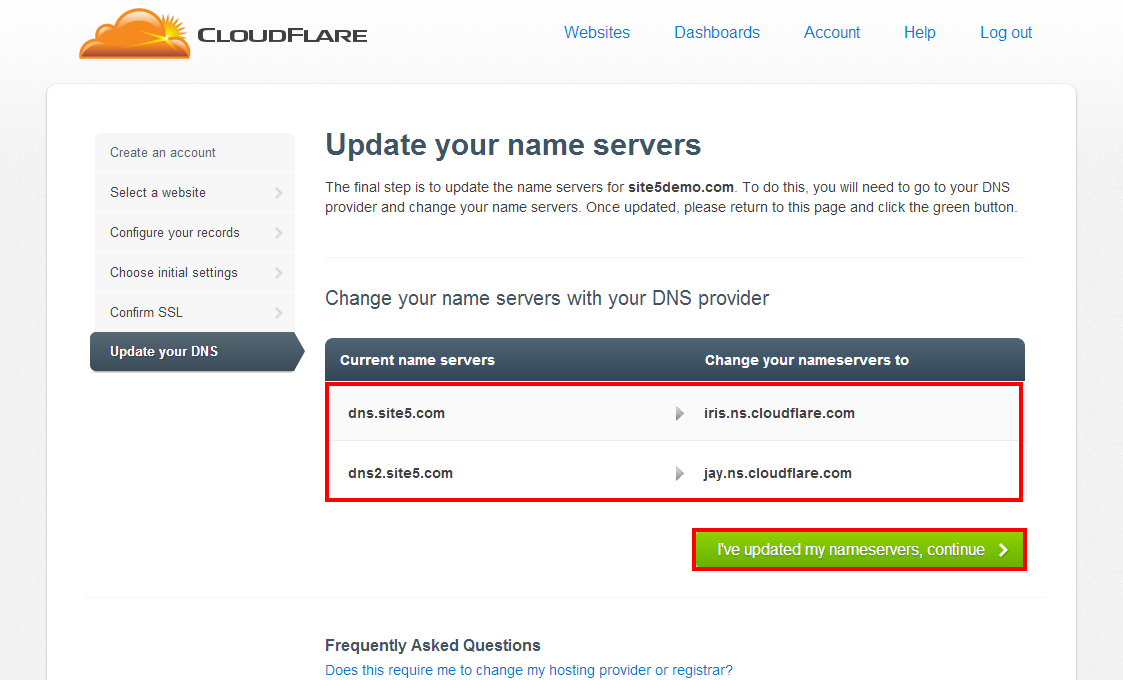
7) You will now be prompted to update your domains DNS name servers. You can do this by vising your domain registrar. Once you have updated your name servers, click continue.
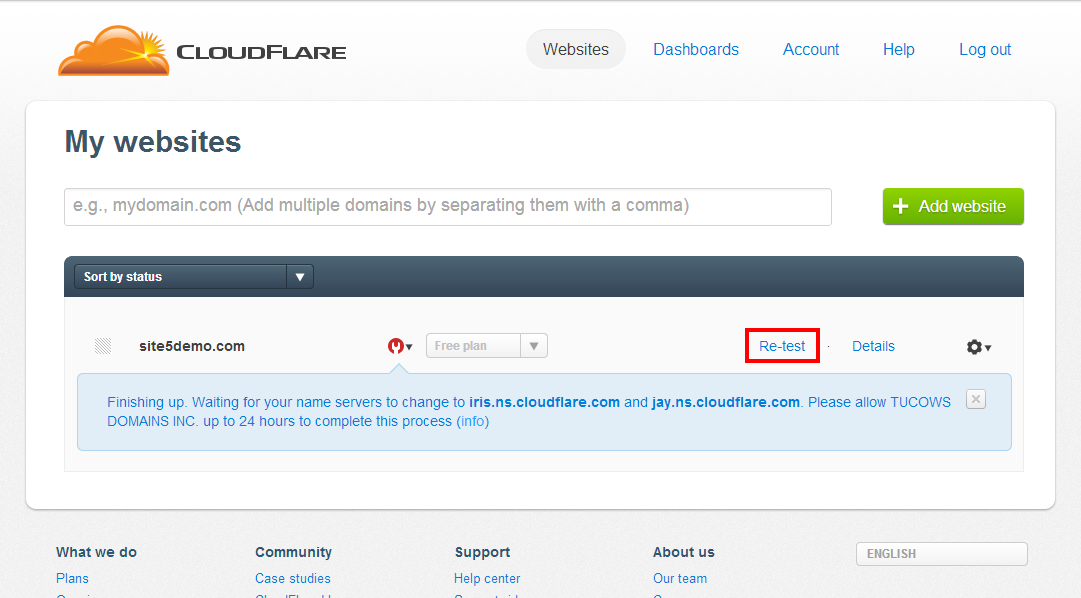
That’s it! Please keep in mind that it can take time for the DNS name server changes to be picked up by CloudFlare. If CloudFlare does not pick up the changes right away, you can request that they “re-test” the account from the websites tab of your CloudFlare account.
Chris Borgman May 30, 2015 at 2:23 am
What’s the difference/benefit of installing from SiteAdmin vs. Cloudflare’s website?
If installing from SiteAdmin is it possible to get Couldflare’s speed and security for all subsites of a multisite WP install without having to manually add them one at a time?
James Davey June 1, 2015 at 5:20 am
Hi Chris,
There is no real difference in the service you end up with, no. Enabling it via SiteAdmin is simply a convenience. If you have multiple sites, you will need to do this in SiteAdmin for each one, one at a time.
Stephen June 16, 2015 at 5:12 am
Hi, will the existing subdomains that i have created be supported by cloudflare automatically?
If i add new subdomains in future, will cloudflare be able to detect ?
James Davey June 16, 2015 at 5:30 am
Hi Stephen,
As long as the subdomains and DNS are set up properly, everything should work automatically, and new subdomains get picked up.
Chris Borgman June 16, 2015 at 10:07 am
Will someone PLEASE give a detailed explanation of how Cloudflare works with WP Multisite installs????
Here’s what I understand, correct me if I’m wrong: If I activate Cloudflare from their website I have to add each subdomain created by my WP multisite install in to their system. Cloudflare itself can not do wildcard domains. This was what I did for domain: lightboxlive.com.
At one point, I was told by Site5 tech support, it was better to activate using the Site5’s SiteAdmin because Site5 DOES support wildcard domains created by WP multisite so that means I would NOT have to enter each new WPMU subsite as an A Record in order to get Cloudflare protection and speed. Is this correct?
If this is not correct, I would actually have to manually add every WPMU subdomain subsite?
Thank you!
Mark McQuaid June 16, 2015 at 11:36 am
Hi Chris,
Great Question! By default Cloudflare will NOT proxy itself on wild card sub domains unless you are willing to pay them to use their upgraded service.
There is ways around this since CloudFlare WILL pick up new CNAMES but NOT new A records (which is what is created by default when you make a sub-domain). So to get around CloudFlares situation is you create your wild card sub-domains as normal, then create CNAMES (like adding www) for the domains. Then lastly you simply redirect all content to these CNAME based URL’s.
The alternative to the above solution is to use the various WordPress plugins out there to automatically add your new sub-domains to CloudFlare on your behalf.
Hope this helps!
Daniele February 24, 2016 at 1:56 am
What’s the right configuration if I use a bare domain? http://domain.xyz without www.
I setup via Cpanel and now www is a CNAME pointing to Cloudflare, but the bare domain is pointing directly to the site5 server.
In this configuration cloudflare is by-passed….
What’s the right way to configure it?
James Davey February 24, 2016 at 5:32 am
The www CNAME is required for DNS RFC compliance, but you should be able to add your domain name, without www, to the CloudFlare interface directly. It can’t be done through the tools in Cpanel, I believe, but you should have access to a CloudFlare account with this, and can add it there.