Unmanaged VPS: How to Change the Operating System
In this article, we will show you how to change the operating system on your unmanaged VPS server.
Please Note: When changing the operating system, your login credentials do not change. That means once the operating system change is finished, you can use the same root password you did before to login.
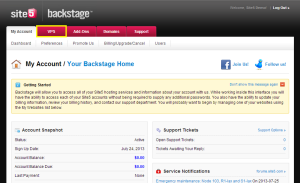
1) Login to Backstage
2) Click the VPS tab located at the top of the page.
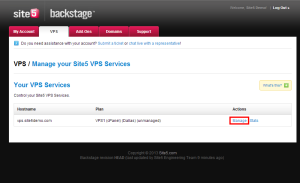
3) Click the Manage link for the VPS you want to modify
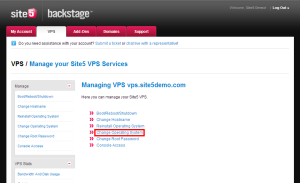
4) Click the Change Operating System link
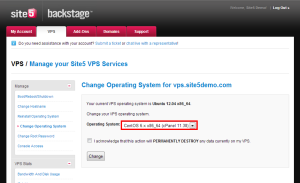
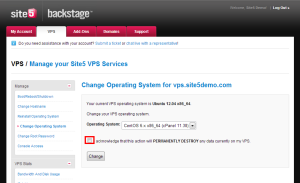
5) Select the Operating System you wish to use
6) Check the box confirming that you understand that all data on the server will be destroyed (deleted) during this process.
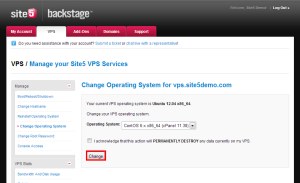
7) Click the Change button
That’s it! You now know how to change your server’s operating system.

