Logs: Add a Google Analytic tracking code to your WordPress website
With WordPress you can add the Google Analytics via two different methods. The first method is a using the official Analytics WordPress plugin and the second is manually inputting it into your template.
Plugins
1) Login to the WordPress admin panel
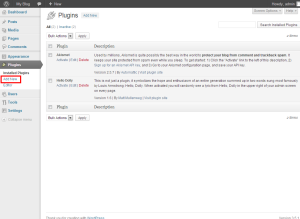
2) Click the Plugins option from the left menu
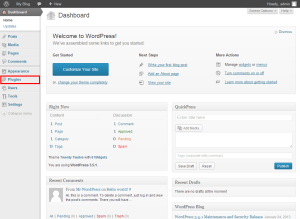
3) Click the Add New link in the left menu
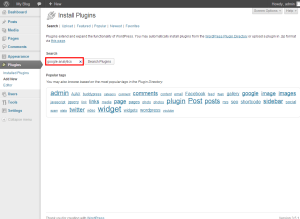
4) Type Google Analytics in the search box, then press search plugins
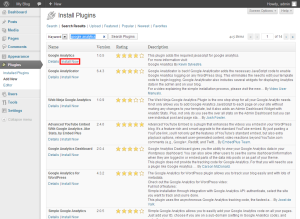
5) Locate the Google Analytics plugin, then click install now
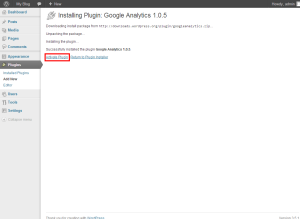
6) Once the plugin has been installed, click activate plugin
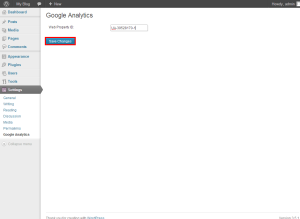
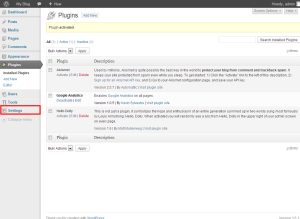
7) Click the Settings menu from the left-hand menu
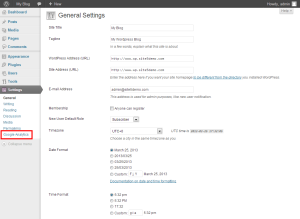
8) Click the Google Analytics sub menu
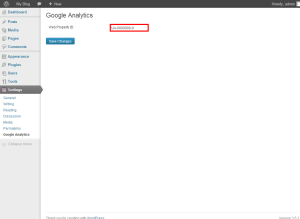
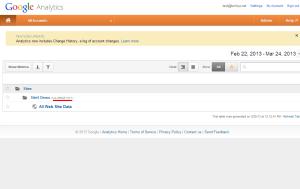
9) Enter the Web Property ID. This can be located on your Google Analytics account next to your website name.
That’s it! You should start to see tracking information for this website within 24 hours.
Theme Editor
In this article, we will show you how to add the needed code for Google Analytics using the built in Theme Editor in WordPress.
For this article, we will assume that you already have the tracking code and a copy of WordPress setup.
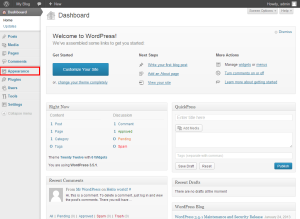
1) Login to the WordPress admin panel.
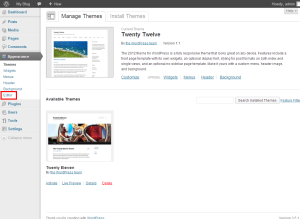
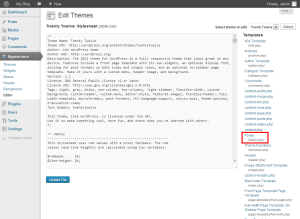
4) Select the footer file from the right hand file list
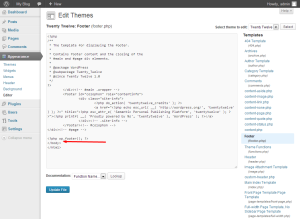
5) Locate the </body> (normally at the bottom) in the code and place your tracking code right above it
6) Once the code has been added, click Update File
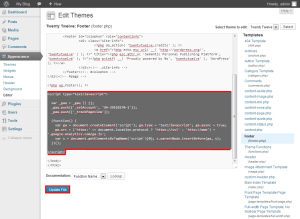
That’s it! You should start seeing tracking information on the Google Analytic website within 24 hours of making this change.

