WordPress: How to Change the Database Table Prefix
In this article, we are going to show you how to rename your database table prefix. Changing away from the default wp_ can help prevent some of the more basic attacks used against WordPress sites. However, this should not be the only step you take to secure your WordPress site, please see our other WordPress security articles for more security options.
For this article, you will need access to your account via FTP. You will also need access to phpMyAdmin.
Please note: While you make these changes, your WordPress site may become unavailable. It is recommended that you do this when your site has the least amount of traffic (normally at night). It is also HIGHLY recommended that you make a backup of your site before starting this process.
Because WordPress comes out with updated versions; these steps may not be accurate for future releases. We are not responsible for any damage or downtime caused by you attempting this process. This process was tested successfully on a manually installed WordPress site running version 3.5.
- 1) Connect to your account using your preferred FTP or sFTP client.
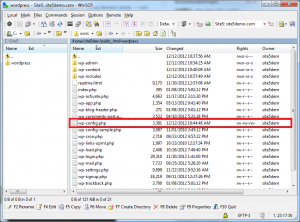
- 2) Browse to the base of your WordPress install.
- 3) Open wp-config.php so we can edit its contents.
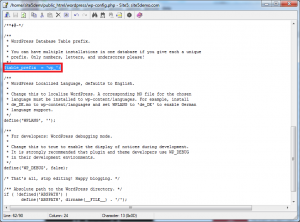
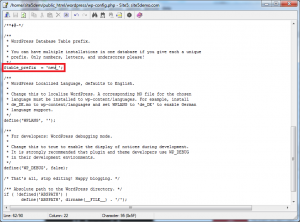
- 4) Locate the “$table_prefix = “ line and replace the current prefix (normally ‘wp_’) with the new one you wish to use. Make sure you keep the single quotes intact.
- 5) Open phpMyAdmin and access the database your WordPress site uses.
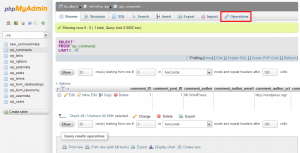
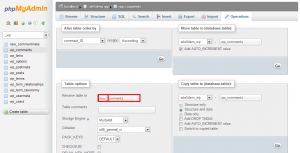
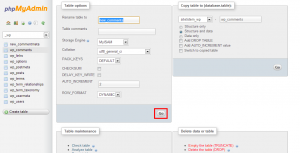
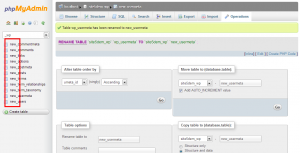
- 6) You will need to do the following on each table that WordPress uses:
- 7) Once you have renamed all the tables, open the *_options table (where * is the new prefix you changed it to).
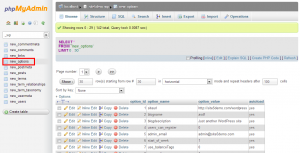
- 8) Locate the row that has “wp_user_roles” in the options_name column. Once you have located it, click the edit button.
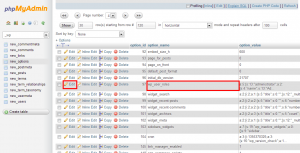
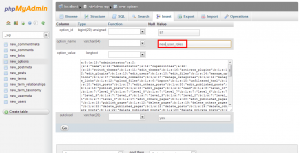
- 9) Change the prefix to the new prefix you want to use. (e.g wp_user_roles would be changed to new_user_roles).
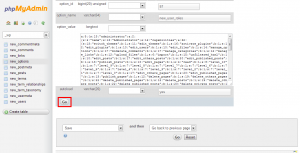
- 10) Click Go
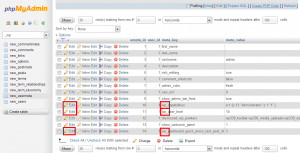
- 11) Now open the *_usermeta (again where * is the new prefix you are using)
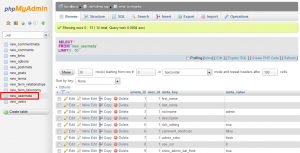
- 12) Change all rows that start with the old prefix (normally wp_) so that the new prefix is used. There are normally only a handful of rows that start with the old prefix.
- 13) Check your site and ensure that it functions correctly. If it does not, check each step again to make sure that everything was changed correctly.
Remember that the new prefix you use needs to be the same across all the changes. For example, if you pick “new_” as your prefix, you MUST use “new_” for all the changes. If you do not, you risk breaking your WordPress install.

