Drupal: How to manage blocks
This tutorial assumes you’ve already logged in to Drupal
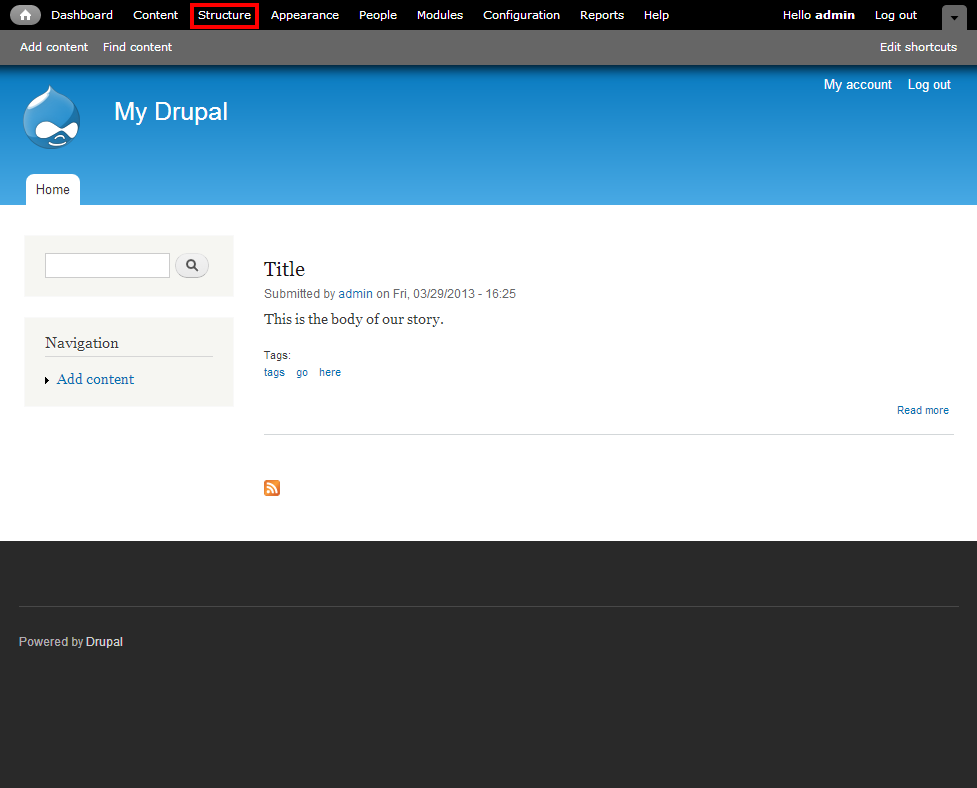
1) Click the Structure link
Now let’s learn how to manage blocks
2) Then click the Blocks link

This is the Blocks management page
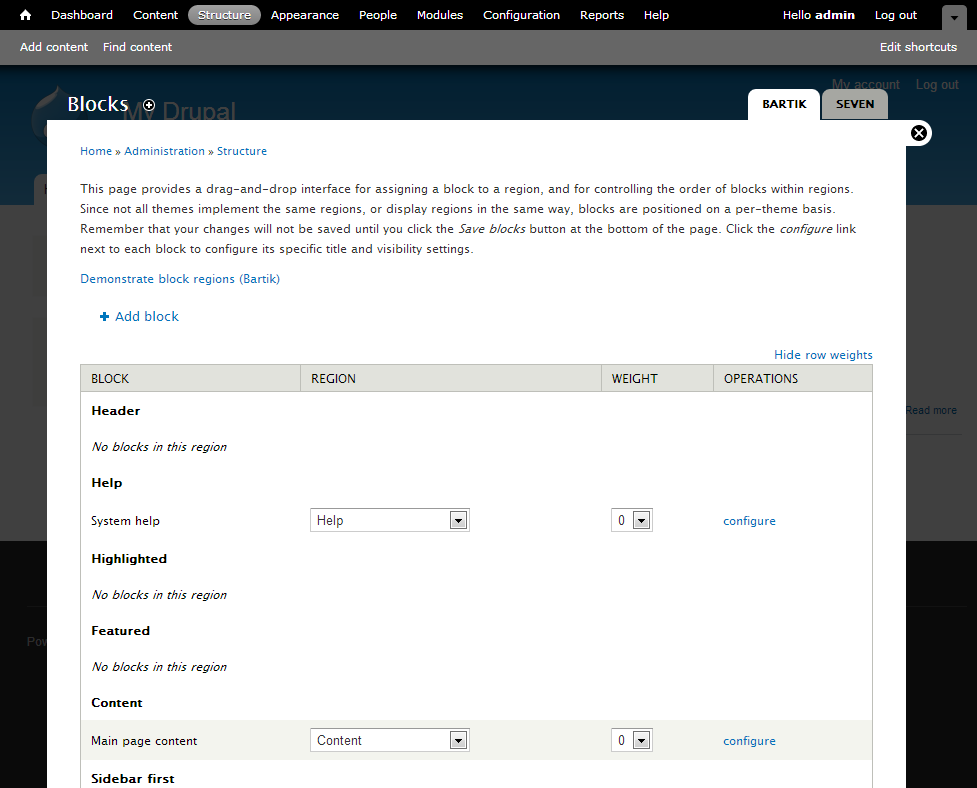
Blocks are boxes of content that can be arranged and displayed in certain areas of your web page
3) Click the Add block link

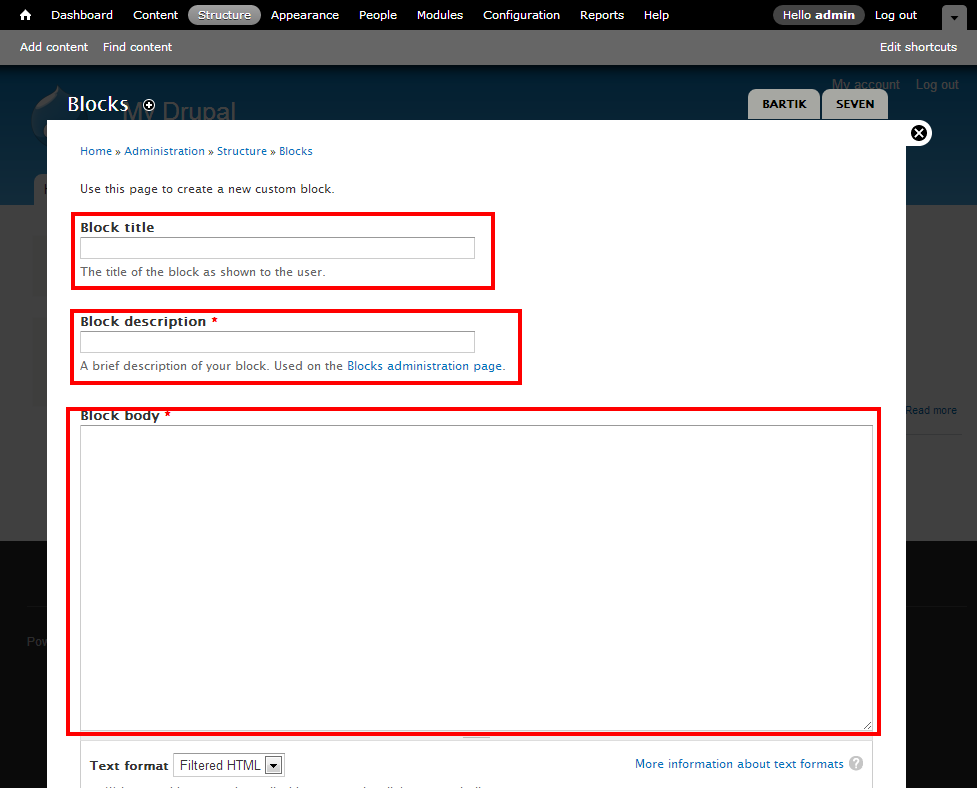
4) Enter the Block description, title, and body here
5) Click Save block
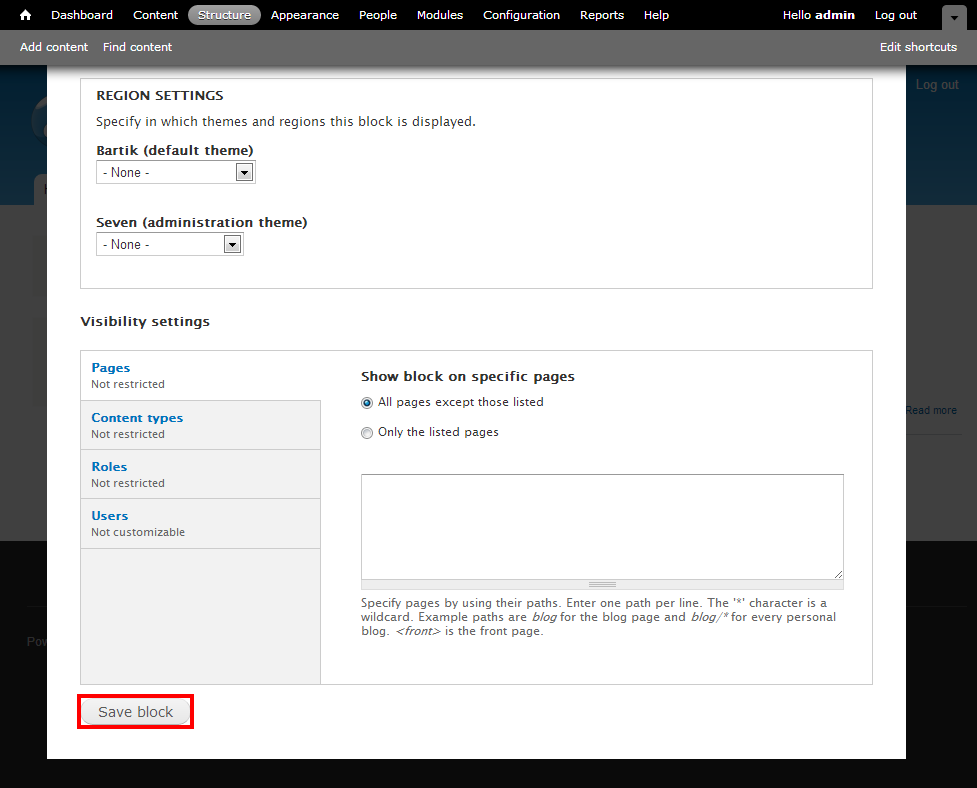
That’s it! The new block has been created
Now let’s edit the new block
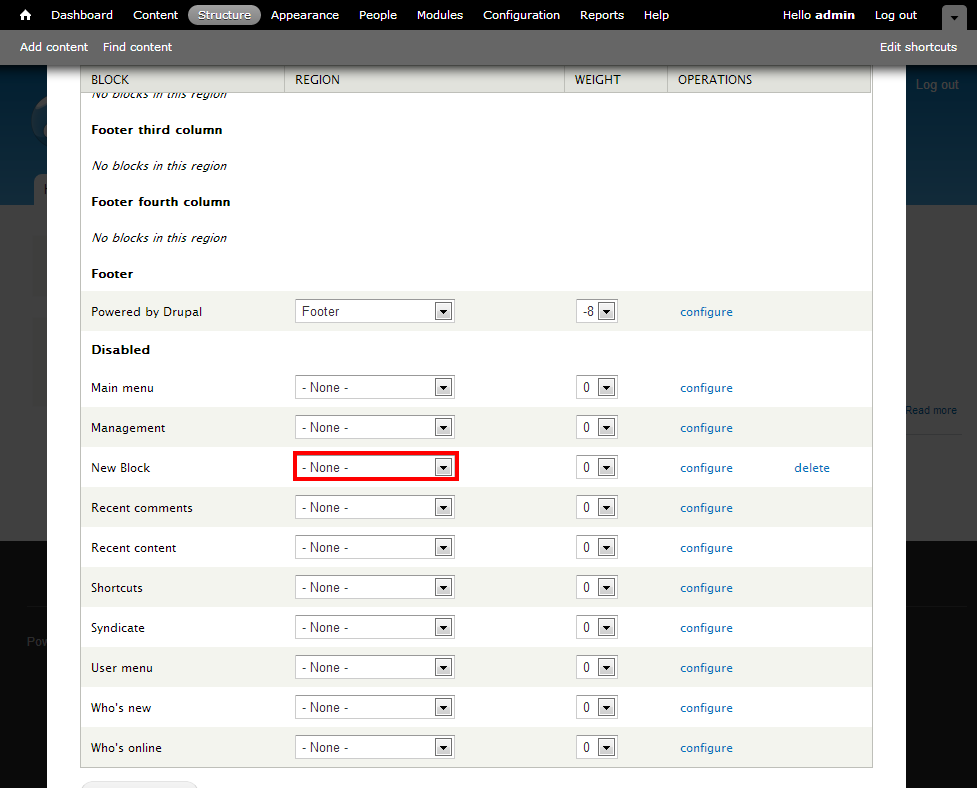
Here we can see a list of all blocks in our website, including which ones are enabled… and which ones are currently disabled (including the New Block we just created)
6) Click here to show the new block in the sidebar
7) When finished, click Save blocks
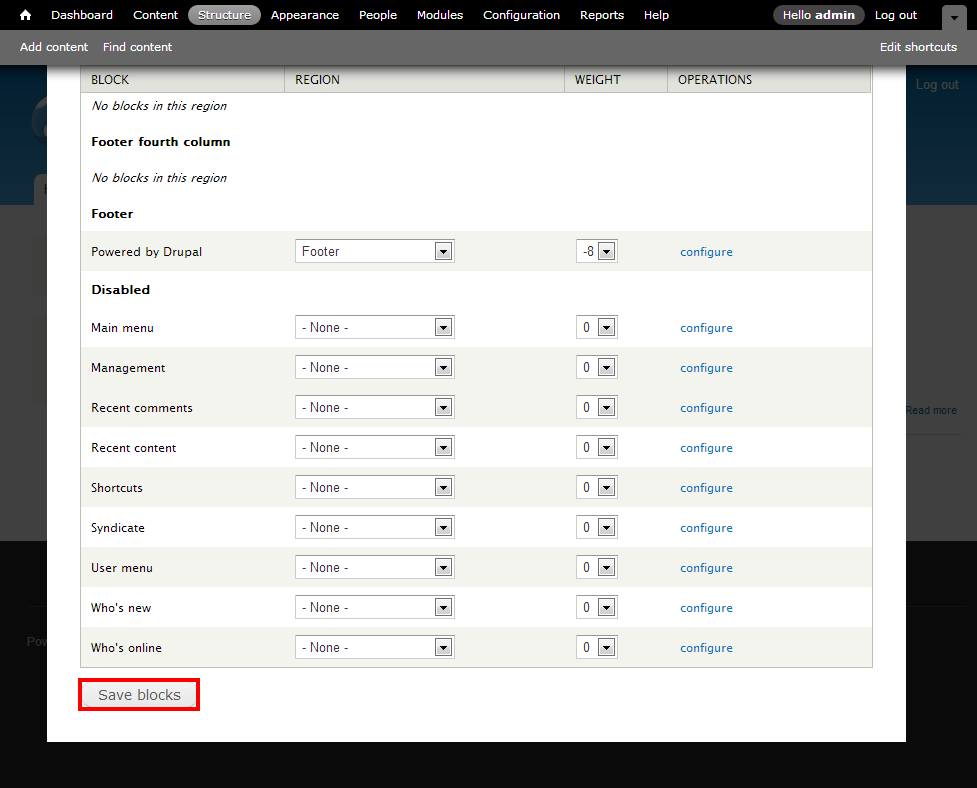
That’s all there is to it!
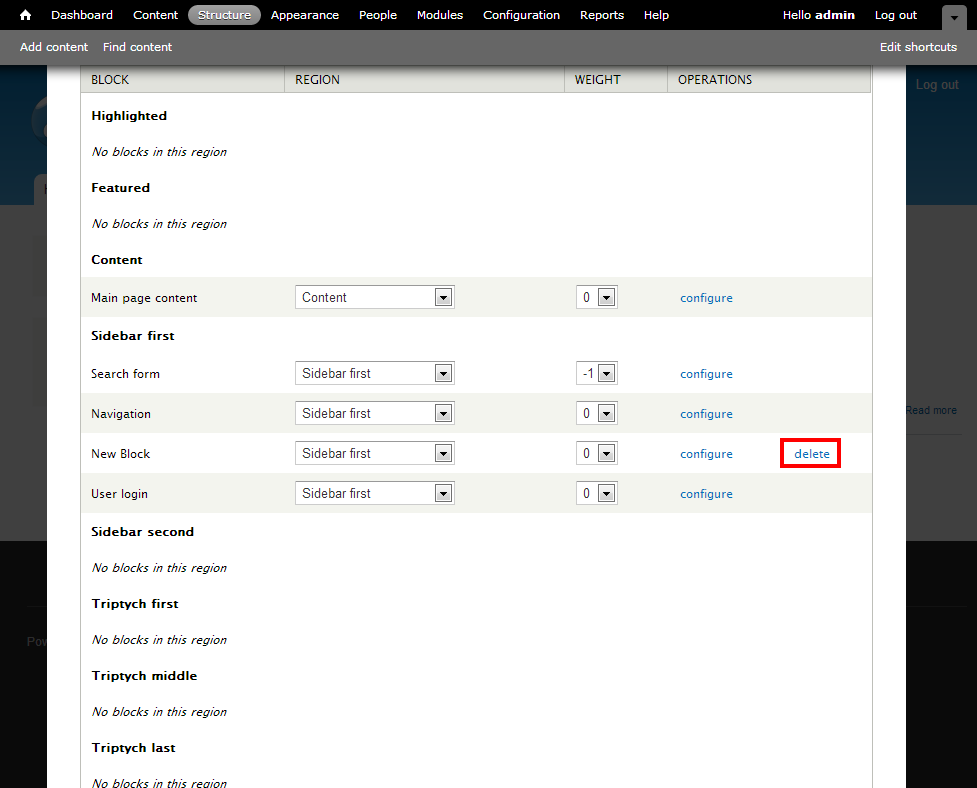
8) To delete the new block we just setup, click the delete link here
This is the end of the tutorial. You now know how to manage blocks in Drupal
For more articles about Drupal, please click here.