Drupal: How to Install Manually
In this article, we will show you how to install Drupal manually.
In this article, we will be using SiteAdmin, however the steps for cPanel are very similar.
1) Download a zip copy of Drupal from their official website, here.
2) Login to SiteAdmin
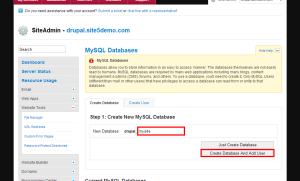
3) Go to the Manage Databases & Users section by clicking the link found in the Databases section of the left menu.
4) Enter a database name, then click Create Database And Add User
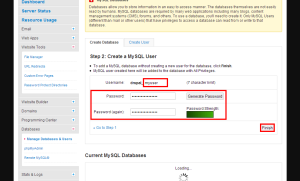
5) Enter a username and password for this database, then click Finish
Note: Make sure you copy the user, database name and password you used as we will need this information later.
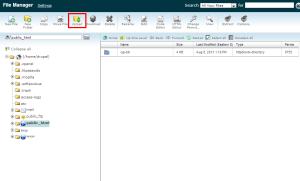
6) Under the Website Tools section of the left menu, click File Manager, then open the File Manager
7) Click the Upload option found at the top of the file manager
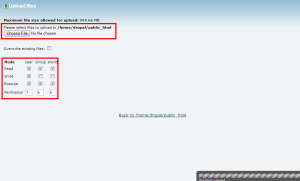
8) Locate the zip file we downloaded in Step 1 and set permissions to 755. Once the download is finished, you will see a completed in the progress bar located in the bottom left.
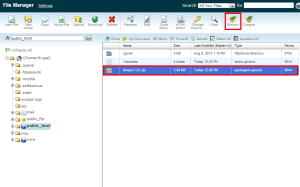
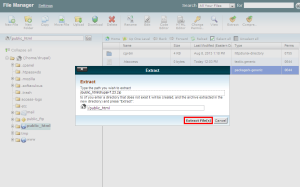
9) Back in the normal view of the file manager, click the file we just uploaded and click Extract.
10) Click Extract Files
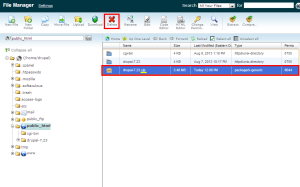
11) Click the zip file once again, and delete it. Make sure its the zip and not the folder that was just extracted.
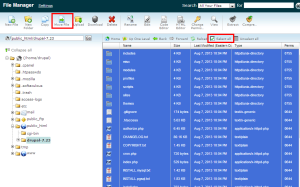
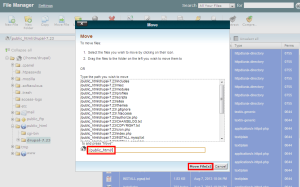
12) Go inside of the folder we just extracted and select all, from there, click Move File
13) Change the path at the bottom to reflect where you want to install Drupal, in this example, we are installing it at the base of our domain, so we will simply put public_html. Once the path is entered, click Move Files.
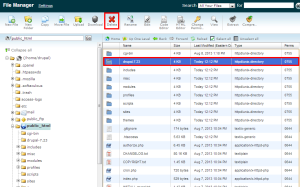
14) Now move back up one level and click the folder we extracted again. Once it is selected, click delete.
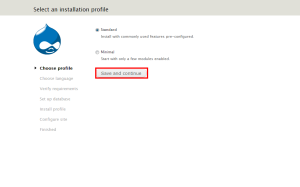
15) Now browse to your website, you should see an install wizard, follow through all the steps.
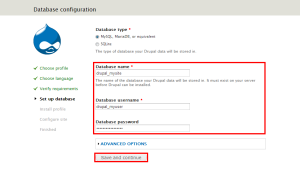
Once you get to the Database section, select MySQL and enter the database info we saved from step 5.
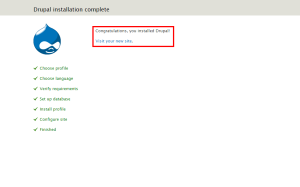
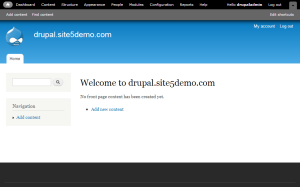
Continue through the rest of the steps filling in relevant details until you see this page.
That’s it! You now know how to install Drupal by hand!

