Dreamweaver: How to use the Built in FTP
In this article, we are going to show you how to use the built in FTP function inside of Adobe Dreamweaver.
For this article, you will need the login credentials for your hosting account.
1) Open Dreamweaver
2) Go to the Sites menu and click New Site
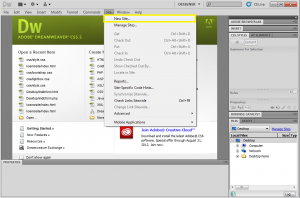
3) Enter the Site Name (this is just to keep track of projects) and the local folder you wish to store the site files
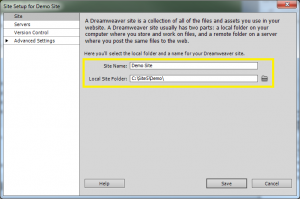
4) Next Click Servers, than click the plus icon to add a new server
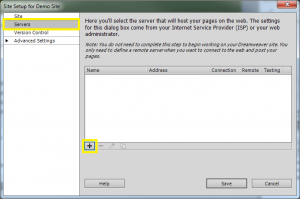
5) Enter your FTP information and click save.
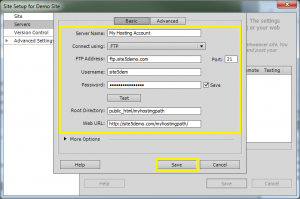
Please Note: The root directory is the directory you wish to store the files in. For example, if you want to store the site under the primary domain, simply enter public_html, if its being hosted in at a sub-domain or in a sub-folder, enter the full path (e.g. public_html/mydirectory).
6) Click Save
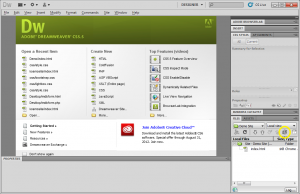
7) Click the sync icon normally located in the bottom right hand corner of the screen
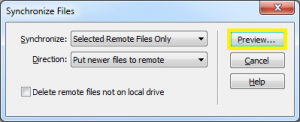
8) Click Preview
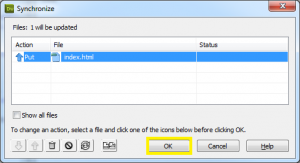
9) Check the files that will be synced. If everything looks alright, click OK.
That’s it! You now know how to use the built in FTP function of Adobe Dreamweaver!

