SiteAdmin: How to install phpList
This demo assumes you’ve already logged in to SiteAdmin
Now let’s see how to install phpList using the Web Apps tool.
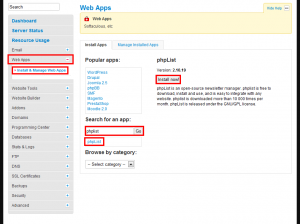
1) Click the Web Apps menu, then click Install & Manage Web Apps. From here, enter phpList into the search box. Click the sub-option that appears and then click the Install button on the right-hand side of the screen.
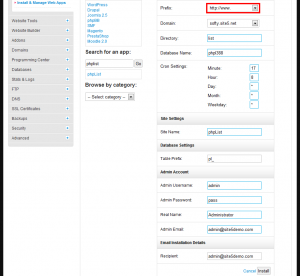
2) Select the domain prefix you wish to use.
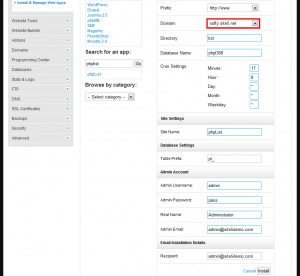
3) Select the domain you wish to use.
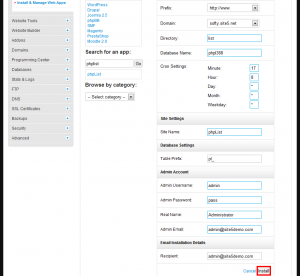
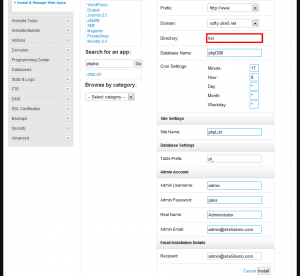
4) Enter the directory you want the application to be installed. If you the application to be installed in the root of your website, leave this blank.
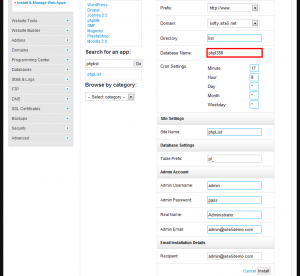
5) If you would prefer to set a custom database name, you may set it here. Otherwise, you may leave it as is.
6) This script requires a CRON to work. Please specify the CRON timings. If you are unaware of it, leave it as it is!
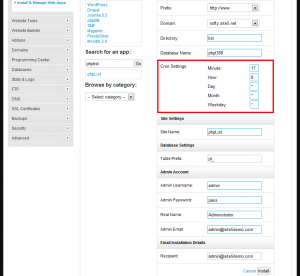
Please be aware that as per our resource usage guidelines, no cron job is allowed to run less than 15 minutes apart on our shared servers. For more information about our resource usage guidelines, please click here.
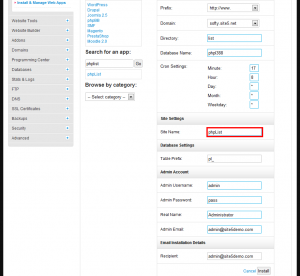
7) Enter your site information.
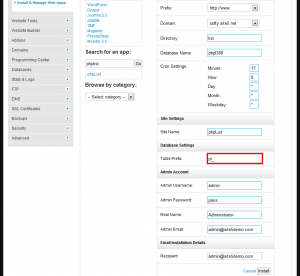
8) If you would prefer to set a custom database table prefix, you may set it here. Otherwise, you may leave it as is.
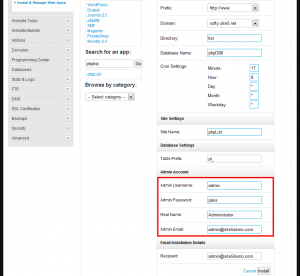
9) Enter the Administrator details you wish to use. If you would like to generate a random password, you may click the key icon to do so.
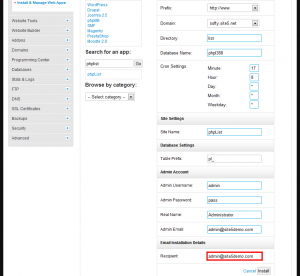
10) Enter the email address you wish the installation details to be sent to.
10) Click the Install button.
That’s it! The following page will give you an overview of all the details about the new installation. You can proceed to the newly installed software by clicking on the URL link, or you can proceed directly to the admin panel login by clicking the Admin URL. Also another copy of the admin/database details are made available to you.

