cPanel: How To Disable Nginx Caching
With the addition of Nginx caching on our new server configurations, we find that some users do not want to have caching enabled on their site during development. Due to this, we’ve provided the ability to disable caching while you are developing your site. This can be done simply through your File Manager by following the steps below.
- Log into backstage
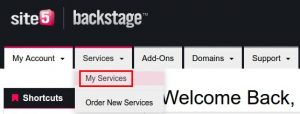
- Mouseover the Services menu and click My Services
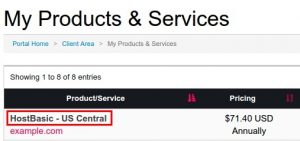
- Locate the hosting plan you want to access under Product/Services and click on the hosting plan
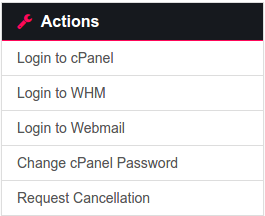
- Click Login to cPanel under the Actions Menu
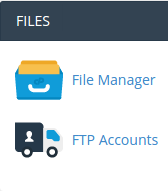
- Navigate to the Files section and click on File Manager
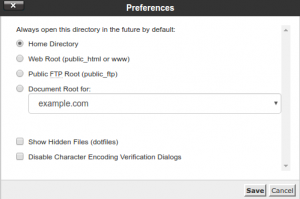
- Click the Settings icon located on the upper right hand corner of the page

- Select Show Hidden Files (dotfiles) and click Save
- Navigate to the folder for your website
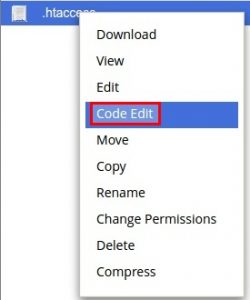
Note: for this example we will assume that your website is under public_html - Right-click the file named .htaccess and select Code Edit
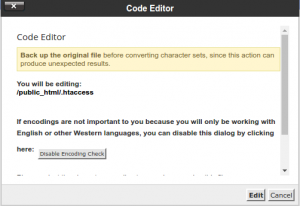
- Click Edit in the Code Editor dialog box
- Add the following code in the text field provided:
<FilesMatch "\.(html|htm|js|css|php)>
FileETag None
Header unset ETag
Header set Cache-Control "max-age=0, no-cache, no-store, must-revalidate"
Header set Pragma "no-cache"
Header set Expires "Fri, 13 Feb 1976 06:00:00 GMT"
</FilesMatch>
- Click Save Changes

Caching for your website is now disabled. You will need to add the code above for every folder that needs caching disabled. To re-enable caching, you can delete the code or add a pound sign(#) in front of every line.

