WordPress: How To Configure Your Site To Use A Different Domain
In this article, we will show you how to configure your WordPress to use another domain. This is helpful if you want to work on your WordPress site before pointing your actual domain. There are a few different methods that you can use to achieve this goal.
Update the website address via your wp-config.php file
Update the website address via your PHPMyAdmin interface
Update the website address via your themes functions.php file
Update the website address via wp-config.php
If you have not yet setup your WordPress, it is recommended that you use the final domain you wish to have the site under during the setup process. From there, we will make a few temporary changes to allow you to work on your site before pointing the actual domain over.
1) Setup WordPress
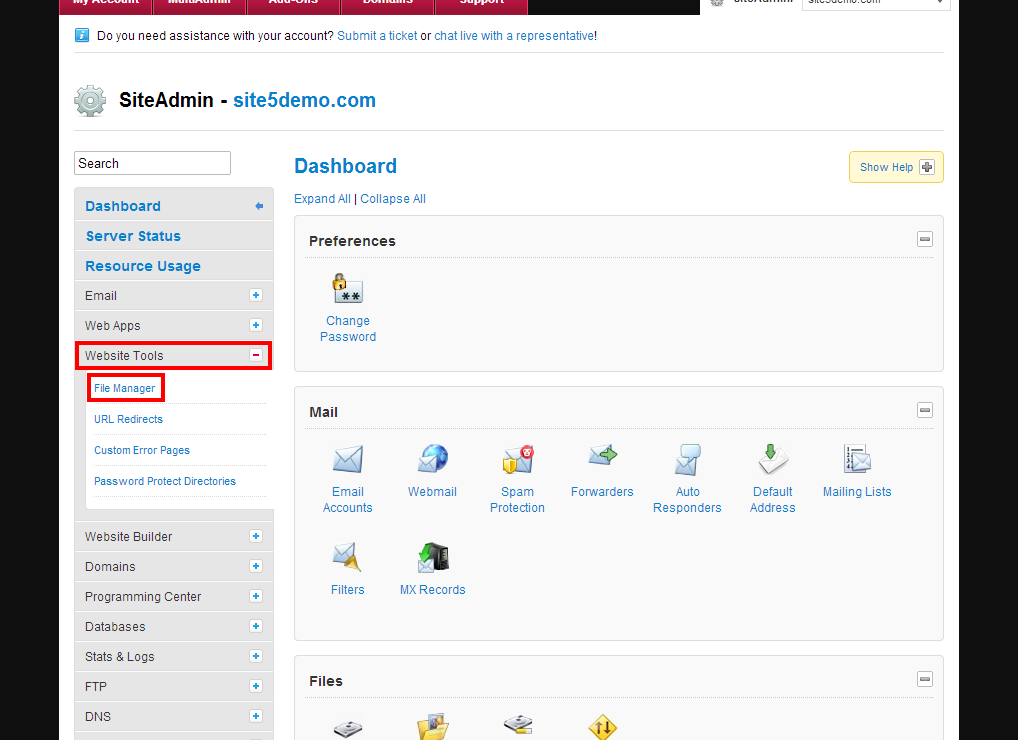
2) Login to SiteAdmin or cPanel (we are using SiteAdmin in this article)
3) Proceed to the File Manager by clicking the File Manager link found in the Website Tools section of the left menu.
4) Navigate to the location where your WordPress in installed. In this article, our WordPress is setup to work with a sub-domain.
5) Locate the wp-config.php file and open it using the code editor.
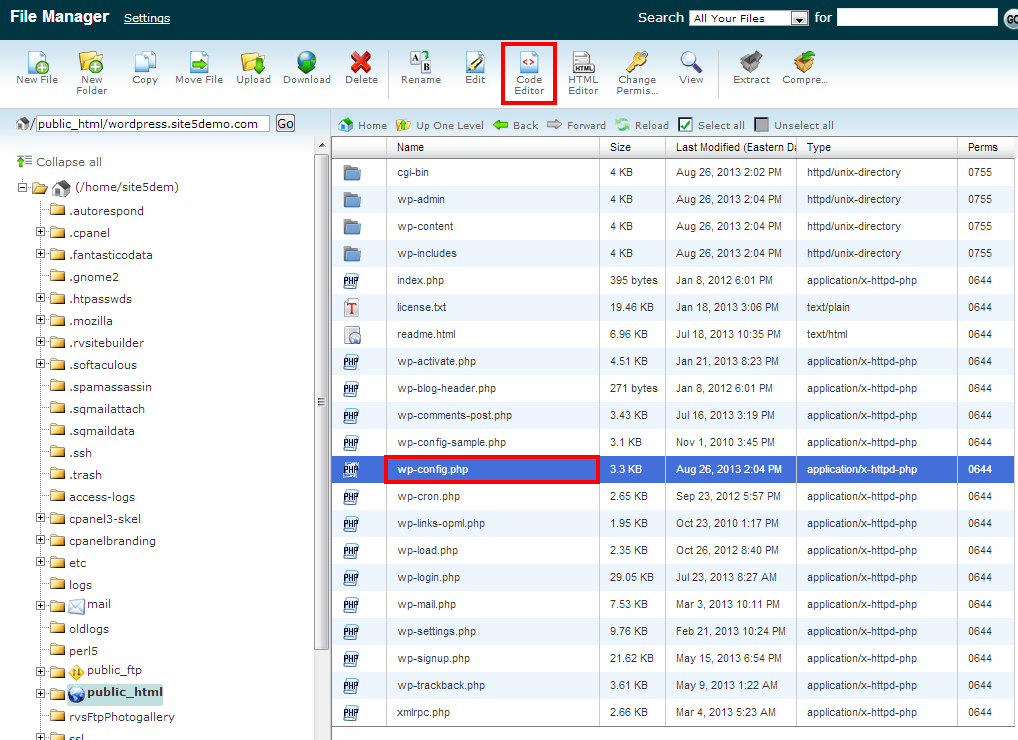
6) Add the following lines near the top of the file (after the < ?php tag). once done, click save changes.
define('WP_HOME','yourtempdomain.com'); define('WP_SITEURL','yourtempdomain.com'); |
Make sure you replace “yourtempdomain.com” with either a domain you can use, or the server hostname (http://[servername].com/~[username]).

If you are using a different domain please ensure that you add the domain to either the Parked Domain function (if its in the root of your web folder) or Addon Domain (if you are using WordPress in another folder within your public_html) or even a subdomain if you would like.
Update the WordPress address via PHPMyAdmin
A lot of times the method of simply updating the wp-config.php file with your temporary URL or secondary domain doesn’t work as it should. In the guide below we will show you how to specify the necessary details within your directly. No coding knowledge necessary!
We will need to know the name the database that was created with your WordPress installation. If you only have the one WordPress installation you can skip straight to Step 2. If you have multiple versions of WordPress installed, you will need to know which specific database is being used by the version that you wish to make changes to.
1) Follow the steps outlined above to navigate to and then open your wp-config.php file. Within the file you will see the database name in the DB_NAME field.
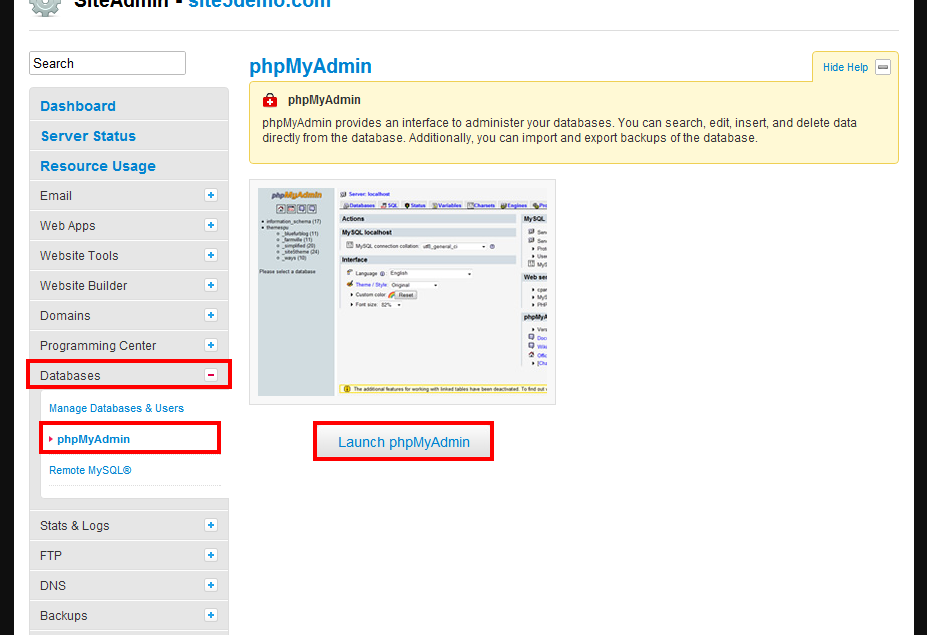
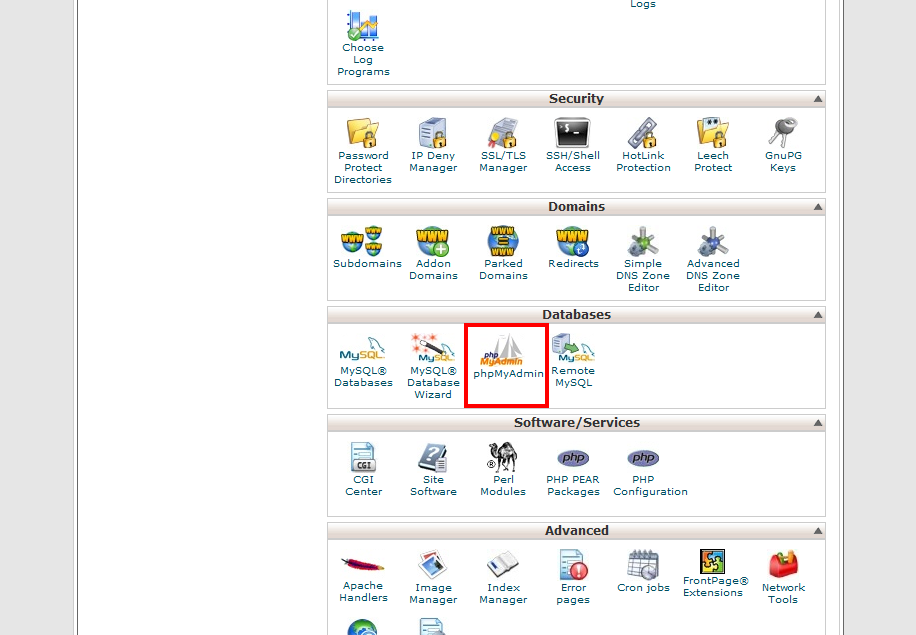
2) Select the PHPMyAdmin icon within your SiteAdmin or cPanel
3) Select the database name that matches up to what we noted in the wp-config.php from Step 1

4) A list of database tables will now appear below and to the right of your selection. We will now select the wp_options link from the right or below.
5) As a result of doing this you will now see a bunch of data in here with some options along the left of each field. The first two rows siteurl & homedir are the two rows that we need to update to reflect the new website address.
Note: The siteurl and home only appear together in the newer versions of WordPress. Older imported versions of WordPress have siteurl on the 1st page & home is on the 2nd page.
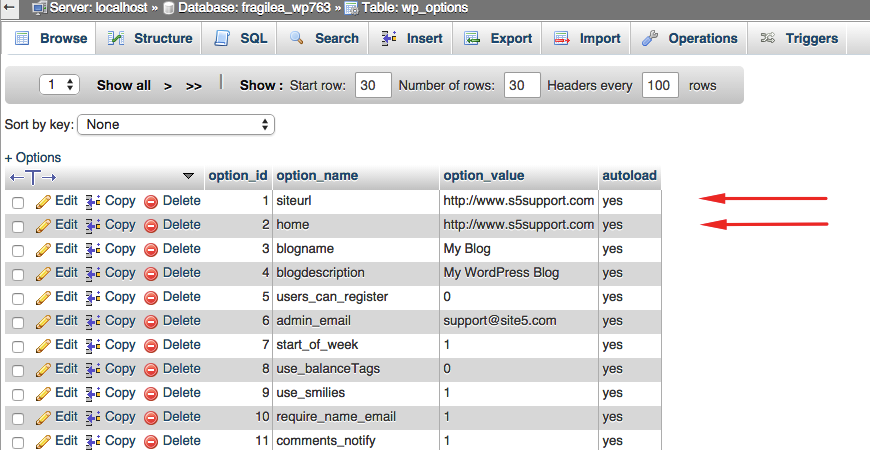
6) Upon selecting the Edit button beside siteurl we will see the existing website address in the box. We will remove that and replace it with the new domain name and then select the Go button at the bottom of the page.

7) Repeat the same steps for the home field.
8) That’s it! Once you completed the last change, your website should function as designed on the new website address.
Update the website address via a functions.php file.
In the newer versions of WordPress they have designed the program so updating the database tables directly isn’t necessary. Instead you can simply edit or create your own functions.php file within your WordPress installation to have the program load from the new website addresses. The only snag with this method is the fact that you must know the name the theme that you are presently using on your WordPress installation (You can determine this by logging into your wp-admin panel and selecting Appearance and then Themes)
1) Firstly we will log into your SiteAdmin or cPanel and select the File Manager icon.
2) We will now navigate to the directory where the WordPress version is installed. In this example it is installed in our root folder (public_html).
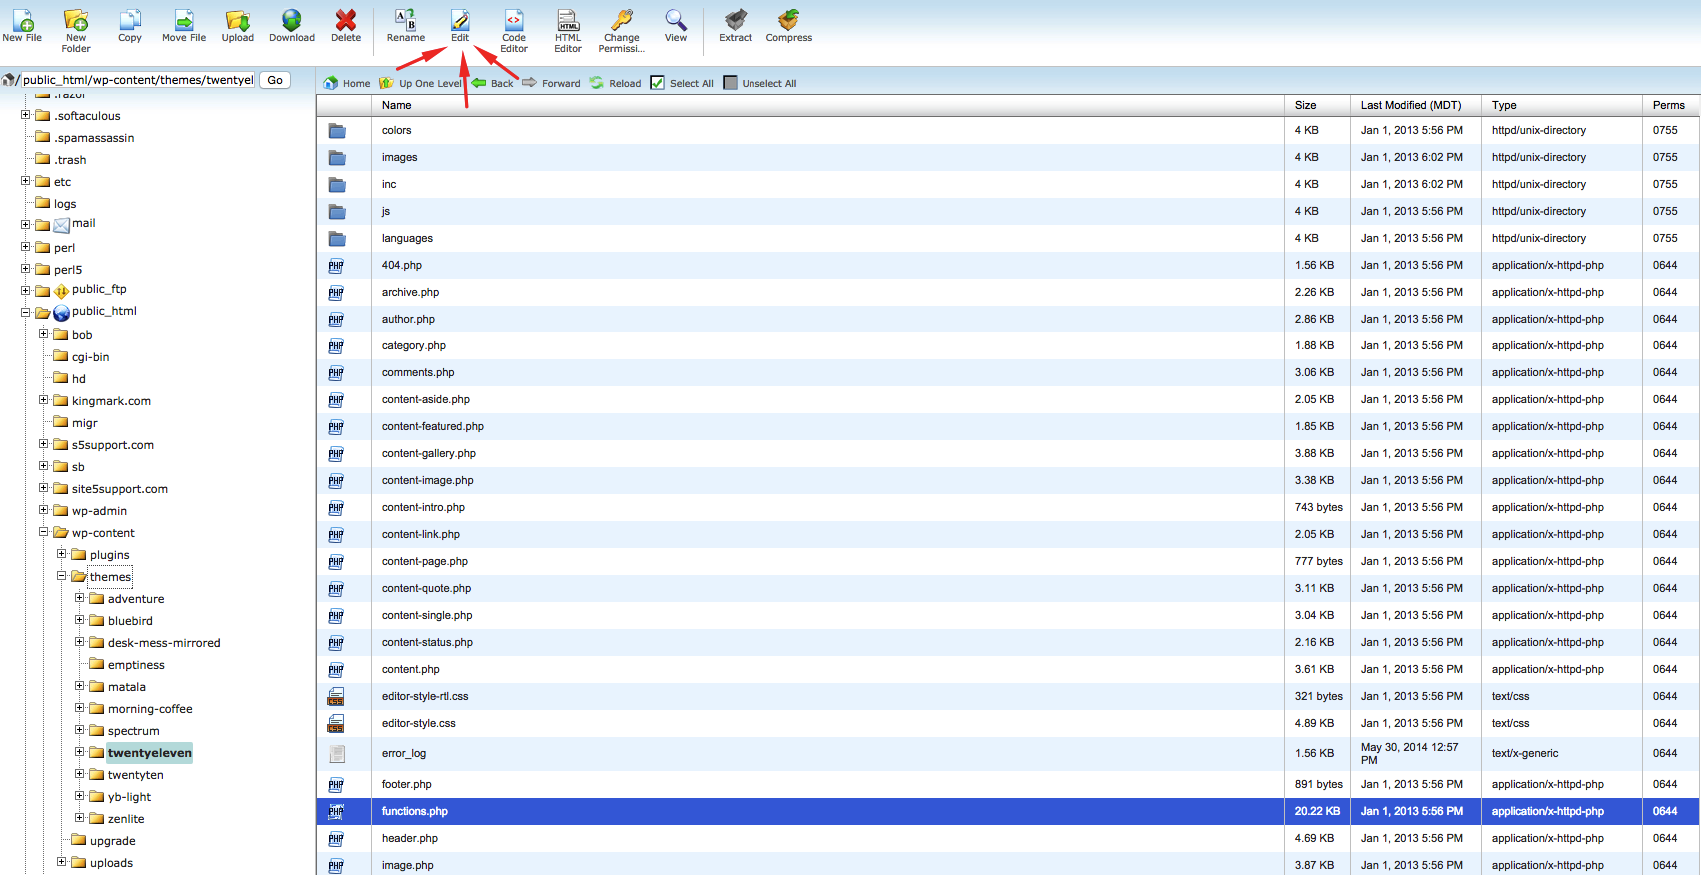
3) When we arrived at the folder where WordPress is installed select the folder wp-content. Then select the themes folder, then within here select the folder that is named after your theme (we will be using twentyeleven in this example).
4) If all went according to instruction, you should now see all the files that make up the design of your theme. Select the functions.php file and then select Edit from the top.
Note: If this file does not exist, you can use the New File option at the top of the File Manager to create it.
5) This will bring up the code for the functions.php. The very first line will <?php and we will want to insert the snippet of code with our new web address right below it. . After that we will select the Save button in the top right hand corner.
update_option(‘siteurl’,’http://www.new-site-address.com’);
update_option(‘home’,’http://www.new-site-address.com’);

That’s it, going forward your WordPress website will load what you have specified in this file, despite what settings are otherwise configured in your WordPress database.