Logs: How to Create a Google Analytics Account
In this article, we will show you how to setup a Google Analytics account so you can start tracking your website visitors.
For this article, we will assume that you already have a Google account.
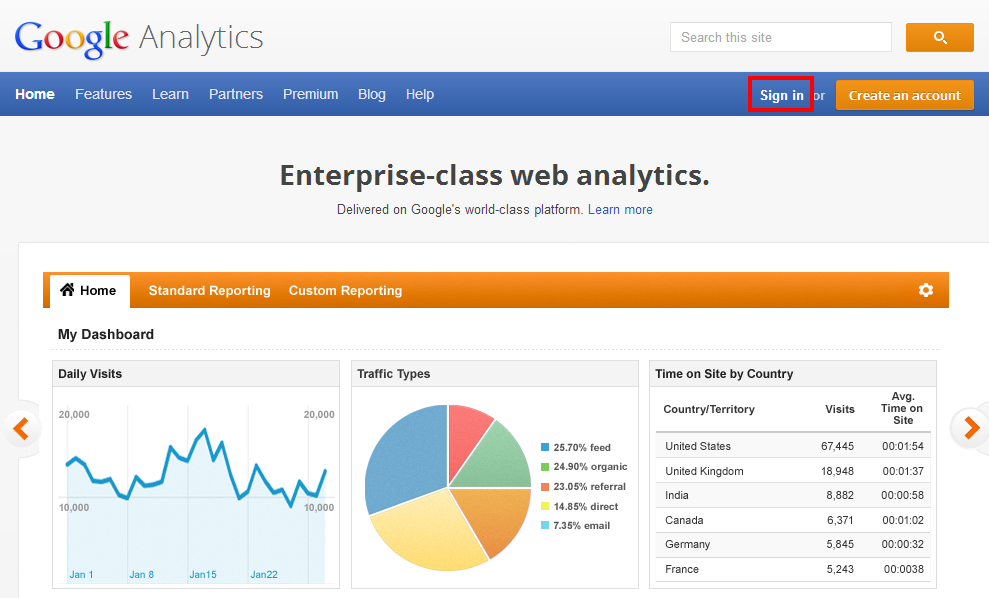
1) Visit the following link, then click sign in (assuming you are already logged into Google).
http://www.google.com/analytics/
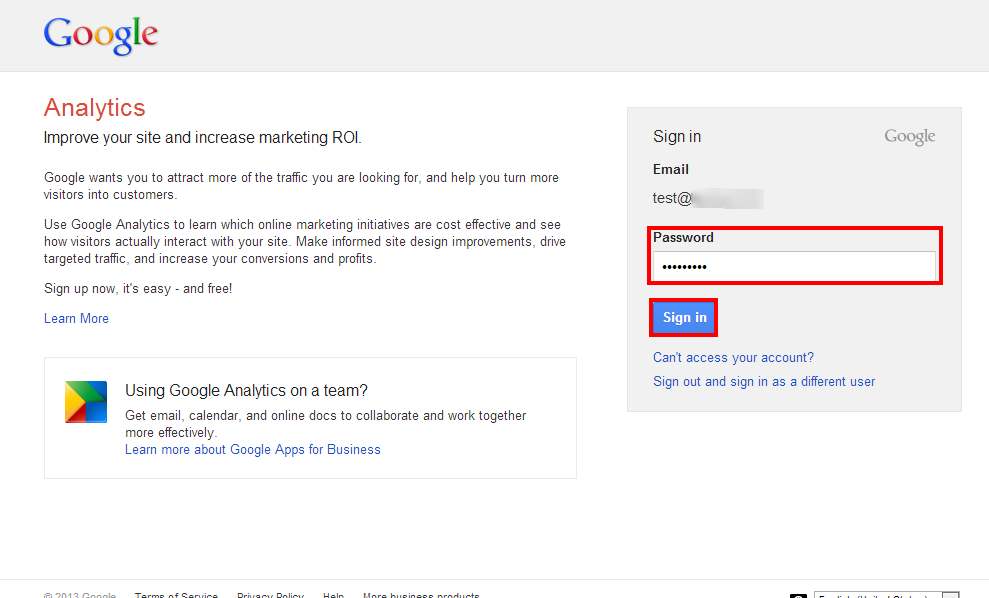
2) Enter your Google password, then click Sign in
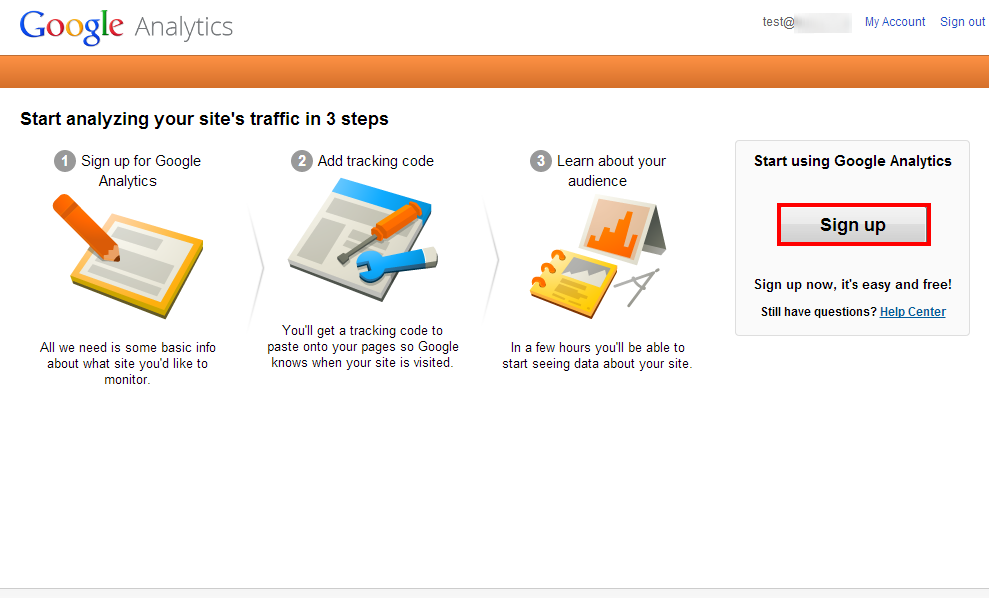
3) Click the Sign up button.
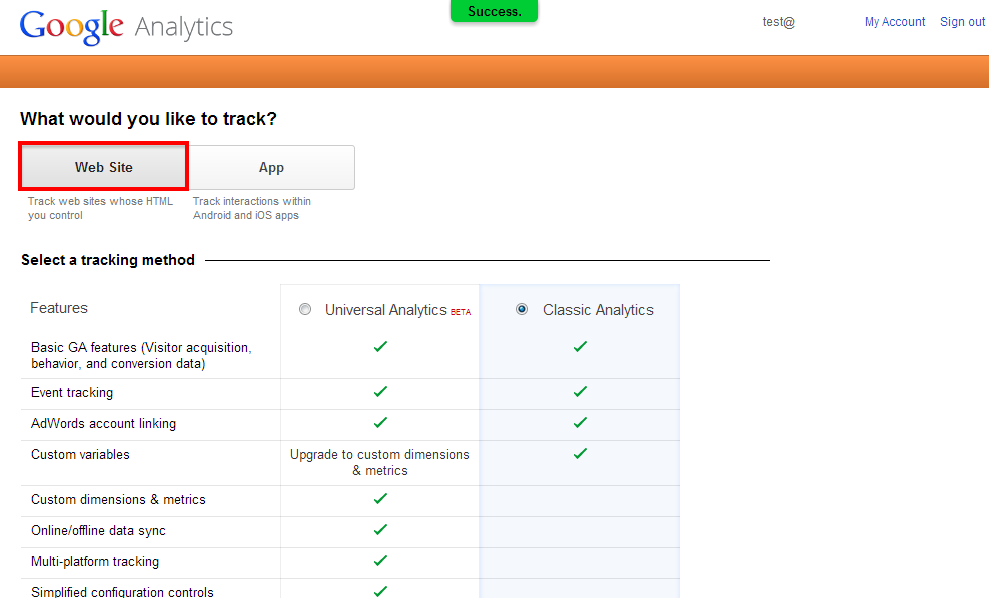
4) Select the type of service you wish to track. For this demo, we will track a website.
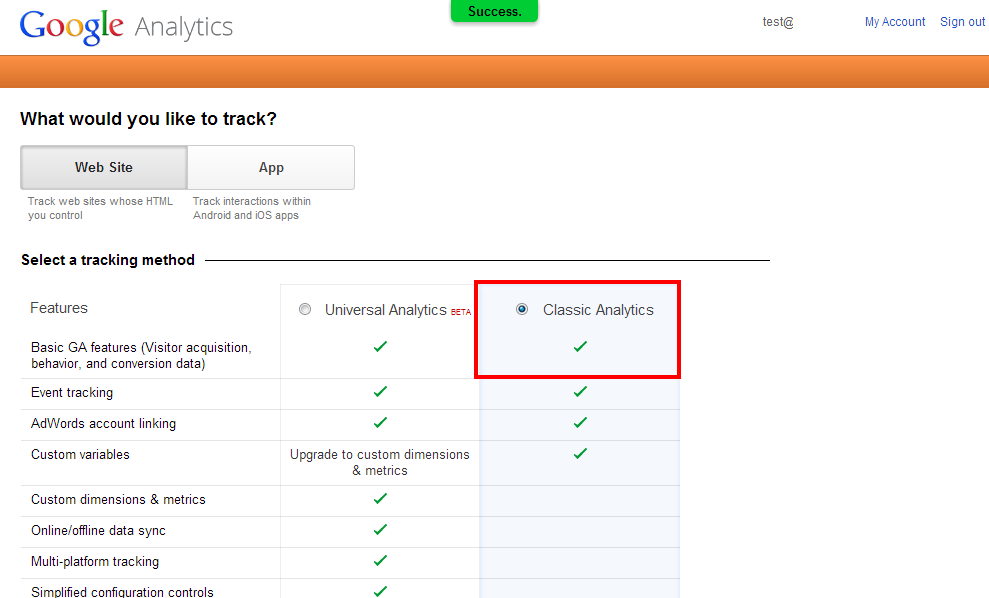
5) Select the tracking method you wish to use. For this article, we will use the classic method.
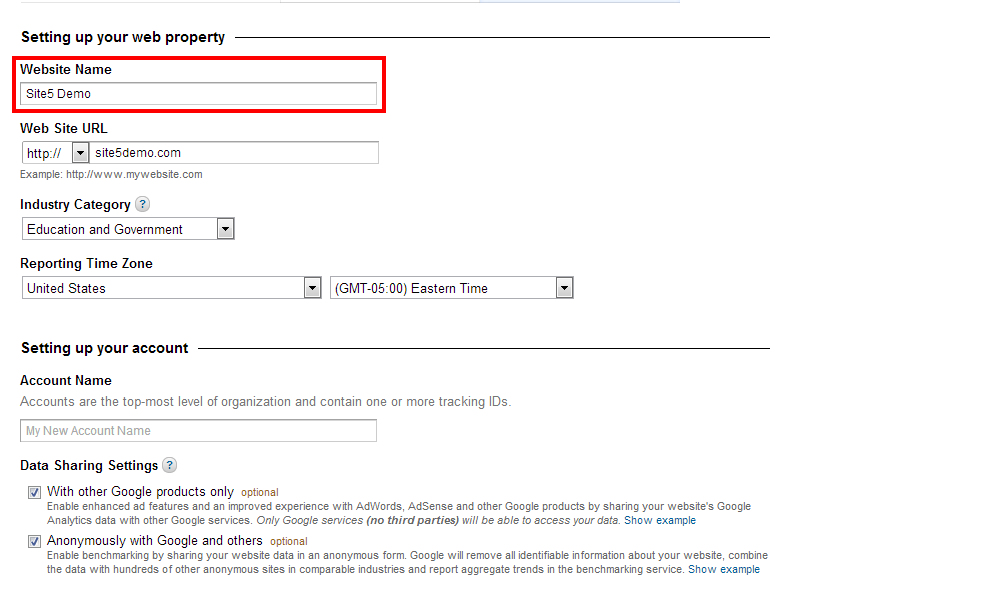
6) Enter your Website Name
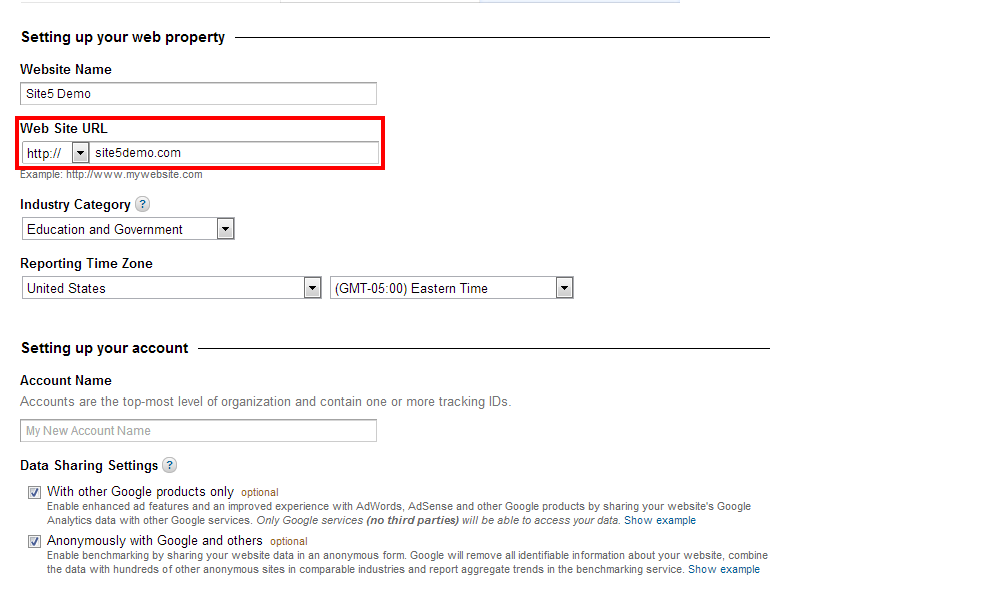
7) Enter your Website URL
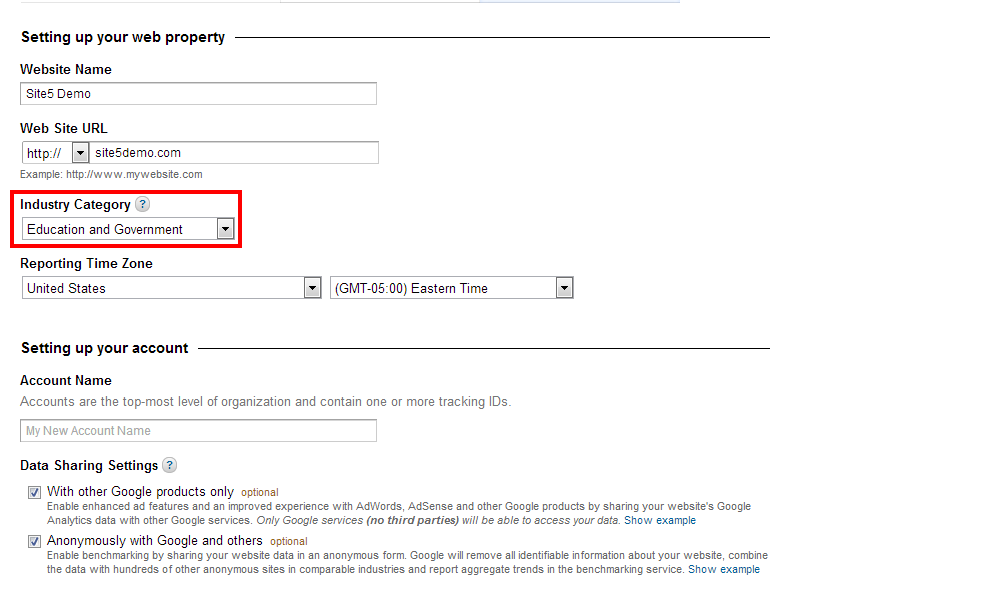
8) Select your Industry
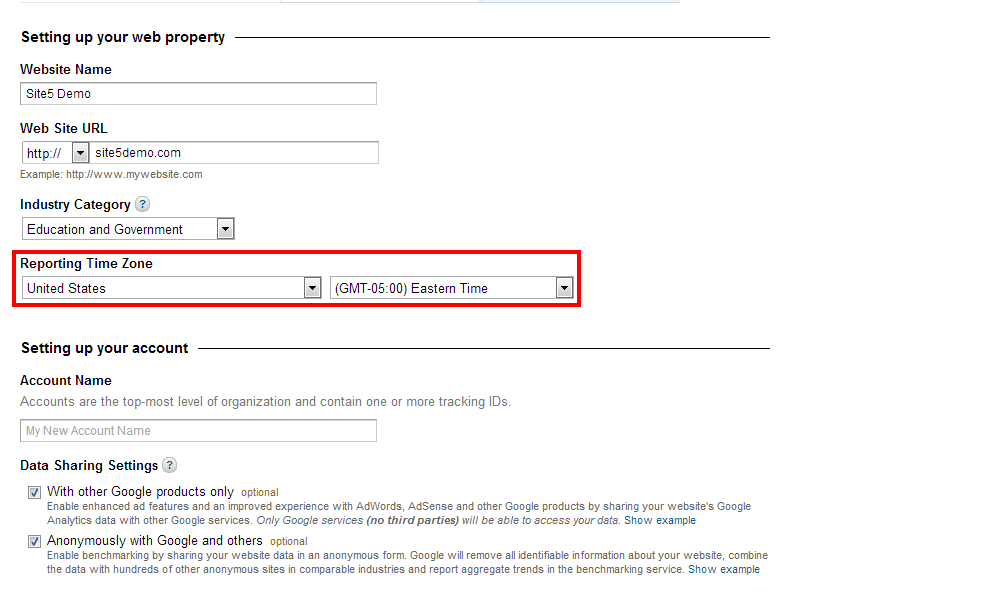
9) Select the Time Zone you operate in
10) Enter an Account Name
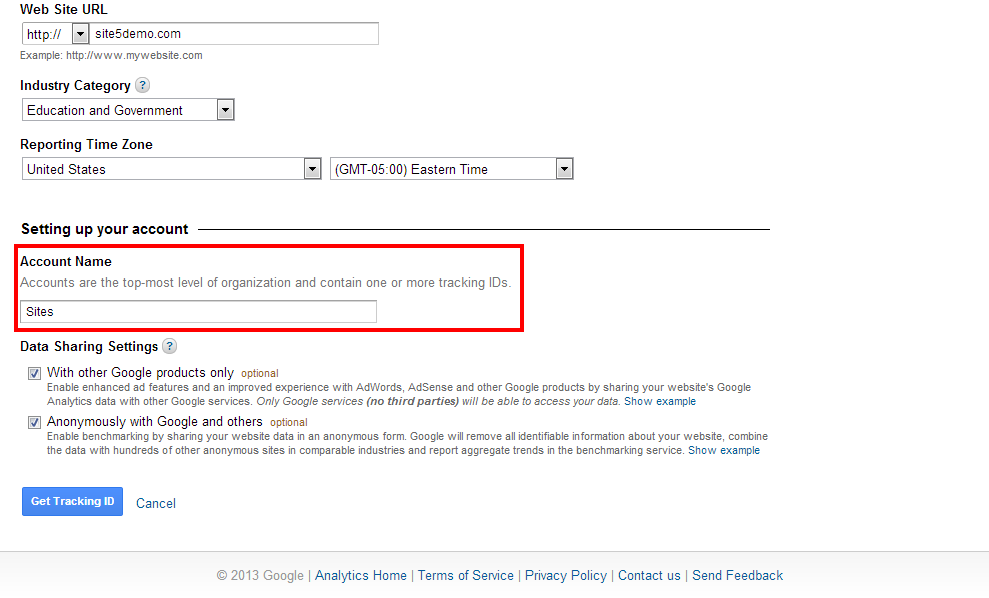
11) Select the data sharing settings you wish to use

12) Click the Get Tracking ID

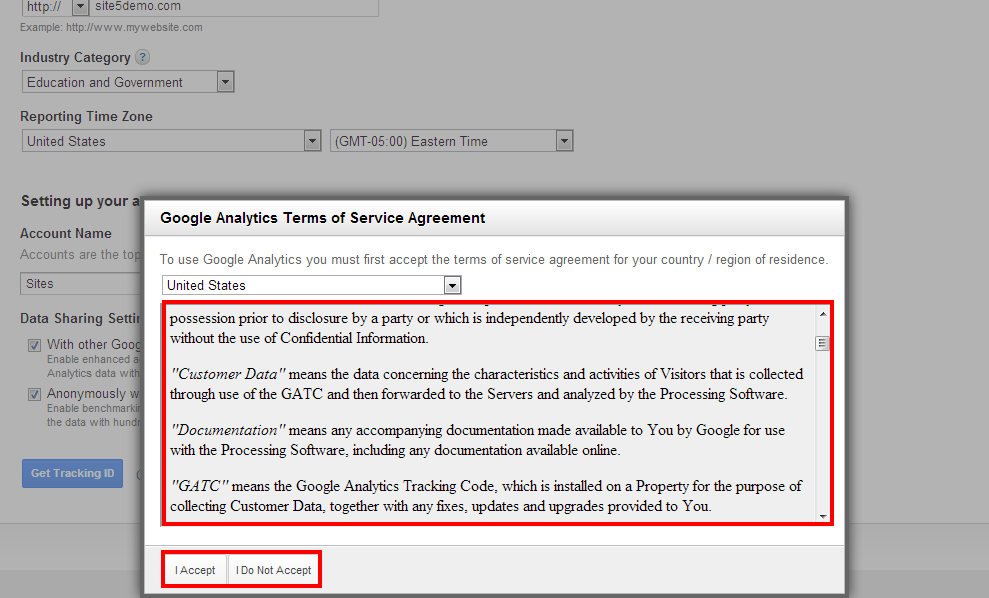
13) Read the Google Analytics Terms of Service Agreement and click I Accept if you agree to the terms.
14) Select your tracking sub-options. For this demo, we are only working with one site, so the default values are fine. If you make any changes, make sure you click the Save button.

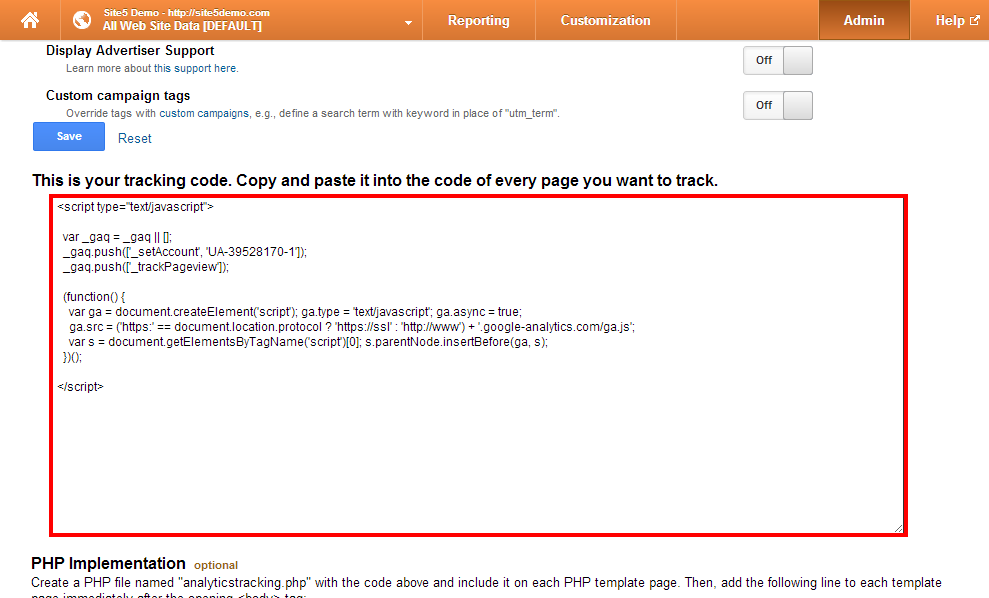
15) Copy your tracking code and integrate it with your website.