WordPress: How to manage categories
This tutorial will show you how to manage categories in WordPress. This tutorial assumes you are already logged in to WordPress.
Note: While the screen shots in this guide are a bit dated, the process of adding the user remains the same between multiple versions of WordPress.
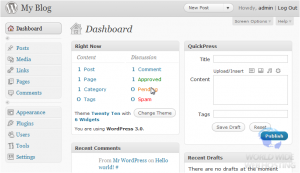
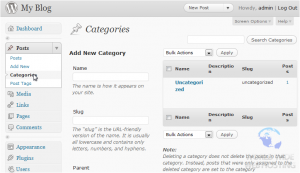
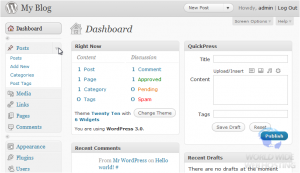
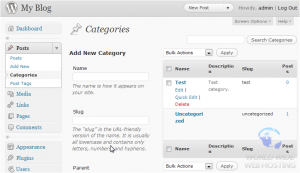
1) Click to expand the Posts options, located in the left sidebar.
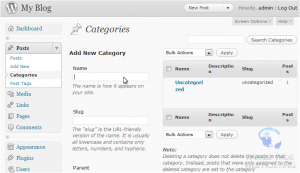
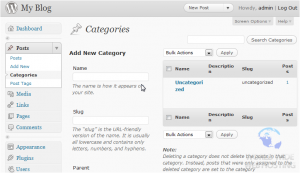
3) To create a new category, type in a Name.
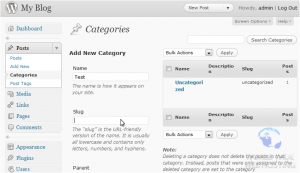
4) Type in the Slug which is the URL-friendly version of the name.
5) Scroll down to Parent. You can choose to select a category.
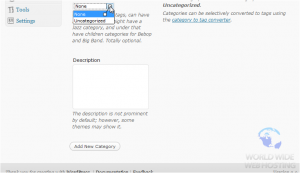
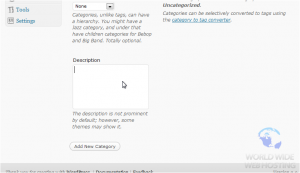
6) Enter a Description. Click Add New Category.
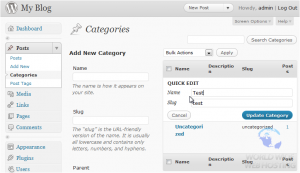
You can quickly edit a category’s information in the settings on the right.
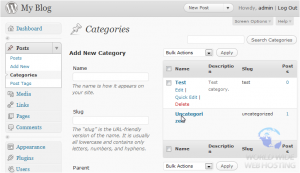
7) Make any necessary changes or click Cancel.
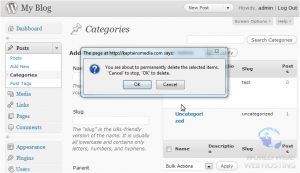
8) Delete a category by clicking this link.
This is the end of the tutorial. You now know how to manage categories in WordPress.
For more WordPress 3 articles, please click here.

