Email: Edit MX Records
MX records are the postal address of the internet. They tell the postmaster (domain) where your email messages should end up.
If you are presently using email accounts on our server or are intending to, then you do not need to alter anything within this interface. The MX record should only be altered if you are enlisting a 3rd party anti-spam solution, or moving your email service in house or to a service like Google Apps.
Modifying MX records in SiteAdmin
This demo assumes you’ve already logged in to SiteAdmin
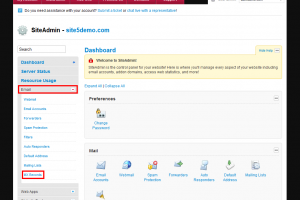
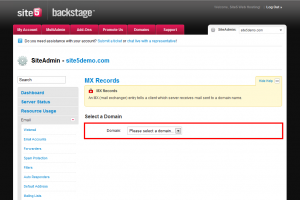
1) Click the Email option from the left menu, then click MX Records.
2) Now select the domain you wish to edit
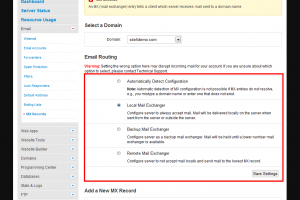
3) You can now change the routing options. If you are using our email servers select Local Mail Exchanger, if you are using your own external server, select Remote Mail Exchanger
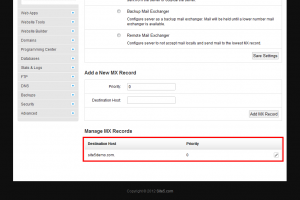
4) You can also add new MX records by filling out the Add a New MX Record section
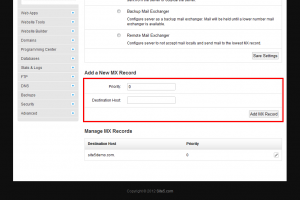
5) You can also edit or remove records by selecting the pencil (edit) icon or the X icon (delete) next to the existing record.
Note: You will not be able to remove the default record from within SiteAdmin. You can however change its priority & its host to suit your needs.
Thats it! You know how to configure MX records in SiteAdmin.
Modifying MX records in cPanel
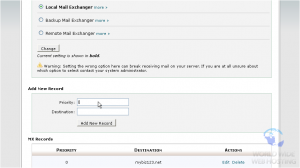
2) Enter a priority number for the new MX record: the lower priority numbers will be tried first, followed by higher numbers
3) Then enter the new MX entry. Click Add New Record
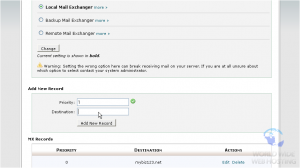
That’s it! The new MX record has been added.
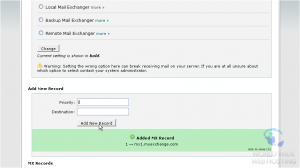
So in this case, the default mail.mybiz123.net mail server will be tried first because it has a priority of 0 followed by the new mail servermx1.myexchange.com, because it’s priority number is set to 1. You can return to this page at any time to make changes to your MX entries and their priorities…
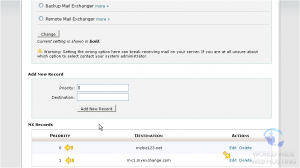
4) … or to delete existing MX entries, which we’ll do now.
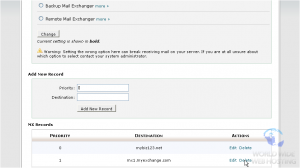
That’s it! We’ve just deleted the MX entry we entered earlier.
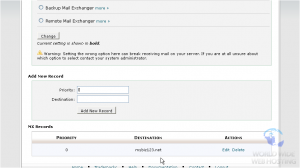
This is the end of the tutorial. You now know how to setup custom MX entries in cPanel

