How to use HotLink Protection
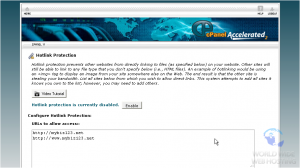
Hotlink Protection prevents other websites from directly linking to files (as specified below) on your website. Other sites will still be able to link to any file type that you don’t specify below (ie. html files). An example of hotlinking would be using an <img> tag to display an image from your site from somewhere else on the internet. The end result is that the other site is stealing your bandwidth. You should ensure that all sites that you wish to allow direct links from are in the list below. This system attempts to add all sites it knows you own to the list; however, you may need to add others.
Enabling HotLink Protection in SiteAdmin
This demo assumes you’ve already logged in to SiteAdmin
Now let’s see how to change the way directory indexes are displayed.
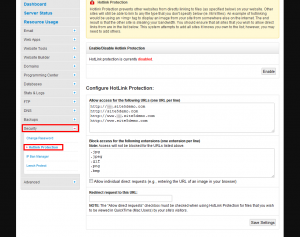
1) Click the Security option from the left menu, then click Hotlink Protection or select HotLink Protection from the icon on the main page of your panel.
2) You can Enable or Disable Hotlink Protection here.
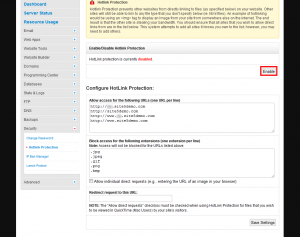
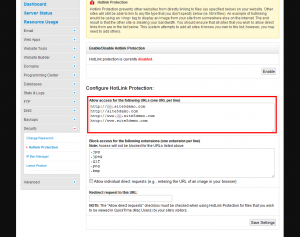
3) Enter the sites you want to allow hotlinking from.
Note: It is recommend that you put both the www and the non-www version of the url here.
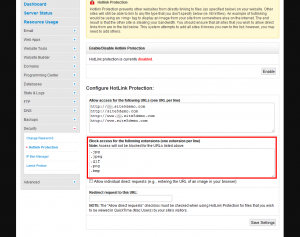
4) Enter the file types you wish to block (e.g “.jpg”, “.png”, “.bmp”, etc).
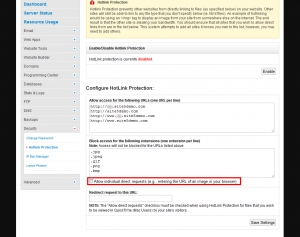
5) If you would like to allow direct access (e.g they type the direct path into their address bar), you can enable it here.
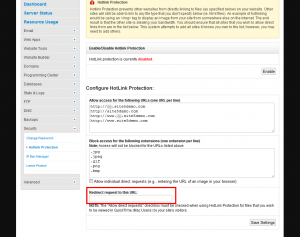
6) If you would like to redirect the user to a page or image, enter the path here.
7) Click the Save Settings button.
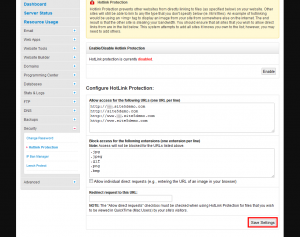
That’s it! You now have howlink protection! Again, if you wish to disable it, see step 2.
Enabling HotLink Protection in cPanel
This demo assumes you’ve already logged in to cPanel
Now let’s learn how to use Hotlink Protection, so people can’t link directly to images in our website
1) Click the Hotlink Protection icon
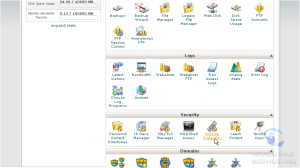
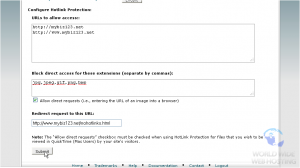
2) Enter the sites you want to allow hotlinking from (including your own)
Note: It is recommend that you put both the www and the non-www version of the url here.
3) Enter the file types you wish to block (e.g “.jpg”, “.png”, “.bmp”, etc).
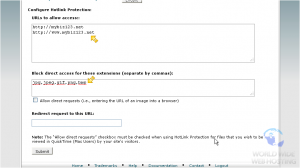
4) … and if you want to allow people to be able to manually enter the URL of a protected file, check this box
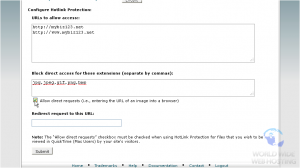
5) Then enter a URL you want to redirect to, for anyone who tries to hotlink to your files or images
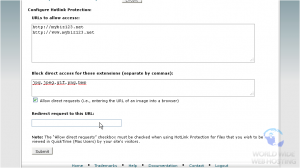
That’s it! You’ve successfully enabled hotlink protection
7) To disable hotlink protection, click this Disable button
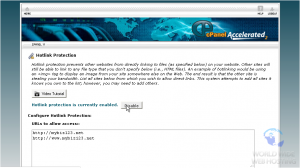
This is the end of the tutorial. You now know how to use hotlink protection to prevent hotlinking to your files.


kristina December 30, 2015 at 8:01 am
it would be really nice if there were a watermark option for hotlinking, so instead of killing it completely we could brand the image with our website to help drive traffic.
James Davey December 31, 2015 at 2:53 pm
Hi Kristina,
That certainly is possible, you would need to have the watermarked images on the server and adjust the .htaccess to use these instead of the direct images.