Windows XP: How to connect to your account using WebDAV/WebDisk
In this article, we will show you how to connect to your account using WebDav on your Windows XP computer.
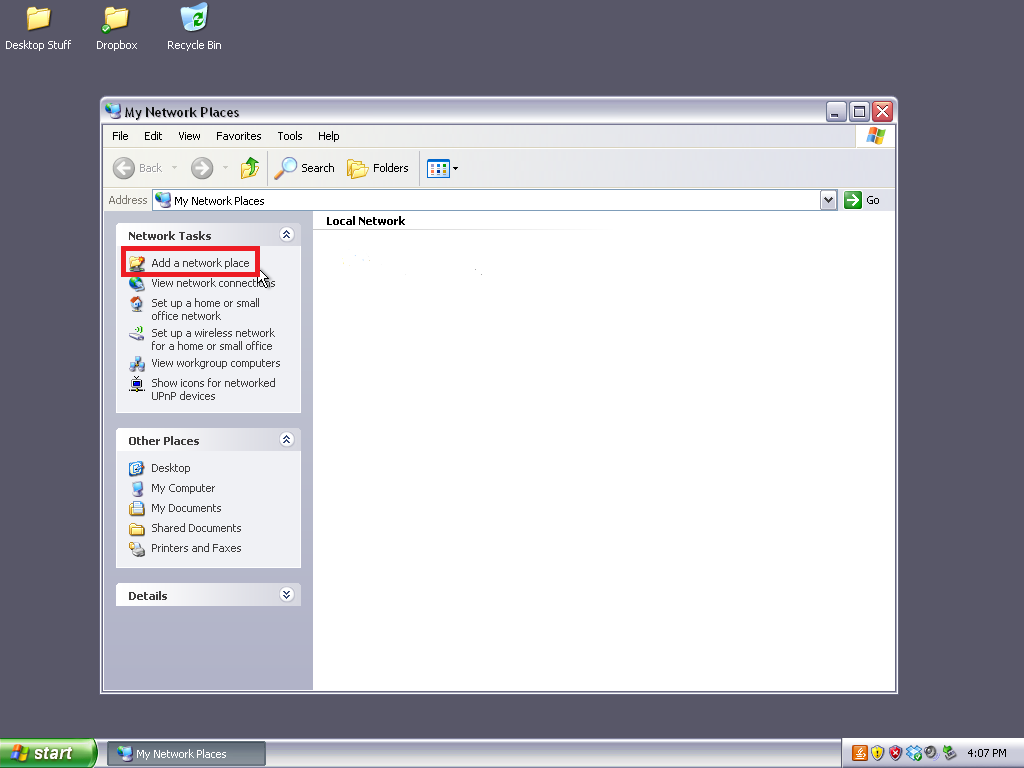
1) Go to My Network Places found in the start menu

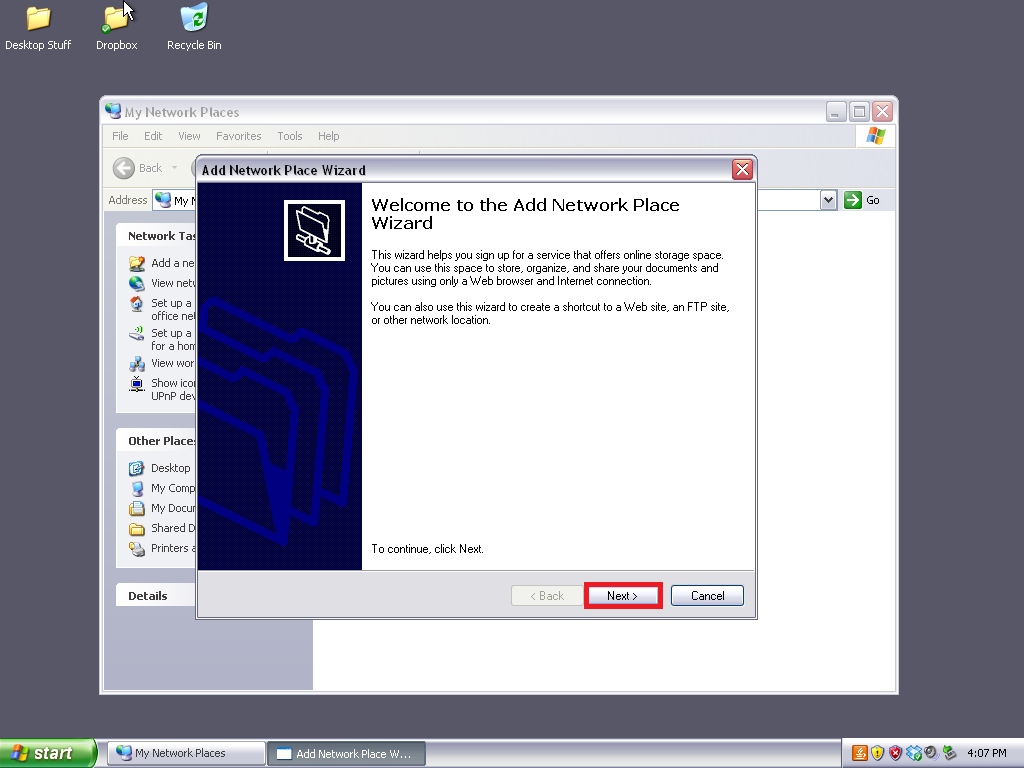
2) Click Add a network place from the left menu
3) Click Next
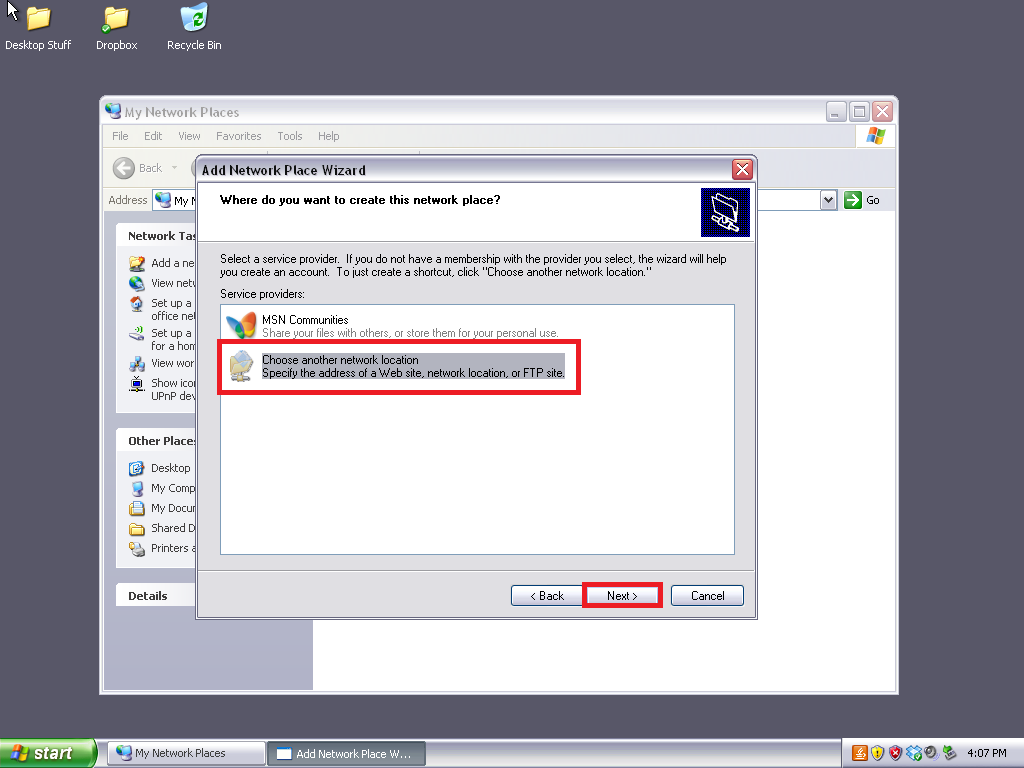
4) Click Choose another network location, then click next
5) Enter the following into the address field:
https://[serverhostname]:2078
For information on how to find your server hostname, please click one of the following links.
Now click Next.

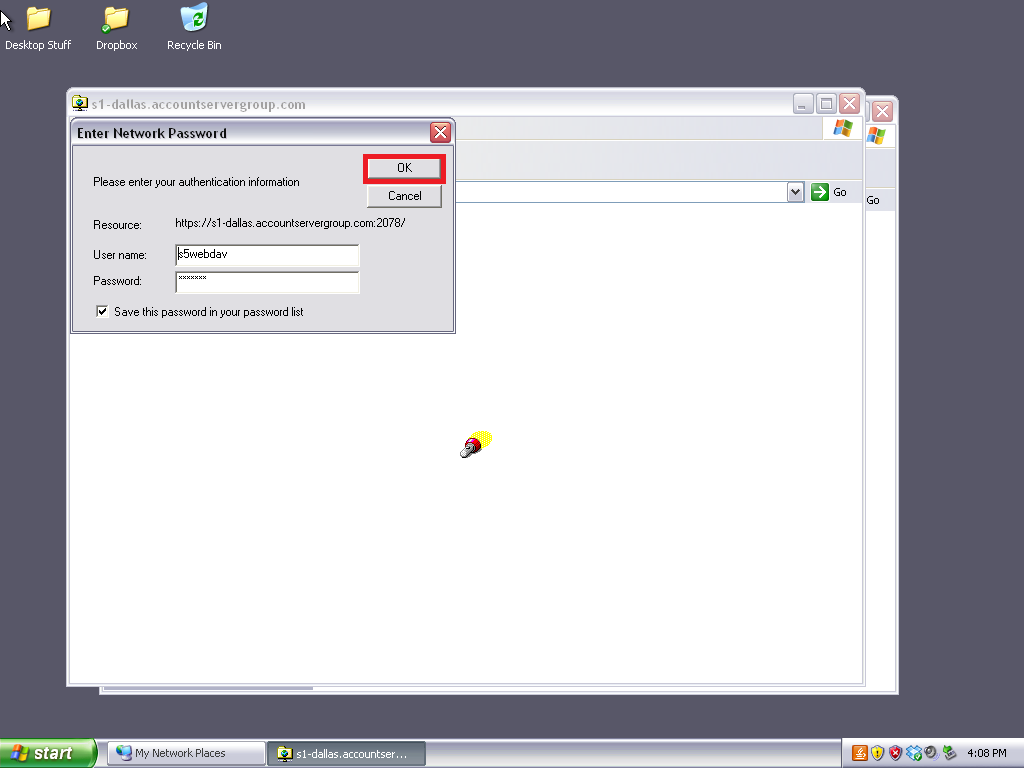
6) When the Enter Network Password window appears, enter you login credentials for your WebDAV account. You can also use the primary FTP credentials if you wish. Once done, click OK.

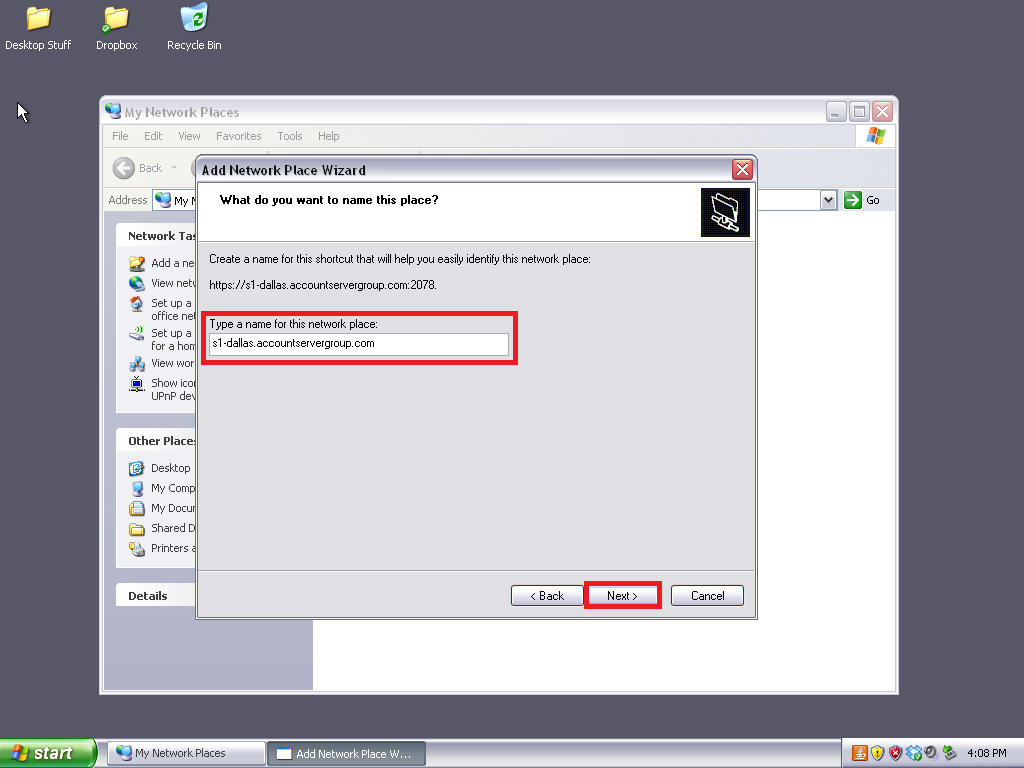
7) Enter a name for this network connection, or leave it set at its default. Once done, click Next.
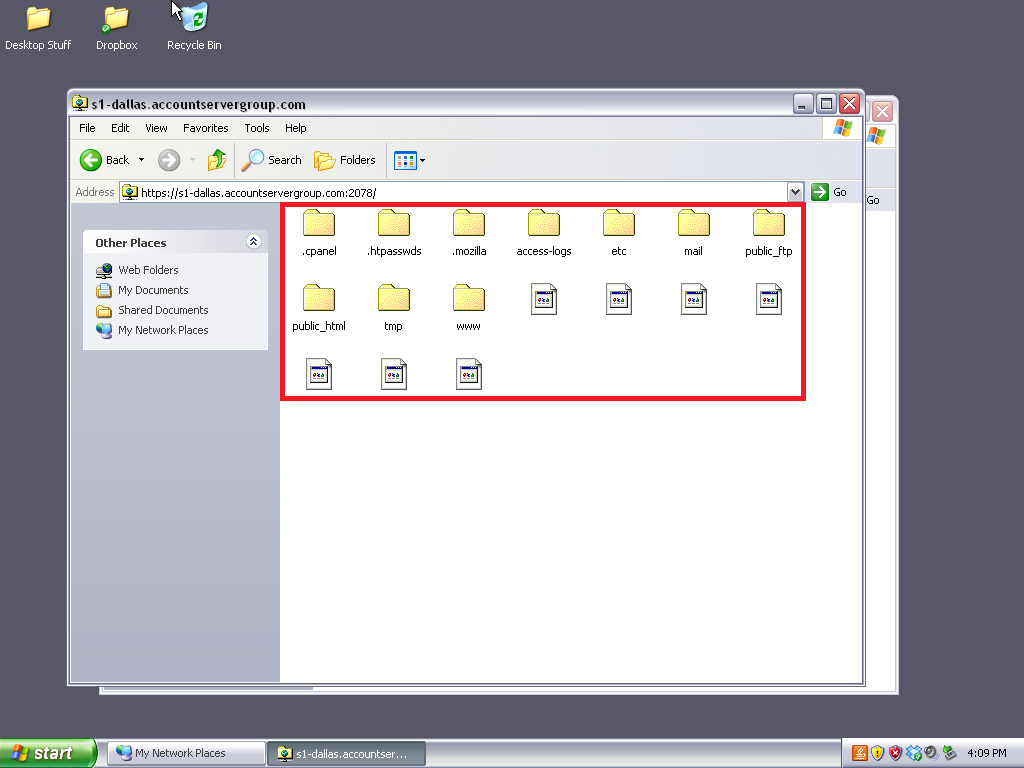
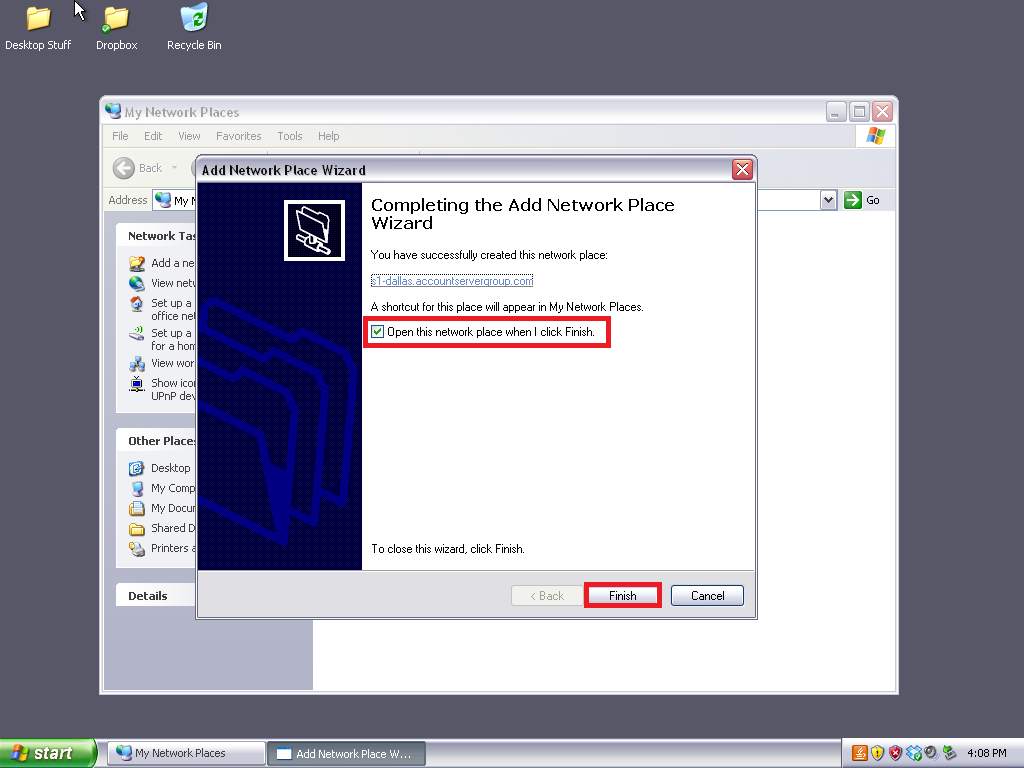
8) Click Open this network place when I click Finish, then click Finish.
9) If prompted, enter your credentials again, then click OK
That’s it! You now know how to connect to your account using WebDav