Joomla 1.5: How to Change your Table Prefix
In this article, we will show you how to change the table prefix for sites running Joomla 1.5.
Changing away from the default jos_ table prefix can help prevent some of the more basic attacks used against Joomla sites. However, this should not be the only step you take to secure your site, please see our other Joomla security articles for more security options.
Please Note: While you make these changes, your site may become unavailable. It is recommended that you do this when your site has the least amount of traffic (normally at night). It is also HIGHLY recommended that you make a backup of your site before starting this process.
We are not responsible for any downtime or damage caused by following this article.
For this article, you will need access to phpMyAdmin and the File Manager.
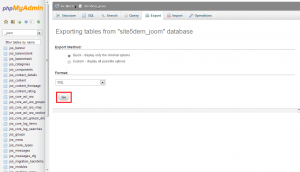
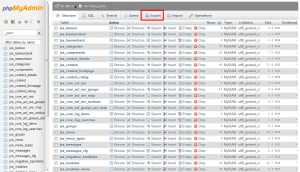
1) Login to phpMyAdmin, click the database that your Joomla site uses, then click Export.
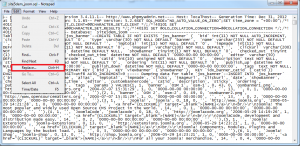
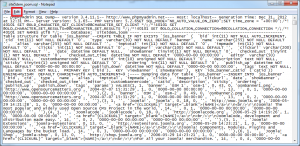
3) Open the file that was saved to your computer with a text editor and go to the Find and Replace option inside of your editor. For this demonstration, we are using Notepad. In notepad, click edit…
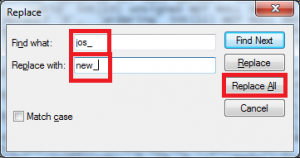
5) Enter the current table prefix in the “Find what” section (by default its jos_), then enter the new prefix you wish to use (in our example, we are going to use new_). Now click Replace All, then save the file.
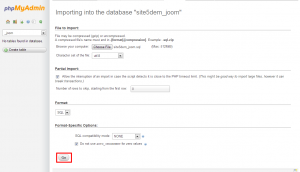
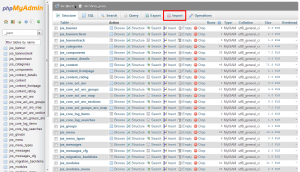
6) Back in phpMyAdmin, click the Import option.
7) Select the file we just saved.
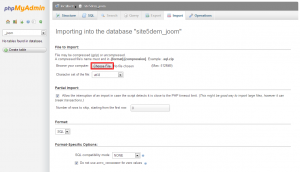
9) Now using the file manager, browse to the location your Joomla site is installed.
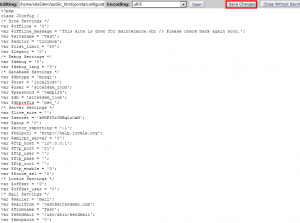
10) Right click the configuration.php file and select edit.
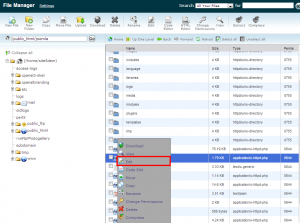
11) Find the line that has the old table prefix and replace the prefix with the new prefix we used earlier (make sure you keep the double quotes intact!).
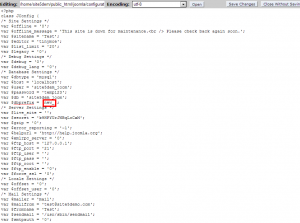
At this point your site is using the new table prefix. Check your site and make sure it loads correctly. If your site is working correctly, we can delete the extra tables in the database. Please be aware that if any changes were made to your site during this process by users or other administrators, that changed data could be lost. You do this at your own risk.
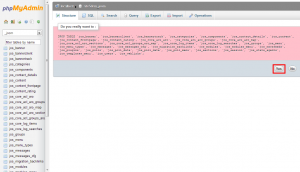
13) In phpMyAdmin check all the tables that have the old table prefix (default is jos_). Make sure you DO NOT select any of the tables using the new prefix. Once you have all the tables selected, select Drop from the drop-down menu located at the bottom of the screen.
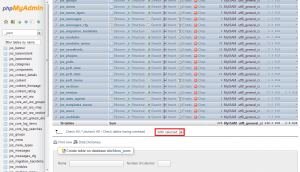
14) Confirm that you want to delete the tables by clicking Yes
That’s it! Make sure you check your site to ensure that everything is working correctly.
Remember that the new prefix you use needs to be the same across all the changes. For example, if you pick “new_” as your prefix, you MUST use “new_” for all the changes. If you do not, you risk breaking your site.

