How to setup a e-mail account in Microsoft Windows Desktop 8
Please note the guide below is for configuring the default Mail application for Windows 8 Desktop/Tablets. If you are using a Microsoft Windows phone, please scroll to the bottom of this article and select the article on how to configure your phone to connect to our email server.
OK, so we are using Windows 8 on our Surface tablet or desktop and we would like to connect your IMAP account to it. Lets use the guide below to make it happen!
1) Click or tap the Mail icon
2) If this is your first time using the Mail software, you will be asked to sign into your Microsoft account.
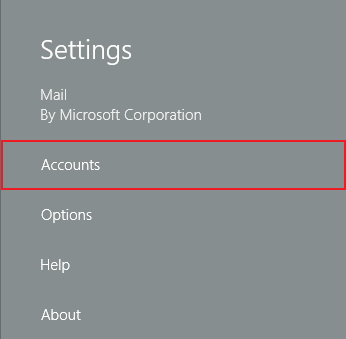
3) Once signed in, Swipe left or press the WINDOWS key ![]() and the “i” key on your keyboard simultaneously to bring up the settings menu.
and the “i” key on your keyboard simultaneously to bring up the settings menu.
4) Select Accounts.
5) Select Add Account.
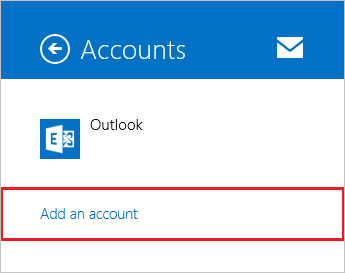
6) Choose Other Account from the list.

5) Enter your email address, password and click Show more details.
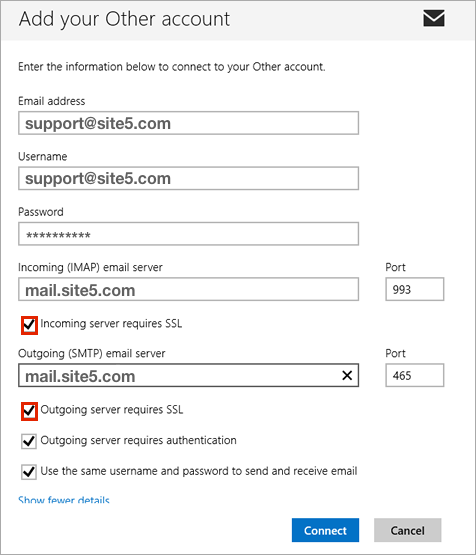
6) Enter the following details…
- Email Address = Your full email address
- Username = Your full email address
- Password = Your email account password
- Incoming Email Server = mail.yourdomain.com (where yourdomain.com is your website address minus the www)
- Outgoing Email Server = mail.yourdomain.com (where yourdomain.com is your website address minus the www)
Check Boxes:
- Incoming server requires SSL = Unchecked unless otherwise needed
- Outgoing server requires SSL = Unchecked unless otherwise needed
- Outgoing server requires authentication = Checked
- Use the same username and password to send and receive email = Checked
Note: To connect via SSL – Enter the hostname for the server in which you are hosted on into the hostname field under Incoming/Outgoing Mail Server field.You can retrieve this server information from your welcome letter or our support team.
7) Lets click Connect.
That’s it, you’re done, you’re all set, you’re good to go. Happy emailing!
Mel October 14, 2013 at 2:19 am
These images are way to small to see the detail. Thanx
John Oliver at Site5 October 17, 2013 at 6:12 pm
Hello Mel,
I hope this reply finds you well!
If you click on the images, they should expand allowing you to see the details more clearly.
If that does not work, please let us know. :)
Chris May 12, 2015 at 12:24 pm
Hello, for me I had to change email server port to 143 (incoming) and 25 (outgoing) with unchecked SSL boxes otherwise it wasn’t work.
Renato Frota at Site5 October 8, 2015 at 5:19 pm
Hello Chris,
The incoming port should be automatically changed to 143 when you uncheck SSL option and to 993 when you enable SSL.
The SSL option will require you use the server hostname instead mail.yourdomain.com. You can retrieve the server information from your welcome letter or our support team.