SiteAdmin: How To Disable Nginx Caching
With the addition of Nginx caching on our new server configurations, we find that some users do not want to have caching enabled on their site during development. Due to this, we’ve provided the ability to disable caching while you are developing your site. This can be done simply through your control panel by following the steps below.
- Log into backstage
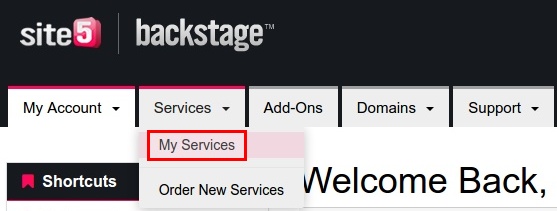
- Mouseover the Services menu and click My Services

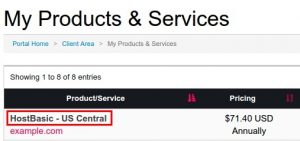
- Locate the hosting plan you want to access under Product/Services and click on the hosting plan
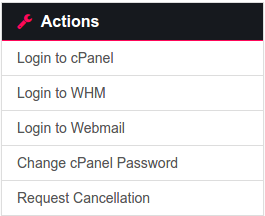
- Click Login to cPanel under the Actions Menu and you will be redirected to SiteAdmin if you have a legacy hosting plan. Go here to disable nginx caching for cPanel
- Scroll down to the Software/Services section and click Nginx Cache Settings.


- Select the domain you want to disable caching for from the list of domain names and click Disable.
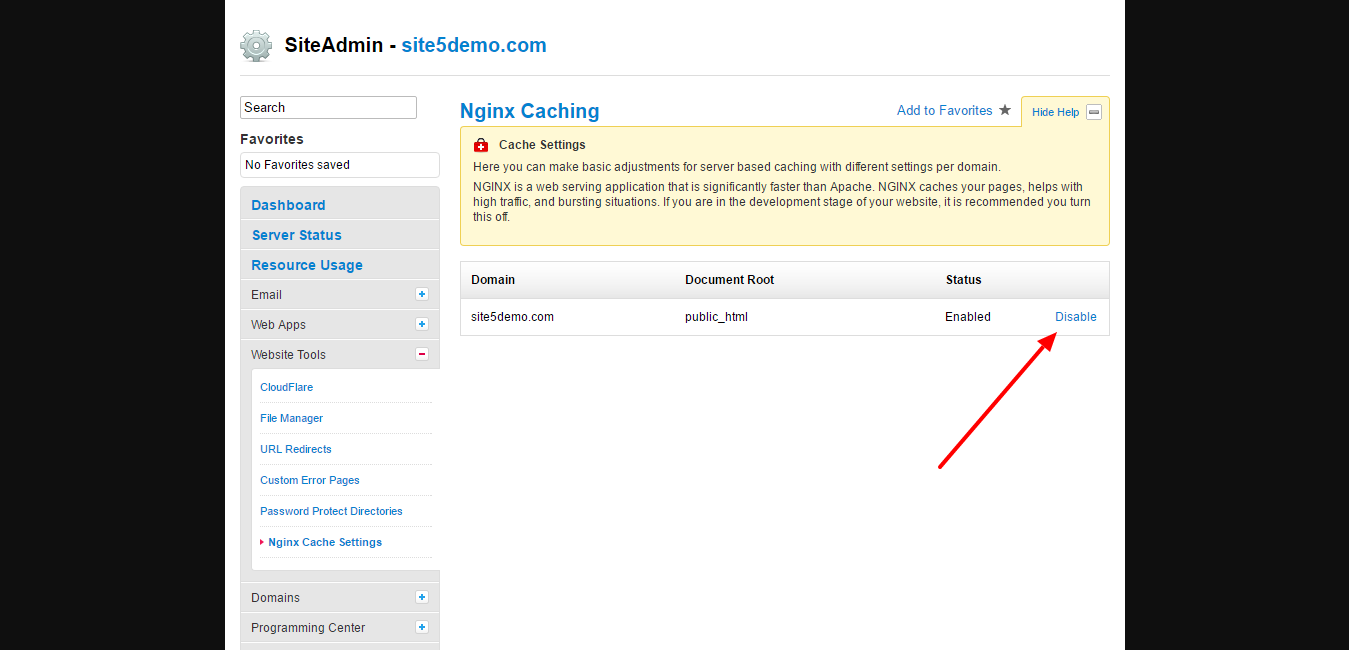
- That’s it! Caching has now been disabled. If you wish to enable caching on your site after you are done building it, you would just need to click Enable and caching will be turned back on.
